What Size Mixing Bowl for Sourdough Bread: Choosing the Perfect Bowl for Rising and Mixing
You’ll want a bowl that gives your dough at least one-third extra space to rise, so pick size by dough weight: about 2–3 quarts for a 500g dough, 4–5 quarts for 1kg, and 6–8 quarts for 1.5–2kg. Choose wide, stable bowls for easier mixing and smooth sides for release. Material matters: glass shows rise, ceramic holds cool, stainless warms faster. Keep a lid or cover handy, and scroll on to see tips and troubleshooting.
Who This Guide Is For
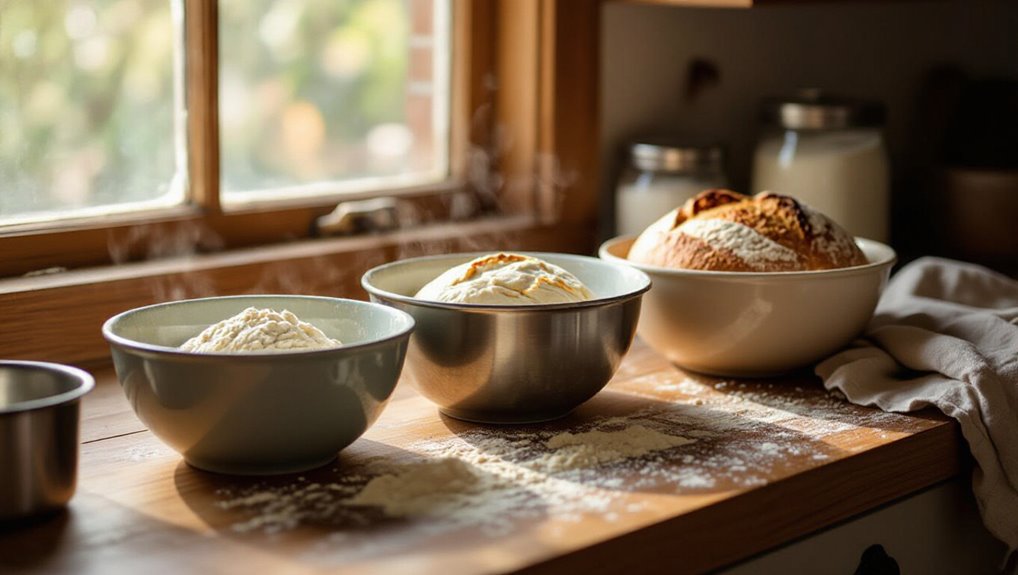
This guide is for anyone who plans to mix, ferment, and shape sourdough—whether you’re baking once a week or building a daily habit.
You’ll get practical advice on bowl capacity, material, and stability so you can handle hydration, bulk fermentation, and gentle folds without spills or overheating.
It suits beginners through experienced bakers seeking reliable, efficient tools for consistent dough management.
Quick Sizing Chart for Common Sourdough Doughs
When you’re planning a bake, convert dough weight to volume so you know how much space it will take in the bowl.
Use the quick sizing chart to match common dough weights to recommended bowl sizes, from small loaves to big batches. That way you’ll pick a bowl that gives the dough room to mix and rise without overflowing.
Dough Weight To Volume
A quick reference chart lets you convert sourdough dough weight to the bowl volume you’ll need, so you can pick a mixing bowl that fits without guessing.
Use these approximate volume needs when planning:
- 500g dough → 1.5–2 L bowl
- 1,000g dough → 3–4 L bowl
- 1,500g dough → 5–6 L bowl
- 2,000g dough → 7–8 L bowl
Bowl Size Recommendations
Now that you’ve got dough-to-volume conversions handy, let’s match common recipe sizes to practical bowl choices so you won’t be surprised by overflow or wasted space.
For 500g dough use a 2–3 quart bowl; 1kg dough fits comfortably in a 4–5 quart; 1.5–2kg dough needs a 6–8 quart bowl.
Leave one-third free for rise, and choose wide over tall for easier mixing.
How to Convert Dough Weight to Bowl Volume
Start by converting your total dough weight into a rough volume using a typical dough density (about 0.9–1.1 g/mL) so you know how many liters or quarts you’ll need.
Then factor in expected expansion during bulk fermentation—plan for at least 1.5–2× the initial volume to avoid overflow.
Finally, pick a bowl that comfortably holds that expanded volume with extra headroom for mixing.
Convert Weight To Volume
Converting dough weight to bowl volume helps you pick a vessel that gives the dough room to rise without overflowing.
Convert grams to liters roughly: 1,000 g ≈ 1 L for water-like doughs. Measure your dough weight, then divide by 1,000 and add headspace. Use a bowl slightly larger than that volume.
- Weigh dough
- Divide by 1,000
- Add headspace
- Choose bowl size
Account For Dough Expansion
Because your dough will expand during bulk rise and proofing, you’ll want to convert its weight into a bowl volume that includes that growth, not just the raw mass.
Estimate final volume by multiplying dough weight (grams) by 1.6–1.8 mL/g to account for hydration and air.
Round up for safety and leave at least 25% headspace so the dough won’t overflow.
Choose Appropriate Bowl Size
Think of bowl size as a simple math problem: take your dough weight in grams, multiply by 1.6–1.8 mL/g to get the approximate finished volume, then add at least 25% headspace so the dough can rise without spilling.
Use this quick guide to pick a bowl:
- 500g dough → ~800–900 mL
- 1kg dough → ~1.6–1.8 L
- 1.5kg dough → ~2.4–2.7 L
Add 25% headspace for rise and ease of mixing.
Bowl Size for a 500g Flour Dough
For a 500 g flour dough you’ll want a bowl that gives plenty of room for mixing and rising without being oversized—aim for roughly a 2.5–3.5 liter (10–14 cup) bowl so you can comfortably mix, fold, and watch the dough expand by 50–75% during bulk fermentation. Choose a stable, smooth-sided bowl for easy handling and dough release.
| Size | Capacity | Use |
|---|---|---|
| Small | 2.5 L | Fits 500g |
| Medium | 3.0 L | Extra headroom |
| Large | 3.5 L | Easy folding |
Bowl Size for 750g Dough
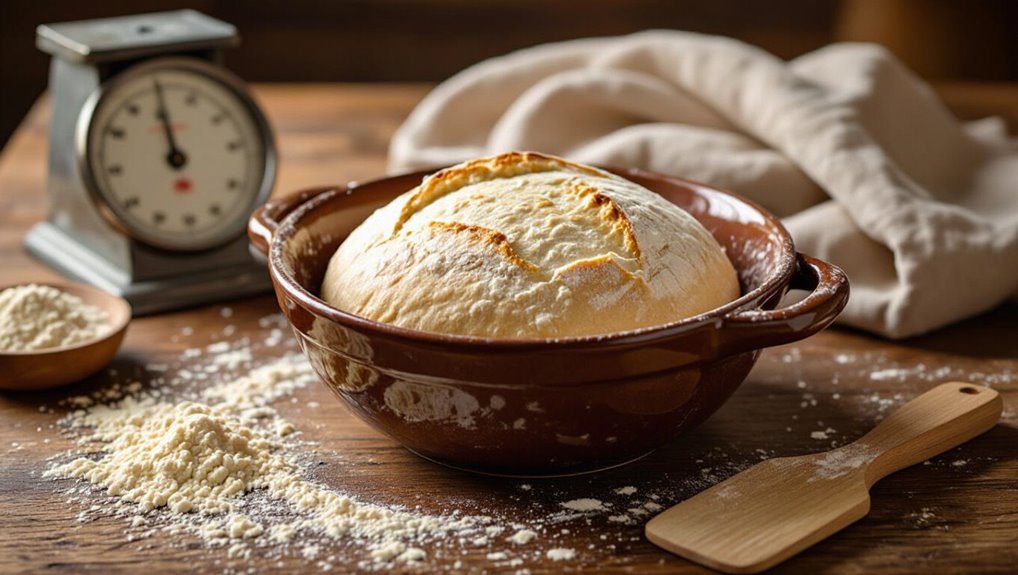
A 750 g flour dough needs noticeably more room than a 500 g batch, so pick a bowl in the 4–5 liter (16–20 cup) range to mix, stretch, and allow the dough to rise by 50–75% without spilling over; aim for a stable, smooth-sided vessel that gives you comfortable hand movement and easy dough release.
- Choose sturdy, non-reactive material.
- Guarantee smooth sides for release.
- Leave ample headspace.
- Prefer a wide mouth for handling.
Bowl Size for 1kg Dough
For a 1 kg dough you’ll want to estimate the final bulk volume—roughly 1.5 to 2 liters after fermentation—so pick a bowl that leaves room for expansion.
Pay attention to bowl height as much as diameter; a taller bowl prevents overflow and makes stretching and folding easier.
You’ll save time and mess by choosing a bowl with at least 25–30% extra capacity.
Dough Volume Estimate
One kilogram of dough typically occupies about 1.6 to 2.0 liters after mixing and some rise, so pick a bowl that leaves room for expansion and easy handling.
You’ll want a bowl that accommodates movement, scraping, and folding without overflow.
- Aim for at least 3.0 L capacity
- Prefer wide opening for access
- Choose sturdy, smooth interior
- Leave ~50% free headspace
Bowl Height Matters
Because dough rises and you need room to work, bowl height is as important as capacity when handling 1 kg of sourdough.
Choose a bowl tall enough to allow at least 50–70% extra headspace above your dough to prevent overflow during bulk fermentation.
A deeper bowl also makes folding easier and reduces spills, so prioritize height over shallow wide bowls for tidy, controlled rises.
Sizing for Multi‑Loaf and Batch Baking
If you bake multiple loaves or larger batches, pick bowls that give you room to mix, proof, and transfer dough without spills or overhandling.
Choose sturdy, wide bowls that let you manage several dough portions comfortably.
- Large stainless or ceramic, 6–8 quarts
- Wide, shallow shape for easy folding
- Pair with smaller bowls for portioning
- Lightweight option for quick transfers
How Much Headroom Dough Needs to Rise
When you’re sizing bowls for multiple loaves, remember that the dough needs plenty of headroom to rise without sticking or spilling over.
Plan for at least double the dough’s resting volume—1.5–2× if you use a vigorous starter. Leave a few inches (5–8 cm) between dough and rim so expansion and folding don’t create messes.
Adjust for hydration and proofing time.
Tall vs. Wide Bowls: Which Ferments Better
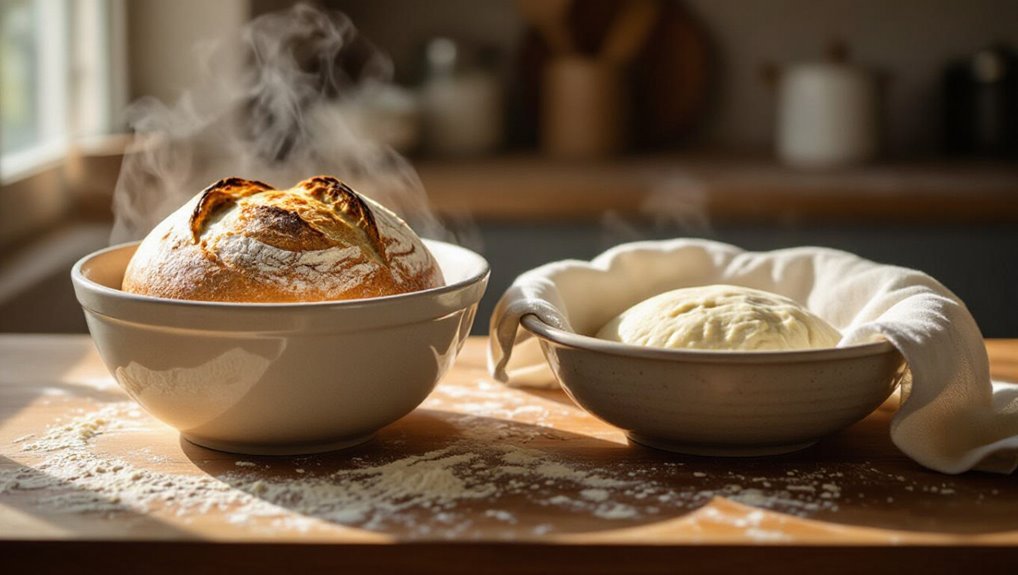
Think about how bowl shape changes fermentation: a tall bowl holds heat longer and keeps the dough insulated, while a wide bowl spreads the dough thin and increases surface area for gas exchange.
You’ll notice hydration and movement differ too—slacker doughs slide and relax more in a wide bowl, while stiffer doughs keep their structure better in tall containers.
Choose the shape that matches your dough’s hydration and the rise behavior you want.
Height Affects Heat Retention
Because heat rises and spreads differently across shapes, the bowl’s height influences how your dough holds warmth during fermentation.
You’ll notice taller bowls keep core warmth steadier, while shallow bowls lose heat faster.
Consider these practical effects:
- Taller bowl: slower cooling, steady crumb development.
- Short bowl: quicker temperature drop.
- Taller: gentler fermentation.
- Short: faster activity, watch timing.
Surface Area And Rise
1 key difference between tall and wide bowls is the dough’s exposed surface area, and that directly affects how much the dough can rise and how the crust forms during proofing.
In a wide bowl you’ll get broader expansion and a thinner skin, encouraging even fermentation across the top.
A tall bowl concentrates rise upward, giving a rounder loaf and slightly thicker surface tension.
Dough Hydration And Movement
While hydration mostly determines how sticky and extensible your dough is, the bowl’s shape changes how that moisture moves and how gases get trapped during fermentation.
You’ll notice differences between tall and wide bowls:
- Tall: concentrates heat, vertical rise.
- Wide: spreads dough, more surface tension.
- Hydration: flows faster in shallow bowls.
- Movement: choose shape to control crumb and oven spring.
Glass Bowls: Pros, Cons, Sizing Tips
Glass mixing bowls offer clear visibility, non-reactive surfaces, and easy cleanup, making them a practical choice for sourdough starters and doughs that benefit from monitoring rise and hydration.
You’ll appreciate seeing dough progress and gauging hydration.
Choose tempered glass, size about 2–4 quarts for single loaves or 5–6+ quarts for larger batches.
They’re heavier and can chip, so handle carefully.
Stainless Steel Bowls: Heat and Capacity
If you like the visibility of glass but want something lighter and tougher for regular kneading, stainless steel bowls are a great next option.
They conduct heat quickly, so dough temperature changes faster; choose thicker gauge for stability.
Consider sizes for bulk fermentation and proofing:
- 2-quart: single loaf or starter
- 4-quart: comfortable for most doughs
- 6-quart: doubles/bulky doughs
- 8+ quart: commercial batches
Ceramic and Stoneware: Weight and Thermal Pros/Cons
Ceramic and stoneware bowls are heavy and hold temperature well, so they keep doughs cooler and more stable during long ferments; you’ll notice less fluctuation compared with thin metal.
Their mass aids even proofing, and glazed surfaces prevent sticking. They’re fragile and slower to warm, so you won’t use them for rapid temperature shifts, but they suit overnight rises and hands-off bulk fermentation.
Plastic Bowls: When to Use and When to Avoid
When you need something lightweight, inexpensive, and virtually unbreakable, plastic bowls are a practical choice for sourdough handling; they’re especially handy for mixing, short bulk ferments, and transporting dough without risking a shattered container.
- Affordable and light for easy handling.
- Nonreactive and easy to clean.
- Can retain odors or stain over time.
- Avoid for long cold proofs where thermal mass helps.
Proofing Methods That Change Bowl Choice
Because proofing can be done on the counter, in the fridge, or in a warm humid environment, your bowl choice should match the method you plan to use.
If you cold-proof, pick a tight-sealing, fridge-safe bowl. For counter proofing, use a wide, shallow bowl for easy monitoring.
In humid or warm setups, choose heat-resistant, ventable containers to control moisture and prevent condensation.
Using Bowls for Bulk Fermentation vs Final Proof
Although both stages need a bowl, you’ll pick different features for bulk fermentation than for the final proof because their goals and handling differ:
- Bulk: roomy, sturdy for folds and expansion.
- Final proof: snug, smooth interior to support shape.
- Bulk: breathable cover access for temperature control.
- Final proof: transfer-friendly, low lip for easy flipping into the oven.
Estimate Bowl Volume (Liters/Quarts) for Sourdough
Start by matching bowl volume to the dough weight you’ll routinely mix: calculate total flour weight, add typical hydration and mix-ins, then pick a bowl that gives about 2–3× that final dough volume to allow room for mixing and rise.
Convert that volume into liters or quarts (1 quart ≈ 0.95 L). Choose a slightly larger bowl for vigorous mixing or long rises.
Convert Recipe Weights to Recommended Bowl Sizes
Take your recipe weights and convert them into expected dough volume so you can pick a bowl that fits.
Use a simple bowl size chart (weights → liters/quarts) to match typical dough volumes and leave at least 50–100% extra space for rise and fermentation.
That way you’ll avoid overflows and give the dough room to expand comfortably.
Dough Volume Estimates
When you convert recipe weights into bowl sizes, you’re estimating the finished dough volume so your chosen bowl gives enough room for mixing and rise without spills.
You’ll think about hydration, flour bulk, and air from fermentation to judge space needs.
- 500g dough → small bowl
- 800–1000g → medium
- 1.2–1.6kg → large
- >1.6kg → extra-large
Bowl Size Chart
A simple chart helps you match your recipe’s total dough weight to a bowl that leaves enough room for mixing and rise without overflowing. Use the table to pick confidently—no guessing, just fits.
| Dough weight | Bowl size | Emotion |
|---|---|---|
| 500 g | 1.5 L | Calm |
| 1000 g | 3 L | Confident |
| 1500 g | 5 L | Proud |
Allowing Fermentation Space
Because dough can double (or more) during bulk fermentation, you should always convert your recipe’s total dough weight into a bowl volume that leaves plenty of headroom; multiply the dough weight by about 1.5–2x to pick a bowl size that prevents spills and lets you fold easily.
Choose like this:
- 500g dough → 0.75–1.0 L
- 1kg dough → 1.5–2.0 L
- 1.5kg dough → 2.25–3.0 L
- 2kg dough → 3.0–4.0 L
When to Use Multiple Bowls for Stretch‑and‑Folds
If you’re doing multiple stretch‑and‑folds during bulk fermentation, use more than one bowl when you need to separate stages or keep hydrated doughs from sticking together; for example, place early folds in one bowl and later, wetter folds in another to manage hydration, temperature, and handling without overworking the dough.
| Stage | Purpose |
|---|---|
| Early folds | Build structure |
| Mid folds | Adjust hydration |
| Late folds | Fine tuning |
| Rest | Control temp |
Quick Test: Is Your Bowl Big Enough?
Before you mix, make sure you leave room to rise by choosing a bowl that’s noticeably larger than the dough’s current volume.
Gauge dough volume by gently tucking it into the bowl and imagining it doubled — you want clear headspace.
Also pick a shape that supports expansion (taller for vertical rise, wider for spread) so the dough can grow without overflowing.
Leave Room To Rise
When your dough’s finished bulk fermenting, pick a bowl that gives it plenty of room to at least double in volume without touching the lid or rim; a quick test is to mark the dough’s current height and leave an equal amount of clear space above it so you can observe rise and avoid overflow.
- Mark current level.
- Guarantee equal clear space.
- Allow headroom for gas.
- Avoid tight lids.
Dough Volume Check
Do a quick visual test to make sure your bowl can handle the dough’s full expansion: mark the current dough height, lift the bowl to eye level, and confirm there’s at least an equal amount of empty space above the mark so the dough can double without touching the rim.
If space’s tight, choose a larger bowl or split the dough between two containers to prevent overflow and uneven proofing.
Bowl Shape Matters
Pick a bowl shape that lets your dough rise evenly and gives you room to work—tall, narrow bowls can constrain expansion and crease the dough, while wide, gently sloped bowls let the loaf spread and develop a smooth skin.
If your dough’s current rise reaches halfway up a narrow bowl, swap to a wider one or split the batch to avoid crowding and uneven proofing.
- Wide, shallow: even rise
- Tall, narrow: risk creasing
- Sloped sides: smooth crust
- Split batches: prevent crowding
Cleaning and Care by Bowl Material
Because different bowl materials react differently to heat, moisture, and scrubbing, you’ll care for each type in a specific way to keep it performing and looking its best.
Different bowl materials respond to heat, moisture, and scrubbing—so care for each type to keep them looking and performing their best.
Wash stainless steel with hot soapy water and dry to prevent spots.
Hand‑wash wood and keep it oiled.
Ceramic and glass tolerate dishwashers but avoid thermal shocks.
Avoid abrasive pads on nonstick surfaces.
Best Bowls for Cold vs Warm Proofing
After you’ve settled on the right care routine for your bowls, think about how their material and shape affect proofing temperature and humidity.
You’ll choose differently for cold vs warm proofing:
- Ceramic keeps cool for slow fridge fermentation.
- Glass shows dough rise and retains chill.
- Stainless steel warms quickly for accelerated proofing.
- Plastic insulates gently for steady warm proofs.
Space‑Saving and Stacking Bowl Hacks
You can save a lot of cabinet space by choosing bowls that nest cleanly, letting smaller sizes sit inside larger ones without wobble.
Pick bowls that are sturdy enough to double as proofing vessels, salad bowls, or serving dishes so each piece pulls double duty.
With the right shapes and materials, you’ll keep your kitchen tidy and reduce the number of single‑use items you need.
Nesting For Efficient Storage
One simple trick to save counter and cabinet space is to choose bowls that nest neatly—matching shapes, slightly tapered sides, and consistent rim diameters let smaller bowls slip into larger ones without wedging.
You’ll stack and grab quickly. Consider these nesting tips:
- Arrange by diameter.
- Keep lids separate.
- Use nonstick liners.
- Store frequently used sets frontward.
Multi‑Purpose Bowl Uses
Nesting saves space, but your mixing bowls can earn even more counter credit by pulling double duty around the kitchen.
Use one for proofing dough, another for washing fruit, and smaller bowls for measuring ingredients.
Stack lids to create airtight storage, invert bowls as temporary covers, or use a chilled bowl for butter.
These hacks free counter space and simplify prep.
Budget Bowls That Work Well for Sourdough
If you’re on a tight budget, plenty of simple bowls will still give your sourdough a great start—think sturdy plastic, stainless steel, or basic ceramic that hold shape and retain a bit of warmth.
You’ll want something durable, easy to clean, and roomy enough for expansion.
Choose a bowl that’s durable, easy to clean, and roomy enough to let your sourdough rise freely.
- 3–5 quart plastic
- 4–6 quart stainless steel
- 5–7 quart ceramic
- Covered glass bowl
Premium Bowls Worth Investing In
Investment pieces like a heavy ceramic or Japanese donabe will change how you handle long ferments, because they hold heat evenly and feel stable under vigorous stretches and folds.
You’ll appreciate durable stainless steel for ease of cleaning, glazed stoneware for gentle temperature buffering, and weighted bowls that resist tipping during kneading.
These last longer and improve consistency in your sourdough workflow.
Specialty Bowls: Heatproof, Nonreactive, With Lids
You’ll want to contemplate heatproof bowls like tempered glass or ceramic if you’re using warm water or doing oven-based proofs.
Pick nonreactive materials—glass, stainless steel, or glazed stoneware—so acidity from the starter won’t affect flavor or finish.
And a lidded bowl makes proofing and fridge retards easier by trapping moisture and minimizing crust.
Heatproof Options Overview
When you’re shaping and proofing sourdough, heatproof specialty bowls—usually nonreactive and often sold with lids—make the process cleaner and more reliable by tolerating temperature changes and preventing contamination.
You’ll appreciate options that retain warmth, resist thermal shock, and seal in humidity.
Consider these features:
- Oven-safe glass
- Stoneware crock
- Silicone bowl with lid
- Stainless steel with tight cover
Nonreactive Material Choices
Because reactive metals and porous ceramics can alter dough flavor and color, pick a truly nonreactive, heatproof bowl when you want consistent sourdough results. You’ll favor glass, stainless steel (nonreactive variants), or glazed stoneware. They tolerate temperature shifts and won’t leach. Choose size for rise space.
| Material | Heatproof | Notes |
|---|---|---|
| Glass | Yes | Inert |
| Steel | Yes | Look for 18/8 |
| Stoneware | Yes | Glazed surface |
Lidded Bowls For Proofing
After choosing a nonreactive, heatproof bowl, consider one with a lid to control humidity and protect your dough during bulk and final proofing.
You’ll get steadier rises and less crust formation.
Consider features like:
- Tight-fitting lid for trapped moisture
- Heatproof glass or ceramic for warm proves
- Smooth interior for easy dough release
- Large capacity to accommodate expansion
Common Mistakes That Make a Bowl Unsuitable
Although a bowl might look fine at first glance, a few common issues can quickly make it a poor choice for sourdough: thin, reactive metals that leach flavors, porous materials that harbor bacteria, and poorly fitting lids that let your dough dry out.
Also avoid warped shapes that impede even rising, rough surfaces that stick, and tiny bowls that force overhandling your dough.
How to Adjust Recipes When Your Bowl Is Too Small
If your bowl’s too small, don’t force a crowded dough—scale the recipe down or split the batch so your dough has room to expand and you avoid overhandling.
Use these quick fixes:
- Halve ingredients for a single loaf.
- Split into two bowls and ferment separately.
- Use a larger container temporarily for bulk rise.
- Mix by hand in stages to prevent spilling.
How Bowl Choice Affects Fermentation Timing
When you give dough plenty of room, you also influence how fast it ferments: a larger, open-sided bowl lets heat and gases escape more readily, which can speed or slow activity depending on ambient temperature, while a tight, insulated container traps warmth and CO2, often accelerating fermentation. You’ll monitor timing and adjust proof length based on bowl type and room conditions.
| Bowl type | Effect |
|---|---|
| Large, open | Cooler, variable |
| Insulated, tight | Warmer, faster |
Accessories for Bowl Proofs: Lids, Towels, Wrap
Choosing the right cover for your proofing bowl—lid, towel, or plastic wrap—changes humidity and heat retention, so pick one that matches the dough’s needs and your timing.
You’ll want options for different rises:
- Airtight lid — traps heat, speeds proofing.
- Damp towel — gentle humidity, slower rise.
- Plastic wrap — seals moisture, versatile.
- Bowl cover — reusable, eco-friendly choice.
Checklist: Pick the Perfect Sourdough Mixing Bowl
Pick a bowl that fits your dough, your workflow, and your kitchen: size, material, shape, and stability matter most.
Check capacity (allow at least double volume), choose nonreactive materials (glass, stainless, ceramic), prefer a wide shape for easy folding, guarantee a sturdy base to prevent sliding, pick a rim that’s easy to grip, and confirm it’s dishwasher-safe if you want low-maintenance cleanup.
Troubleshooting: Overflow, Under‑Proofs, and Fixes
If your dough bulges over the rim or later collapses into a dense loaf, you can usually rescue the bake with a few targeted fixes:
- Slash and reshape to control oven spring.
- Shorten proof or chill to slow fermentation.
- Use a larger bowl next time to prevent overflow.
- Strengthen dough with folds or add flour gradually to improve structure.
Frequently Asked Questions
Can Bowl Color Affect Dough Temperature and Fermentation Speed?
Yes — bowl color can slightly affect dough temperature and fermentation speed. Darker bowls absorb more heat in sunlight, warming dough faster; lighter bowls reflect heat, keeping dough cooler. You’ll notice small but sometimes useful differences in timing.
Are Weighted Lids or Clamps Helpful for Preventing Surface Crusting?
Yes, weighted lids or clamps help prevent surface crusting by sealing moisture and limiting airflow; you’ll keep dough softer, reduce skin formation, and maintain even fermentation, though occasional venting can prevent excessive condensation.
Can I Use a Salad Spinner or Colander as a Makeshift Proofing Bowl?
Yes — you can use a salad spinner or colander as a makeshift proofing bowl, but you’ll need to line it and cover well to retain moisture and support the dough; they’ll work short-term though aren’t ideal long-term.
Do Silicone Collapsible Bowls Alter Rise or Hydration Measurements?
They don’t markedly alter rise or hydration if clean and dry; you’ll just lose minimal heat through thinner walls, so watch proofing times. Don’t let water cling to seams, and adjust timing slightly if your bowl feels cooler.
How Do Different Bowl Rim Shapes Impact Dough Handling and Scrapping?
Rounded rims prevent dough snagging, so you’ll scrape and fold smoothly; sharp or thin rims can catch sticky dough and tear gluten. Wide flared rims give better access for bench scrapers, letting you cleanly lift and turn.
Conclusion
You’ve got what you need to pick the right bowl and keep your dough happy — from quick size checks to conversion tips and proofing accessories. Choose a bowl with at least 1.5–2× your dough’s volume, use a lid or towel to control humidity, and watch fermentation timing so you don’t over- or under-proof. Try a slightly larger bowl if you’re unsure. With the right container and a little attention, your sourdough will rise reliably every time.