
How Much Dough Will a 20-Quart Mixer Hold? Practical Capacity Guide
You can reliably mix about 10–14 pounds of dough in a 20‑quart mixer if you limit fill to roughly 60–75% so the hook can move and the dough can expand. Hydration, mix-ins, and dense formulas cut capacity, so scale batches and watch the motor for strain. Split heavy or high‑hydration doughs and rest the mixer between runs to avoid overheating; keep measuring tools and a schedule handy to get consistent results and learn practical tips.
Realistic Dough Capacity of a 20‑Quart Mixer (Short Answer)
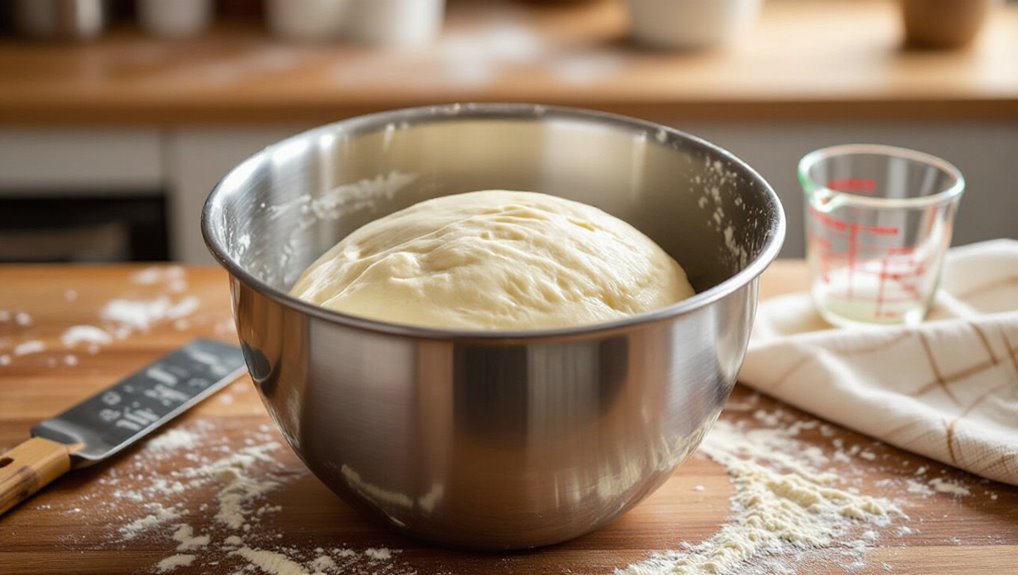
A 20-quart mixer will realistically handle about 10–14 pounds of dough depending on hydration and ingredient bulk, so you can plan batches around that range rather than the bowl’s full volume.
You’ll mix comfortably within that span for typical bread, pizza, or enriched doughs.
Heavier add-ins or very high hydration push capacity toward the lower end, so scale recipes accordingly.
Why Bowl Capacity ≠ Usable Dough Capacity
You might think a 20‑quart bowl means you can mix 20 quarts of dough, but bowl volume measures space, not how much dough you can safely work with.
In practice you’ll fill the bowl well below its brim to allow room for mixing, expansion, and the paddle or hook. That practical fill limit — often 60–75% of the bowl — is what determines usable dough capacity.
Bowl Volume vs. Dough
Think of the labeled 20-quart capacity as the bowl’s outer limit, not the amount of dough you can actually mix—manufacturers measure total liquid volume, but dough needs space to move, knead, and expand.
You’ll lose usable capacity to the mixer head, beaters, and air space. Also account for sticky dough clinging to surfaces and variable hydration—all reduce how much dough you can effectively process.
Practical Fill Limits
Mixers work best when you leave room for motion and expansion, so that 20-quart label never equals 20 quarts of dough in practice.
You should fill the bowl to about two-thirds for kneading—less if dough rises or the mixer’s beaters need clearance. Overfilling strains motor, reduces mixing quality, and risks spills.
Plan batch sizes with headroom for proper mixing and safety.
How Mixing Action and Hook Size Reduce Usable Capacity
A 20-quart bowl’s labeled capacity doesn’t tell the whole story once you add a dough hook and start mixing. The hook’s size and the machine’s mixing action eat into usable volume by displacing dough and requiring headspace for proper movement.
You should leave clearance so the hook can rotate without overfilling, and choose a hook size that matches batch weight to avoid strain or inconsistent mixing.
How Hydration Changes Bowl Fill and Rise Room
Because water changes dough volume and stickiness, higher hydration noticeably fills the bowl more and needs extra rise room.
You’ll handle wetter doughs differently: they spread, cling, and expand faster, so plan lower batch weight or longer leeway for rise and handling.
- Expect wider, flatter rise profiles
- Use taller proofing space
- Reduce batch size slightly
- Monitor expansion sooner
Quick Formula: Quarts to Pounds of Flour
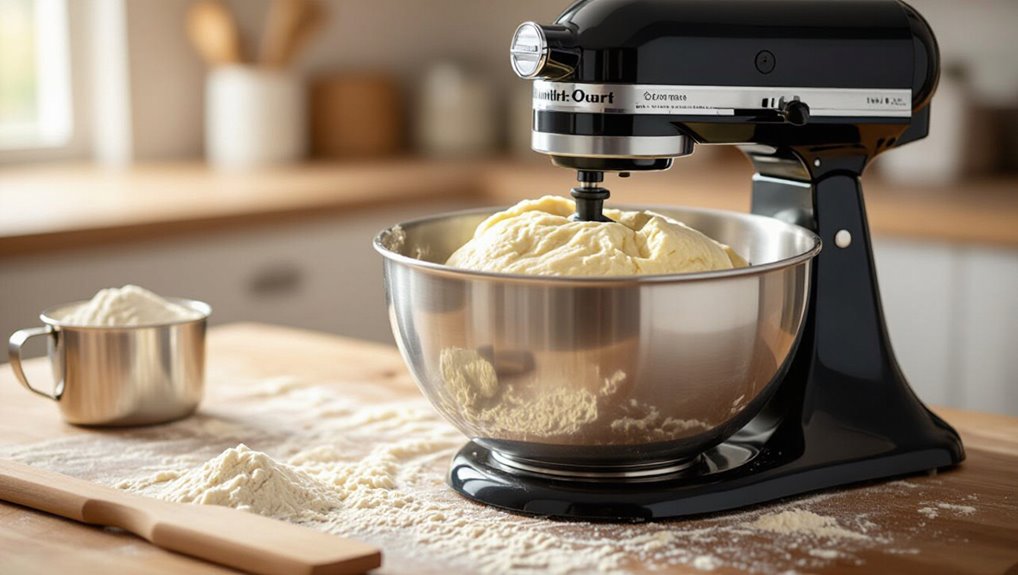
When you’re estimating how much flour your 20-quart mixer can handle, a simple conversion helps: roughly 1 quart of flour weighs about 4.5 to 5 ounces by volume, or roughly 1.5 to 1.75 pounds per quart when packed.
Use that range to convert quarts to pounds and compare with your mixer’s recommended flour capacity to avoid overloading.
With those numbers you can quickly gauge batch sizes and adjust hydration accordingly.
Flour Weight Conversion
Someone starting a recipe conversion will want a quick, reliable way to turn quarts into pounds of flour.
You’ll use a simple density estimate: 1 quart ≈ 1.1–1.25 lb of all-purpose flour, depending on packing. Multiply quarts by that factor, adjust for sifted or packed flour, and round for recipes.
- Use 1.2 lb/quart as a baseline
- Sifted: reduce 10–15%
- Packed: increase 10%
- Weigh when possible
Mixer Capacity Estimates
Start with a simple rule: multiply the mixer’s quart capacity by about 1.2 to estimate pounds of all-purpose flour it can handle (so a 20‑quart mixer ≈ 24 lb).
Then adjust for how the flour’s packed or sifted. Use that as a baseline, then factor hydration, add-ins, and dough type—higher hydration or heavy inclusions reduce capacity.
Test small batches before scaling.
How to Calculate Dough Weight From Recipe Hydration
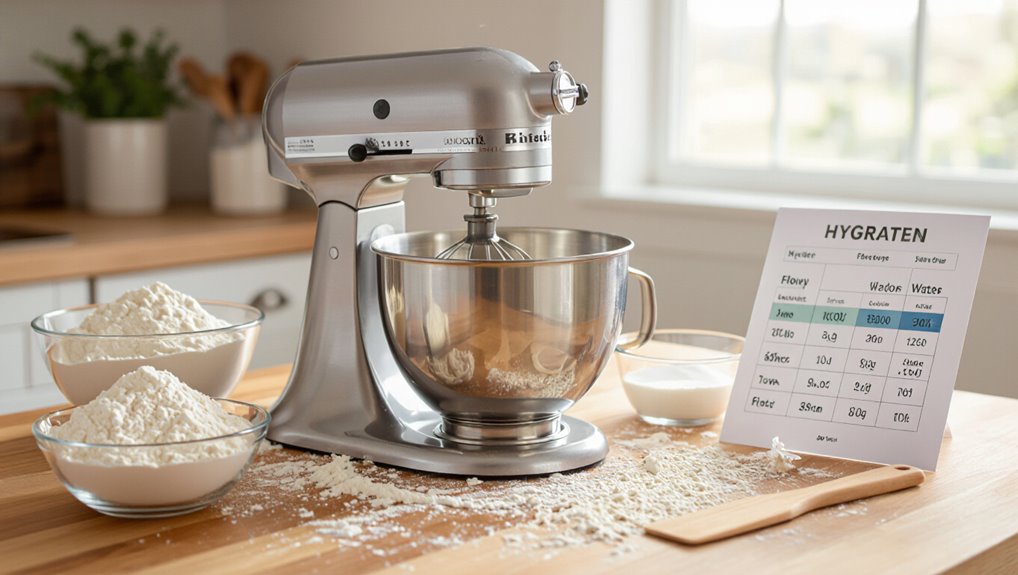
If you know a recipe’s flour weight and hydration percentage, you can quickly calculate the total dough weight by converting hydration into water weight and adding any other ingredients.
Convert hydration% to decimal, multiply by flour weight for water weight, add flour + water, then include salt, yeast, and add-ins.
- Convert hydration to decimal
- Multiply by flour weight
- Sum flour + water
- Add extras for total
Example Batch Calculations for Common Recipes
Now let’s look at real examples so you can see how many loaves fit in a 20-quart bowl.
You’ll compare typical bread batch sizes—like single, double, and bakery-scale recipes—and scale ingredient weights to match the mixer’s capacity.
That way you’ll know when to split a batch or adjust hydration to stay within the bowl.
Typical Bread Batch Sizes
Typical home-bakery batches range from one to four loaves, and you’ll want to match your 20-quart mixer’s capacity to those quantities so you don’t overload it.
You can typically mix:
- One standard loaf (about 500–600g dough) easily.
- Two loaves (1.0–1.2kg) well within capacity.
- Three loaves (1.5–1.8kg) near mid-range.
- Four loaves (2.0–2.4kg) approaching full capacity.
Scaling Recipe Quantities
Scaling recipes for a 20-quart mixer means converting ingredient weights and volumes so you fill the bowl without overloading the motor or leaving too much empty space.
Calculate target dough weight (roughly 40–50% of bowl capacity), then scale ingredients proportionally. For a standard hearth loaf, multiply ingredients to reach that weight.
For rolls or pizza, adjust hydration and batch counts to keep motor strain minimal.
Soft Batters in a 20‑Quart Mixer: Realistic Capacity
Soft batters—think pancake, muffin, or cake mixes—behave very differently from stiff dough, and a 20‑quart mixer can usually handle them up to about 60–70% of bowl volume without risking overflow or poor mixing.
You’ll get consistent creaming and aeration if you:
- start on low speed to combine ingredients
- avoid overfilling beyond 70%
- scrape sides once during mixing
- monitor rise when adding leaveners
Enriched Doughs (Brioche, Challah): Safe Limits
Because enriched doughs like brioche and challah contain lots of butter, eggs, and sugar, they take up more space and can swell more during mixing and proofing.
Lean Bread Doughs: Max Batch Sizes
Enriched doughs need extra space, but lean bread doughs—those with little or no fat or sugar—behave differently and can be mixed at higher bowl fill levels.
Enriched doughs need room; lean breads mix more compactly and tolerate higher bowl fill levels.
You can push a 20‑quart mixer to around 70–75% for standard lean loaves, keeping knead time and motor load in check.
- Watch dough temperature
- Use correct hook speed
- Split very large batches
- Stop if binder strains
High‑Hydration Pizza and Focaccia: Realistic Fills
For high‑hydration pizza and focaccia you’ll need to respect hydration limits—anything above ~70–75% gets very slack and needs more gentle handling.
Aim for batch weights that leave plenty of free bowl volume (think smaller than your max lean‑dough batch) so the dough can move without spilling.
I’ll give concrete hydration ranges and batch weight examples next so you can plan realistic fills.
Hydration Percentage Limits
When you’re planning high‑hydration pizza or focaccia in a 20‑quart mixer, know that dough consistency, not just dough weight, limits how much you can mix at once.
You’ll need to reduce batch size as hydration rises to avoid splatter and poor development.
- 60–65%: near full bowl capacity
- 70–75%: reduce 20–30%
- 80%+: mix very small batches
Watch speed and mixing time closely.
Batch Weight Guidance
Start by calculating your target dough weight based on hydration and desired loaf or pie counts. Then scale down to fit the mixer’s workable volume—high‑hydration pizza and focaccia will often need 20–40% less mass than low‑hydration dough to avoid overflow and splatter.
You’ll test single batches, note bowl fill and motor strain, then adjust recipe batches so each mix stays below that safe working fill.
Dense Doughs (Bagels, Pretzels): Conservative Limits
Dense doughs like bagels and pretzels demand a conservative approach with a 20-quart mixer because their high hydration resistance and heavy gluten structure put extra strain on the motor and bowl.
You should limit batch size to avoid overheating and uneven mixing.
- Aim for smaller, denser batches
- Watch motor temperature closely
- Use lower speeds when possible
- Stop and rest the dough if overloaded
Professional Rule of Thumb: Percent‑of‑Bowl by Dough Type
If you’ve been cautious with heavy doughs, use a simple professional rule of thumb to size batches: fill the bowl to a percentage based on dough type rather than a fixed weight. You’ll typically aim for lighter doughs 60–70%, enriched 50–60%, and dense doughs 35–45%.
| Dough Type | % Bowl | Example |
|---|---|---|
| Light (ciabatta) | 65% | airy |
| Enriched (brioche) | 55% | tender |
| Dense (bagel) | 40% | sturdy |
When Your Mixer Is Struggling: Signs to Split Batches
If your mixer’s motor starts tripping warnings or slowing under load, it’s telling you the bowl’s too full and you should split the batch.
You’ll also notice uneven mixing — streaks of flour or clumps of dough around the bowl — when there’s too much in there.
Splitting the recipe into two smaller batches keeps the motor healthy and gives you consistent results.
Motor Overload Warning
When your 20-quart mixer starts slowing, overheating, or tripping its breaker, it’s signaling motor overload and you should split the recipe into smaller batches to protect the motor and keep consistent results.
Watch for these signs and act quickly to avoid damage:
- Motor humming or struggling under load
- Increased heat from the mixer housing
- Circuit breaker trips or fuse blows
- Burning smell or unusual noise
Uneven Mixing Results
Although your mixer may still run, uneven mixing—pockets of dry flour, streaks of butter, or lumps that don’t break down—shows it’s struggling and it’s time to split the batch.
Stop, divide dough into smaller portions, and finish each at a moderate speed. That prevents motor strain, improves gluten development, and yields consistent texture.
Resume only when both portions are evenly mixed.
How to Scale Recipes Safely Without Overloading
Scaling dough recipes for a 20-quart mixer means balancing ingredient increases with the machine’s physical limits and mixing dynamics, so you’ll avoid overfilling, excessive strain, or poor gluten development.
You should test incremental batch increases, watch motor load, and adjust hydration. Keep records so you can repeat safe batches without guessing.
- Increase in 10–20% steps
- Monitor motor temperature
- Maintain proper dough height
- Adjust mixing time
Practical Techniques to Increase Batch Capacity Safely
To expand batch size safely, start by making small, measured increases—about 10–20%—and test each change so you can judge how the dough feels, how the mixer handles the load, and whether mixing time or hydration needs adjusting.
Use heavier flour percentages gradually, split additions (autolyse then add salt/yeast), monitor bowl clearance, and lift or turn dough between mixes to guarantee even development without straining equipment.
Mixer Settings and Timing to Prevent Overheating
When you’ve increased batch size a bit and confirmed the mixer’s handling, pay attention to speed and run time to keep the motor cool and parts safe.
You should stagger mixes, use low speeds for heavy dough, monitor heat, and allow cool-downs between cycles to prevent strain and burning.
- Start on low speed for heavy loads
- Limit continuous mixing to short intervals
- Check mixer housing for warmth
- Rest motor between batches
Attachments That Change Usable Capacity in a 20‑Quart Mixer
When you swap or add attachments, the mixer’s usable dough capacity can change quite a bit.
A bowl scraper reduces free space but keeps ingredients moving. A paddle gives different clearance than a dough hook, and a pouring shield can limit how much you can safely load.
Consider each attachment’s shape and clearances before you max out the bowl.
Bowl Scraper Attachment Impact
Adding a bowl scraper attachment can noticeably change the usable capacity of your 20‑quart mixer by keeping dough from clinging to the sides and ensuring more consistent folding and mixing.
You’ll fit denser batches, reduce hand scraping, and achieve even hydration. Consider scrape speed, clearance, wear, and heat buildup.
- Scrape speed affects mixing time
- Clearance limits max volume
- Wear reduces effectiveness
- Heat affects dough consistency
Paddle Vs Dough Hook
Choose the right attachment and you’ll change how much dough your 20‑quart mixer can handle: the paddle excels at shorter mixing and incorporating fats, leaving more room and producing looser, stickier doughs, while the dough hook is built for heavy kneading and can pack denser, higher‑hydration batches but needs more clearance and torque.
| Attachment | Effect |
|---|---|
| Paddle | More room |
| Hook | Denser batches |
| Speed | Torque need |
| Texture | Dough type |
Pouring Shield Limitations
A pouring shield can make loading wet or sticky dough into a 20‑quart mixer neater, but it also reduces the bowl’s usable capacity and can interfere with certain attachments.
You’ll want to account for the shield when estimating dough volume so you don’t overfill or strain the motor.
- Limits top clearance for tall doughs
- Blocks some scraper or whisk designs
- Traps sticky bits around edges
- Makes sighting dough level harder
Cleaning, Maintenance, and Wear From Heavy Batches
Heavy-duty batches put extra stress on your 20-quart mixer, so you’ll need a focused cleaning and maintenance routine to keep it running smoothly and prevent premature wear.
Wipe debris after each use, deep-clean attachments and the bowl weekly, and inspect seals, belts, and gears for wear.
Lubricate moving parts per manufacturer specs, tighten fasteners, and replace worn components promptly to avoid costly failures.
Small Bakery Workflow: Scheduling Batches With One 20‑Quart
When you’re scheduling all your batches around a single 20‑quart mixer, plan start times and ingredient prep so the machine stays productive without overheating or causing bottlenecks.
Batch timing, turnaround cleaning, and staggered proofing are the levers you’ll use to keep orders moving. You’ll map shifts, limit overlapping mixes, and prioritize quick-turn recipes.
- Batch sequencing by proof time
- Scheduled 10–15 min clean cycles
- Reserve peak slots for priority orders
- Prep mise en place before mixer use
Tools and Measuring Gear to Speed Scaling and Accuracy
Several precise tools will speed scaling and keep your mixes consistent: digital kitchen scales, graduated measuring buckets, portioning scoops, and calibrated spoons cut down guesswork and rework.
Use tare-capable scales for ingredient batching, clear buckets with volume markings for hydration adjustments, scoop sizes for uniform portions, and labeled spoons for salts and leaveners.
Keep tools clean, dedicated, and near your mixer for efficient workflow.
Quick Reference Chart: Usable Dough Capacities (At a Glance)
Now that you’ve got the right tools at hand, a compact chart will make mixing decisions fast and reliable.
Use this quick reference to match dough weight, hydration, and batch count so you don’t guess.
- 10–12 lbs bread dough (70% hydration) — single full batch
- 14–16 lbs pizza dough (60% hydration) — two medium batches
- 6–8 lbs pastry dough — gentle mixing only
- 18 lbs max very stiff dough — short pulses only
Final Checklist: Avoid Overloading and Optimize One 20‑Quart
1 simple checklist keeps you from overloading the 20‑quart mixer and guarantees every batch mixes evenly and safely.
Check bowl fill: keep dough under two‑thirds full.
Use recommended hook and speed.
Weigh ingredients, batch by batch.
Rest paddle or hook between heavy batches to cool motor.
Clean seals and vents regularly.
Replace worn parts promptly to maintain capacity and performance.
Frequently Asked Questions
Will Different Flour Brands Change Usable Dough Capacity Significantly?
Yes — different flour brands can change usable dough capacity somewhat, because protein, absorption, and grind vary; you’ll notice volume and hydration shifts, so you’ll adjust flour amounts and water to keep dough manageable and avoid overfilling.
Can You Proof Dough Directly in the Mixer Bowl Overnight?
Yes—you can proof dough overnight in the mixer bowl if it’s lightly oiled, covered airtight, and kept at a cool room or fridge temperature; you’ll want to remove the hook beforehand and check rise to avoid overproofing.
How Does Altitude Affect Dough Hydration and Bowl Fill?
Higher altitude dries air, so you’ll use slightly more water for same dough feel, and fermentation speeds up so dough may expand faster—watch bowl fill and leave extra headspace, or reduce hydration/yeast to control rise.
Are There Safety Concerns When Using a Splash Guard or Shield?
Yes — you should. You’ll avoid splatters, but guards can trap fingers or get displaced by dough; always secure the guard, stop the mixer before adjusting or scraping, keep hands and tools clear, and follow manufacturer warnings.
Can a 20‑Quart Mixer Handle Laminated Dough (Croissant/Puff) Batches?
Yes, you can, but you shouldn’t overload it; a 20‑quart mixer handles laminated dough for small to medium batches if you use the paddle or dough hook gently, chill dough well, and mix briefly to avoid overworking.
Conclusion
You can reliably expect a 20‑quart mixer to handle about half to two‑thirds of its bowl volume in actual dough — typically 8–13 quarts worth, depending on hydration and mix type. Don’t fill the bowl to the rim: leave headroom for mixing and proofing, use the right hook, scale ingredients, and batch smartly. With attention to hydration and rest times, you’ll avoid strain on the motor and get consistent, well‑mixed dough every time.