
How Long to Mix Bread Dough in a Stand Mixer: Times for Kneading, Resting, and Perfect Texture
You’ll typically knead bread dough in a stand mixer for about 6–10 minutes on medium‑low (speed 2–3); whole‑grain or high‑hydration doughs need 8–12 minutes, and enriched or very stiff doughs may take a bit longer. Use a short autolyse (20–30 minutes) to reduce mixer time, watch for a smooth, elastic ball and a windowpane, and avoid overmixing. Keep dough temp near 75–78°F for best fermentation, and scroll on to learn timing, speeds, and fixes.
Quick Answer: Mixer Kneading Times at a Glance
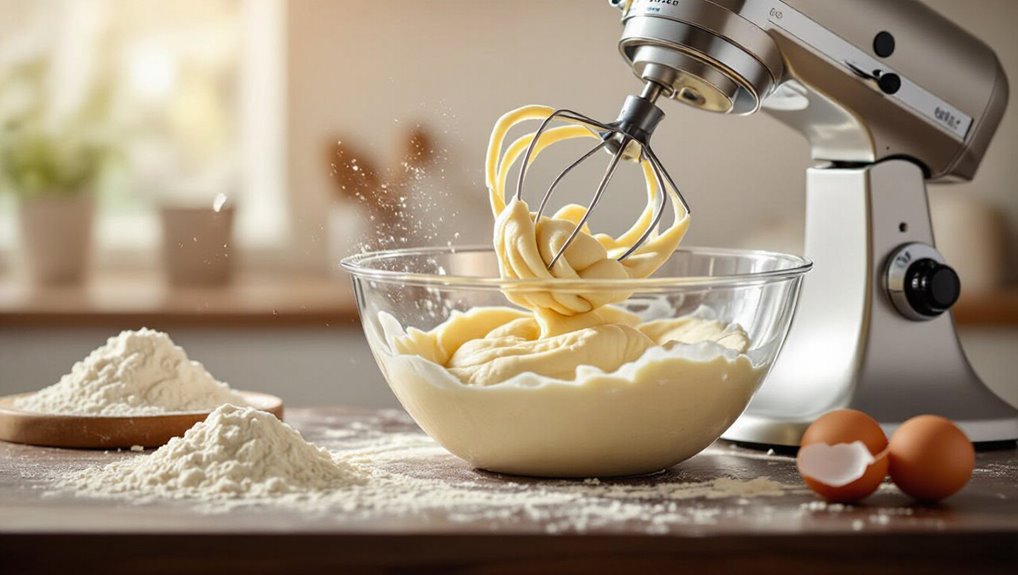
For most standard bread recipes, you’ll knead dough in a stand mixer for about 6–10 minutes on medium-low (speed 2–3), which is enough to develop gluten without overheating the dough;
heavier whole-grain or high-hydration doughs often need 8–12 minutes, while enriched or very stiff doughs can take slightly longer.
Watch for a smooth, elastic windowpane and slightly tacky feel to know it’s done.
How to Use This Guide (What to Read First)
Wondering where to start? Read the quick answer first, then plunge into step-by-step kneading times and mixer speed tips. Use the table to pick your focus.
| Section | Purpose | Read First |
|---|---|---|
| Quick Answer | Fast reference | Yes |
| Kneading Times | Details by dough | After quick |
| Resting & Texture | Finish tips | After kneading |
Why Timing Matters: Crumb, Rise, Crust
Because kneading time shapes gluten development, you’re directly influencing the bread’s crumb, how well it rises, and the crust it forms.
Knead too little and you’ll get dense, uneven crumb and weak rise; knead too long and the crumb becomes tight, dry, and chewy with a pale, stubborn crust.
Hitting the right timing yields open crumb, steady oven spring, and a crisp, golden crust.
How Stand Mixer Speed Affects Kneading
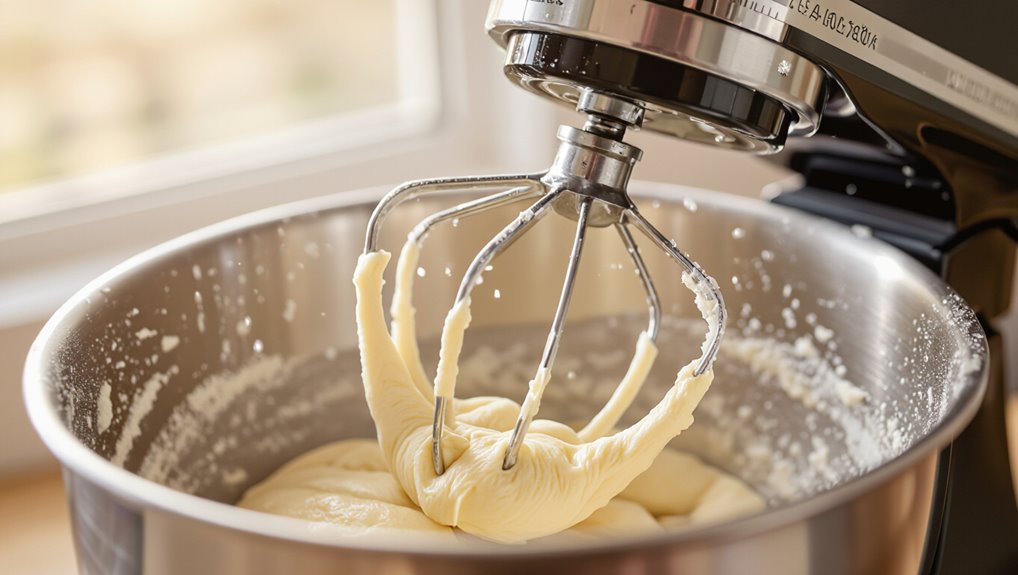
If you crank the mixer too high you’ll overwork the dough, but at very low speeds you won’t develop enough gluten—so choose speed with your dough’s hydration and mixer’s power in mind.
- Higher speed shortens kneading time.
- Too fast heats and tears gluten.
- Low speed needs longer mixing.
- Adjust for mixer torque and dough feel; stop when elastic and smooth.
Recommended Mixer Speeds by Dough Type
Now that you know how speed affects kneading, match speeds to the dough you’re making: use low (1–2) for sticky high-hydration batters and delicate brioche, medium (2–4) for standard lean breads like sandwich or baguette dough, and medium-high (4–6) for stiff, low-hydration doughs or those with lots of mix-ins—always watch dough feel and temperature and back off if it gets too warm or gashed.
| Dough Type | Speed | Feeling |
|---|---|---|
| High-hydration | 1–2 | Gentle, tacky |
| Brioche | 1–2 | Soft, stretchy |
| Lean breads | 2–4 | Smooth, elastic |
| Stiff/mix-ins | 4–6 | Firm, cohesive |
Prep for the Mixer: Hydration and Mixing Order
Before you turn on the mixer, check your recipe’s hydration ratio—higher hydration gives a looser, stickier dough and needs gentler handling.
Add ingredients in the right order: liquids and yeast first for even activation, then flour, salt, and any enrichments last.
Getting hydration and order right will cut mixing time and improve gluten development.
Hydration Ratios Explained
Because hydration controls dough feel and handling, you’ll want to understand baker’s percentages before you mix.
They tell you water weight relative to flour so you can predict stickiness, extensibility, and oven spring. Adjust hydration for flour type, climate, and loaf style.
- 55–60%: firm, easy shaping
- 60–65%: standard sandwich loaves
- 65–75%: open crumb, artisan
- 75%+: very slack, wet handling
Ingredient Addition Order
After you’ve settled on a hydration level, plan the order you add ingredients so the dough develops correctly and your mixer works efficiently.
Add water and yeast first, then most flour to form a shaggy mass.
Add salt and any enrichments (sugar, butter, eggs) after initial mixing to avoid inhibiting yeast.
Reserve slight flour adjustments while kneading for desired texture.
Autolyse and Rests: Shorten Mixer Time
Use an autolyse to let flour hydrate and enzymes start gluten development before the mixer runs.
You’ll notice higher hydration shortens required mixing because the dough becomes extensible faster.
Try short rests of 20–30 minutes between brief mixing bursts to cut overall mixer time without sacrificing structure.
Autolyse Benefits Explained
If you let flour and water sit together before kneading, you’ll activate enzymatic activity that begins gluten formation and improves hydration. This means your stand mixer won’t need to work as long or as hard to develop the dough.
- Shorter mixer time
- Better gluten strength
- Easier handling
- Improved crumb structure
Use 20–45 minutes for most recipes.
Hydration Impact On Mixing
When you increase dough hydration and give the flour a rest during an autolyse, the water lets proteins swell and enzymes work more efficiently, so your stand mixer needs less time and gentler speed to develop a strong, extensible gluten network. You’ll cut mixing minutes, use lower speed, and get better texture.
| Effect | Result |
|---|---|
| Hydration | Faster gluten formation |
| Autolyse | Reduced mixer time |
| Outcome | Improved extensibility |
Short Rest Techniques
Although a brief autolyse or strategic short rests won’t replace full kneading, they let you cut stand-mixer time by letting water and enzymes start gluten formation before you switch the motor on.
Use these short-rest tactics to save effort and preserve dough texture:
- Mix until shaggy, then autolyse 20–30 minutes.
- Perform 3–4 stretch-and-folds during rests.
- Reduce mixer kneading by 25–40%.
- Watch dough strength, not time.
How Flour Type Changes Mixing Time
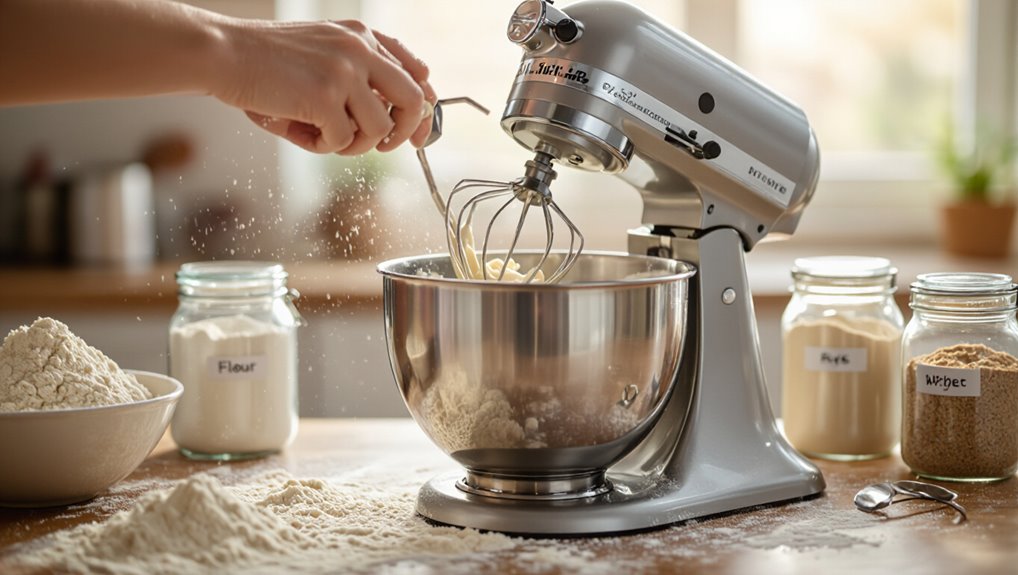
Because different flours have distinct protein levels and starch structures, they’ll demand different mixing times in your stand mixer.
High-protein bread flours need longer kneading to develop gluten and strength, while low-protein pastry or cake flours require gentler, shorter mixing to avoid tough crumbs.
Whole grain flours absorb more and benefit from extra time for hydration and gluten alignment.
How Hydration Percentage Changes Mixer Time
Flour choice affects how long you mix, and so does the dough’s hydration: higher hydration loosens the dough and speeds gluten formation, while low-hydration doughs feel stiff and take longer to align those gluten strands.
Flour and hydration change mixing time: wetter dough develops gluten faster, while stiff doughs need longer, gentler work.
- 50–55% hydration: firm, longer mixing.
- 60–65%: balanced, moderate time.
- 70%+: sticky, faster development but gentler handling.
- Adjust mixing by feel, not just minutes.
How Salt, Sugar, Fats, and Eggs Affect Gluten Timing
Salt tightens and strengthens gluten, so you’ll often need a bit more mixing to reach the same window if your recipe is well-salted.
Fats and eggs shorten and coat gluten strands, so you’ll mix longer or use more kneading intensity to build structure.
Sugar competes for water and slows gluten development, meaning sweeter doughs usually need extended mixing time.
Salt’s Impact On Gluten
When you add salt to dough, it tightens gluten strands and slows their formation, while sugar, fats, and eggs each interfere in different ways that change how long you should mix.
You should:
- Add salt after initial hydration for even distribution.
- Reduce mixing time slightly when salt is higher.
- Watch for firmer texture as gluten develops.
- Adjust water to compensate for tightening.
Fats, Sugar, And Eggs
Because fats, sugar, and eggs each interfere with protein bonding in different ways, you’ll need to tweak mixing time and technique to get the gluten structure you want.
Fat shortens and weakens gluten, so mix longer for strength but avoid overmixing.
Sugar competes for water, slowing development — allow extra time or hydration.
Eggs tighten and enrich; watch for a tacky, elastic dough.
Exact Times: Lean Doughs (Baguette, Sourdough-Style)
For lean doughs like baguette or sourdough-style loaves, plan on 6–10 minutes of mixing on medium-low in a stand mixer—just enough to develop a smooth, slightly tacky gluten network without overworking the dough.
- Start with 6 minutes, check windowpane.
- Increase to 8–10 minutes if needed.
- Stop when dough is elastic, not sticky.
- Rest 20–30 minutes for bulk fermentation.
Exact Times: Enriched Doughs (Brioche, Challah)
Although enriched doughs like brioche and challah need gentler handling than lean loaves, you’ll usually mix them longer to fully incorporate fats and sugar—expect about 8–15 minutes on medium-low in a stand mixer, starting at the lower end and extending until the dough is smooth, glossy, and elastic.
Stop when windowpane forms and dough springs back; avoid overheating or overmixing.
Exact Times: Whole-Grain and High-Fiber Doughs
With whole-grain or high-fiber flours, you’ll usually knead longer to fully develop the denser gluten network.
Expect to add a few extra minutes on the mixer and watch for a tacky but smooth windowpane rather than a strict time.
You may also need to increase hydration slightly, since whole grains absorb more water.
Longer Kneading Times
Whole-grain and high-fiber doughs need more kneading than white-flour dough because their coarser bran and higher bran-to-gluten ratio chop and weaken developing gluten; expect roughly 8–12 minutes on medium-low in a stand mixer where a white loaf often needs 5–7.
You’ll watch for elasticity, not time alone.
- Check windowpane.
- Feel tackiness.
- Note resistance.
- Rest if overworked.
Adjusted Hydration Needs
How much extra water should you expect to add for whole-grain and high-fiber doughs?
You’ll typically add 5–15% more hydration than white-flour recipes because bran and fiber soak up liquid.
Start at the lower end, mix, then rest for 10–20 minutes and reassess.
Add small increments until dough feels tacky but manageable—avoid overly slack dough that’s hard to shape.
Exact Times: High-Hydration Doughs (Ciabatta)
Because ciabatta dough is very wet and fragile, you’ll mix it more gently and for a shorter total time than a firm sandwich dough.
- Mix on low 3–4 minutes until shaggy and combined.
- Increase to medium-low 3–5 minutes for slight gluten development.
- Rest (autolyse/folds) 20–40 minutes with 2–3 stretch-and-folds.
- Final short mix 1–2 minutes before bulk ferment; avoid over-kneading.
Exact Times: Quick Breads and Minimal-Knead Sweet Doughs
When you’re working with quick breads or minimal-knead sweet doughs, they need only brief, gentle mixing—just enough to hydrate ingredients and bring the batter or shaggy dough together without developing strong gluten.
Use the mixer on low for 30–60 seconds for quick breads; for minimal-knead sweet doughs, mix 1–2 minutes until combined and smooth but still soft.
Stop as soon as ingredients are unified.
Mixer Bowl and Hook Choices: Which to Use
Though it might seem minor, choosing the right bowl and hook changes how efficiently your mixer develops dough and how easy cleanup will be.
You’ll pick based on dough type, capacity, and stickiness.
- Stainless steel bowl — durable, cools dough.
- Glass/ceramic — heavier, slower temperature change.
- Spiral hook — best for breads.
- C-hook — for delicate, low-gluten doughs.
Visual Cues: From Shaggy to Smooth
Texture matters: as your mixer runs you’ll see the dough change from a sticky, shaggy mass into a smoother, more elastic ball — and those changes tell you when to stop, slow, or continue mixing.
Watch for edges clearing the bowl, strands forming, reduced tackiness, and a cohesive surface that springs back slightly.
Pause and assess rather than overwork; aim for even, supple dough.
Windowpane Test: When and How to Use It
After you’ve seen the dough smooth out and pull into strands, use the windowpane test to check gluten development.
Gently stretch a small dough piece until thin and translucent; if it holds without tearing, it’s ready. If not, continue mixing and retest every few minutes.
- Pinch small piece
- Stretch slowly
- Look for translucence
- Retest as needed
Feel Cues: Tacky, Tack-Free, and Elastic Explained
When you touch dough during mixing, its feel tells you more than time on the mixer ever will: you’ll notice tacky (sticks slightly), tack-free (barely sticks), then elastic (springs back). Trust these cues to judge gluten development and hydration. Use the table below to compare sensations and actions.
| Cue | Feel | Action |
|---|---|---|
| Tacky | Slightly sticky | Continue mixing |
| Tack-free | Barely sticks | Rest or shape |
| Elastic | Springs back | Proceed with next step |
When to Stop the Mixer and Start Bulk Fermentation
Stop the mixer as soon as the dough feels elastic and holds a gentle stretch—this keeps gluten strong without overworking it—and transfer it to a lightly oiled bowl for bulk fermentation.
Stop mixing once the dough feels elastic and gently stretchy, then transfer to a lightly oiled bowl for bulk fermentation.
- Shield dough from drafts.
- Note starting time and temperature.
- Cover loosely to trap humidity.
- Check rise, not mixer timing, to judge readiness.
How Long to Rest After Mixing Before Shaping
After mixing, you’ll judge when to shape by factoring in bulk fermentation time and how the dough feels.
Check the dough temperature to confirm fermentation is on track and that gluten has relaxed.
Give the dough a short preshape resting period so it’s easier to handle before final shaping.
Bulk Fermentation Time
Because dough continues to ferment and develop structure while it rests, you should plan the bulk fermentation based on dough temperature, yeast amount, and desired crumb rather than a single fixed time.
You’ll watch volume, texture, and bubbles. Aim for flexibility:
- Increase time with cooler dough.
- Shorten when yeast is strong.
- Stop at jiggly, risen dough.
- Prefer underproof to overproof.
Dough Temperature Check
When you finish mixing, check the dough’s temperature with an instant-read thermometer so you know how long it’ll need to rest before shaping; aim for 75–78°F (24–26°C) for typical lean breads, and adjust rest time if the dough’s warmer or cooler.
If cooler, allow a slightly longer bench rest to relax gluten; if warmer, shorten rest to prevent over-proofing and stickiness.
Preshape Resting Period
Once the mixer stops, let the dough rest 15–30 minutes before you shape it so the gluten can relax and the crumb will be more open; shorter rests (15–20 minutes) suit well-kneaded, warm dough while cooler or under-developed dough benefits from the longer end of that range.
- Check tackiness.
- Look for smoother surface.
- Feel relaxed elasticity.
- Proceed to preshape gently.
When to Use Stretch-and-Folds Instead of More Mixer Time
Although a stand mixer can develop gluten quickly, you should switch to stretch-and-folds when the dough feels warm, tacky, and slightly slack but not fully elastic.
You’ll protect structure and gas retention by gently stretching and folding every 20–30 minutes during bulk fermentation.
Use 3–6 folds total, watching dough strength and windowpane clarity, then let it rest to finish gluten development.
Avoiding Overmixing: Signs and Fixes
Because overmixing tears gluten and overheats dough, you’ll want to recognize the signs early and correct course quickly.
Watch for pale, slack texture, sticky strands, and a gummy crumb. If you spot issues, stop mixing and let dough rest briefly.
- Pale, wet surface
- Lack of elasticity
- Excessive stickiness
- Warm dough
Rescuing Overmixed or Undermixed Dough
If your dough’s gone too far one way or the other, you can still bring it back to life with a few targeted moves.
For overmixed dough, rest 20–60 minutes to let gluten relax, then gently reshape; avoid further vigorous mixing.
For undermixed dough, knead briefly by hand or pulse in the mixer until smooth and slightly tacky.
Adjust hydration sparingly and proceed to bulk rise.
Timing Chart: Quick Reference for 10 Common Doughs
Now you’ll get a compact timing chart that lists 10 common doughs so you can see the dough type overview at a glance.
It shows recommended mixing and kneading times for each, plus typical rest and rise times so you can plan your bake.
Use it to match dough characteristics to the timing that works with your stand mixer and schedule.
Dough Type Overview
Think of this timing chart as your fast reference for how long different doughs need in a stand mixer—whether you’re aiming for a tender brioche, a chewy baguette, or a quick whole-wheat sandwich loaf.
You’ll see recommended mixing/rest ranges by dough type so you can adjust for hydration, enrichment, and flour strength.
- Enriched (brioche)
- Lean (baguette)
- Whole-grain
- High-hydration (ciabatta)
Mixing And Kneading
When you’re short on time, this quick-reference timing chart tells you how long to mix and knead ten common doughs in a stand mixer so you can get consistent gluten development without overworking the dough.
Use specified speeds: slow for initial hydrate, medium for development.
Follow times per dough—white, whole wheat, rye, sourdough, enriched, brioche, focaccia, ciabatta, pita, and bagel—to achieve proper texture and windowpane.
Rest And Rise Times
Although doughs vary, you should follow clear rest and rise windows so you get consistent oven spring and crumb; this chart gives target bulk fermentation, bench rest, and final proof times for ten common doughs at typical room temperatures so you can adjust for cooler or warmer conditions.
- White loaf: 60–90 / 10 / 45–60
- Whole wheat: 90–120 / 15 / 60–90
- Sourdough: 180–300 / 20 / 60–120
- Enriched: 60–90 / 15 / 45–60
Practical Mixing Checklist: Step-by-Step Workflow
Before you start the mixer, gather ingredients, tools, and a clear timeline so you can move steadily through each stage; this checklist keeps you from scrambling mid-batch.
Measure flour, water, yeast, salt. Attach dough hook, set bowl, and pre-weigh add-ins.
Start on low speed, increase as dough comes together, note when it clears the bowl.
Stop, rest, and perform final shaping.
How to Measure Progress: Timers Plus Sensory Checks
If you want consistent results, pair a reliable timer with quick sensory checks so you don’t over- or under-mix.
Use timed intervals, then assess dough by feel and look.
- 5–8 minutes: shaggy to cohesive
- 8–12 minutes: smooth, slightly tacky
- Windowpane test: thin, translucent
- Bounce-back: gentle poke springs back slowly
How Mixing Time Affects Fermentation and Proofing Schedule
Because mixing develops gluten and redistributes yeast and sugars, how long you mix dough directly changes how fast it ferments and how long you’ll proof it.
Mix less for slower, more uneven fermentation and extended proofing; mix more for faster, more consistent gas production and shorter proof times.
Adjust proof length based on rise rate and dough strength rather than fixed minutes.
Adjusting Times for Altitude and Temperature
When you bake at high altitude or on a hot day, dough ferments and proofs faster, so shorten mixing and proofing times to prevent overproofing; at low altitude or in cool conditions, slow things down by reducing mix speed, chilling the dough, or extending proofing.
- Cut bulk rise by 10–25% in heat or altitude.
- Lower mixer speed slightly.
- Chill dough 15–30 minutes if needed.
- Extend proofing 10–30% in cool conditions.
Tool-Free Alternatives: Hand-Kneading Times and Trade-Offs
High-altitude or hot-day adjustments help protect gluten development and fermentation, but you might prefer to skip the stand mixer altogether and knead by hand.
You’ll spend 10–20 minutes of rhythmic folding and pressing to reach windowpane strength. Hand-kneading gives tactile feedback, lets you adjust hydration instantly, and tires you more—so plan short rests and accept slightly less uniform crumb than machine-kneaded loaves.
Troubleshooting: Dense Crumb, Weak Rise, Gummy Interior
If your loaf comes out dense, flat, or with a gummy interior, start by checking three core stages: mixing/kneading, fermentation, and baking.
- Undermixed dough lacks gluten; knead until smooth and windowpane forms.
- Overproofing or underproofing kills oven spring; watch rise times and dough feel.
- Too much hydration yields a gummy crumb; adjust water or flour.
- Oven temperature or baking time may be off; use an oven thermometer.
Common Mixer-Timing Mistakes Bakers Make
Fixing mixing, proofing, and hydration issues is only half the battle; the other half is timing the mixer properly.
You often under-knead, expecting faster gluten development; over-knead, chasing windowpane perfection; or ignore speed changes for different doughs.
You also rely on timers alone instead of feel, skip rest periods, and misread hydration—each mistake ruins structure and oven spring.
Cleaning and Maintaining Your Stand Mixer After Dough Work
Once you’re done mixing, wipe out the bowl promptly and wash it with warm, soapy water to prevent dough from hardening.
Remove and soak attachments like the dough hook, then scrub any crevices and dry them thoroughly to stop rust.
Finally, check the mixer head and crevices for stray flour or dough and wipe them clean before storing.
Cleaning The Bowl
After you’ve scraped out the last of the dough, rinse the bowl right away to prevent dried-on residue from sticking.
Wash with warm, soapy water, using a soft sponge to avoid scratches. Rinse thoroughly, dry immediately to prevent water spots, and store inverted.
- Rinse
- Soap gently
- Dry promptly
- Store inverted
Caring For Attachments
1. Remove attachments promptly, rinse dough away, and soak in warm soapy water.
Use a brush to get into crevices, then dry thoroughly to prevent rust. For stubborn bits, run them through the dishwasher if dishwasher-safe; otherwise hand-wash.
Wipe the mixer head and hub with a damp cloth, dry, and periodically lubricate moving parts per the manual to keep everything working smoothly.
Quick Tips to Consistently Get the Texture You Want
A few simple tweaks will help you hit the texture you want every time: monitor dough temperature, watch for visual and tactile cues instead of relying solely on time, and adjust speed or rest periods to compensate for flour type and humidity.
- Use the windowpane test regularly.
- Keep dough temp near 75°F (24°C).
- Adjust mixing speed gradually.
- Rest longer with whole grains or high hydration.
Frequently Asked Questions
Can I Mix Two Different Flours Together Without Adjusting Time?
Yes—you can mix two flours without changing time sometimes, but you’ll often need to adjust kneading because protein and absorption differ; watch dough feel, hydration, and elasticity, and extend or shorten kneading as needed.
Will Dough Temperature Affect Mixer Time Recommendations?
Yes — dough temperature changes how long you’ll mix. Warmer dough speeds gluten development so you’ll need slightly less mixer time; colder dough slows it, so you’ll mix longer. Adjust by feel and windowpane tests.
How Does Yeast Type (Instant vs. Active Dry) Change Mixing Needs?
Instant yeast lets you mix and proof slightly faster because it activates quicker; you’ll add it straight to flour. Active dry needs rehydration, so you’ll proof it first and may mix a bit longer for even incorporation.
Can I Scale Recipes up or Down Without Changing Kneading Time?
Yes — you can scale recipes up or down without changing kneading time much, as long as dough develops gluten similarly; you’ll monitor texture and windowpane, adjust speed gently, and occasionally extend time for very large batches.
Are There Safety Tips for Mixing Very Sticky or High-Hydration Dough?
Yes — you should. Use a dough hook, start low speed, avoid overfilling, stop and scrape frequently, oil hands and bowl, wet or flour hands to handle sticky dough, and unplug before adjusting or removing attachments.
Conclusion
You’ll get consistent, delicious loaves when you match kneading time and speed to your dough: longer, slower kneads for rich, heavy mixes; shorter, brisker work for lean breads. Watch the windowpane test, feel for a smooth, slightly tacky dough, and let proper resting and proofing do their jobs. Adjust based on flour, hydration, and mixer power, and clean your machine afterward. With practice, you’ll nail texture and rise every time.


