
Can I build an outdoor kitchen myself? Yes, you absolutely can build your own outdoor kitchen! With careful planning and some elbow grease, a DIY outdoor kitchen is achievable for many homeowners. This guide will walk you through the entire process, from initial design to the final touches, helping you create your dream backyard culinary space.
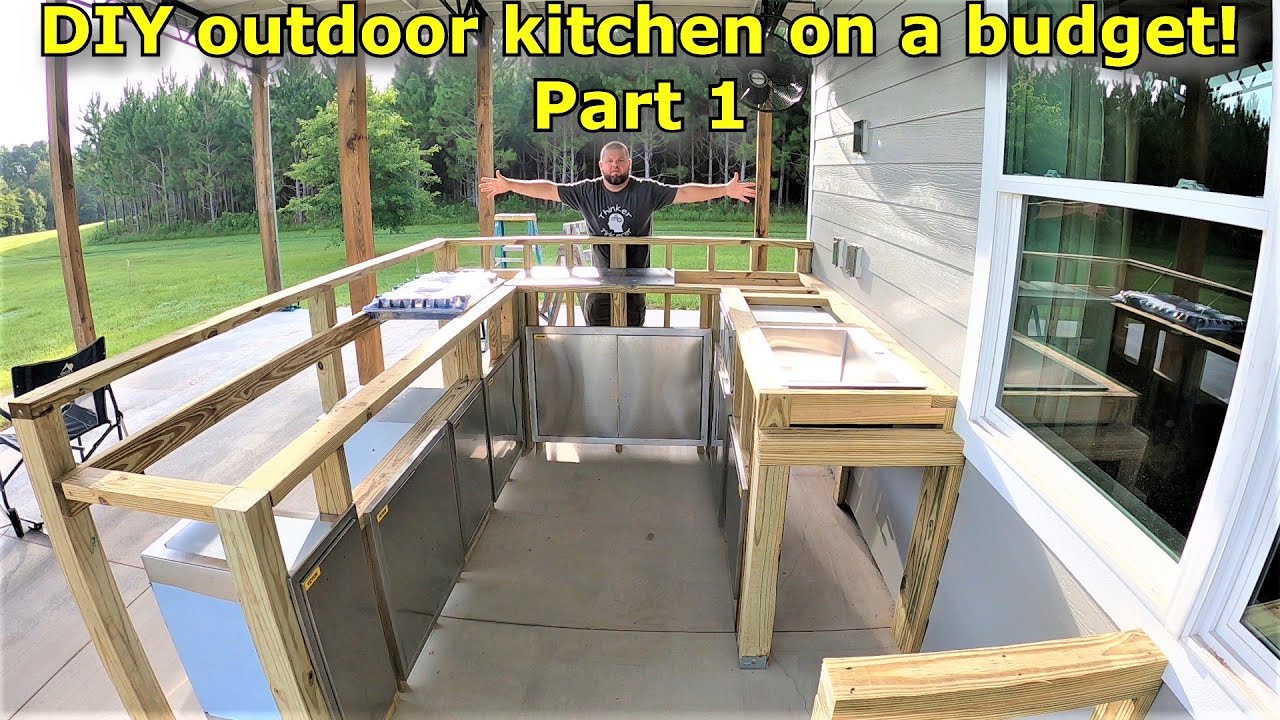
Image Source: i.ytimg.com
Dreaming Up Your Backyard Kitchen: Design and Planning
The first step in building your DIY outdoor kitchen is outdoor kitchen design. This is where your vision takes shape. Think about how you want to use your outdoor kitchen. Will it be for casual weeknight grilling, or elaborate dinner parties? Your answers will shape everything, from the outdoor kitchen layout to the specific outdoor kitchen appliances you choose.
Defining Your Vision and Needs
Before you pick up a hammer, grab a notebook and pen. Start by asking yourself key questions:
- What is your primary use? Grilling, entertaining, pizza-making, or a full-service cooking area?
- Who will be using it? A couple, a family with kids, or frequent entertainers?
- What is your budget? Be realistic about costs for materials, appliances, and potential hired help for specific tasks.
- What is your climate like? This will dictate your choice of outdoor countertop materials and overall construction.
- What are your local building codes and HOA rules? Always check these before you start.
Essential Components of an Outdoor Kitchen
A well-equipped outdoor kitchen typically includes several key elements. Here’s a breakdown of common features:
- Grilling Station: The heart of most outdoor kitchens. A built-in grill is a popular choice for a seamless look.
- Countertop Space: Crucial for prep work, serving, and placing platters.
- Storage: Cabinets and drawers to keep utensils, cleaning supplies, and propane tanks organized.
- Sink: A major convenience for washing hands, produce, and dishes.
- Refrigerator: A compact outdoor-rated refrigerator keeps drinks and ingredients cool.
- Seating/Dining Area: Places for guests to relax and enjoy the food.
- Lighting: For evening use and ambiance.
- Shelter: An optional roof or pergola can provide shade and protection from light rain.
Crafting Your Outdoor Kitchen Layout
The outdoor kitchen layout is critical for functionality and flow. Think of it like a chef’s kitchen on a smaller scale. The most efficient layouts often follow a work triangle, with the grill, sink, and refrigerator forming the points.
Here are some common patio kitchen ideas and layout strategies:
- The Linear Layout: Ideal for smaller spaces, with all components in a straight line along a wall or railing.
- The L-Shaped Layout: Offers more counter space and a natural division between cooking and entertaining zones.
- The U-Shaped Layout: Provides ample workspace and a more enclosed feel, great for larger gatherings.
- The Island Layout: A freestanding structure that can be placed in the center of a patio, offering maximum flexibility and serving space.
Table 1: Common Outdoor Kitchen Layouts
| Layout Type | Best For | Pros | Cons |
|---|---|---|---|
| Linear | Small spaces, balconies | Efficient use of wall space | Limited workspace, can feel cramped |
| L-Shaped | Medium to large patios | Good workspace, defines zones | Requires more floor space than linear |
| U-Shaped | Large patios, entertaining | Ample workspace, great for social interaction | Needs significant space, can feel enclosed |
| Island | Large open spaces | Flexible placement, central hub | Can obstruct traffic flow if not well-placed |
When planning your layout, consider:
- Proximity to the House: How far will you need to carry food and supplies?
- Traffic Flow: Ensure there’s enough room to move around easily, especially when entertaining.
- Utility Access: Where will you connect gas, water, and electricity?
- Wind Direction: Position your grill so smoke isn’t blowing into your seating area or house.
Building the Foundation: Structure and Materials
With your design in hand, it’s time to think about the backbone of your outdoor kitchen: its structure and the materials you’ll use. This is where backyard kitchen construction begins in earnest. Durability and weather resistance are paramount.
Choosing Your Base Structure
The most common and durable base for an outdoor kitchen is a sturdy frame, typically built from concrete blocks, wood, or metal studs.
- Concrete Blocks (CMU): Excellent for creating solid, permanent structures. They are fire-resistant and incredibly durable. You’ll need mortar to assemble them and can then clad them with various materials.
- Wood Framing: A more traditional framing method. Use pressure-treated lumber rated for ground contact. You’ll need to protect the wood from moisture with sheathing and appropriate cladding. Ensure it’s properly anchored.
- Steel Framing: Lightweight and strong, steel studs offer a good alternative to wood, especially in areas prone to pests. They also require proper anchoring and sheathing.
Selecting Your Outdoor Countertop Materials
Your outdoor countertop materials need to withstand sun, rain, heat, and cold. Durability, aesthetics, and maintenance are key factors.
Here are popular choices:
- Granite: Naturally beautiful, very durable, and heat-resistant. It needs to be sealed regularly to prevent staining.
- Quartz: A composite material made from natural quartz crystals and resin. It’s non-porous, stain-resistant, and low-maintenance. However, some quartz can fade in direct sunlight. Look for outdoor-specific formulations.
- Concrete: Highly customizable in terms of color and finish. It’s durable and can be cast on-site. Concrete countertops can be prone to staining if not sealed properly and may develop hairline cracks over time.
- Tile: Porcelain and ceramic tiles are durable and come in many styles. Ensure the grout is also weather-resistant.
- Stainless Steel: Extremely durable, hygienic, and heat-resistant. It has a modern, industrial look but can show scratches and fingerprints.
Table 2: Outdoor Countertop Material Comparison
| Material | Durability | Heat Resistance | Stain Resistance | Maintenance | Cost (Estimate) |
|---|---|---|---|---|---|
| Granite | High | Very High | Medium | Sealing | $$$ |
| Quartz | High | High | High | Low | $$$$ |
| Concrete | Medium-High | Very High | Medium | Sealing | $$ |
| Porcelain Tile | High | High | High | Grout care | $$ |
| Stainless Steel | Very High | Very High | Very High | Cleaning | $$$ |
Cladding Your Structure
Once your base frame is built, you’ll want to clad it to give it its finished look and protect the underlying structure.
- Stone Veneer: Natural or manufactured stone offers a classic, high-end look. It’s durable and adds significant visual appeal.
- Brick Veneer: Similar to stone, brick provides a timeless and durable finish.
- Stucco: A versatile option that can be painted to match your home’s exterior. It requires a good base and proper application to prevent cracking.
- Wood Paneling: Less common for structural cladding but can be used for decorative accents. It must be properly sealed and maintained.
Incorporating Essential Features and Appliances
Now for the exciting part – adding the functionality! This involves selecting and installing your outdoor kitchen appliances and other key features.
The Built-In Grill: The Centerpiece
Your built-in grill is likely the most significant investment. Choose a grill that suits your cooking style and the size of your gatherings.
- Fuel Type: Propane (easier to install, portable tanks), Natural Gas (convenient, no tanks to refill, requires gas line).
- Size: Measured by cooking area square inches.
- Features: Side burners, rotisseries, infrared burners, warming racks.
- Material: Stainless steel is the most common and durable.
Installation Note: Ensure your grill is installed according to manufacturer instructions and local codes, especially concerning gas lines and ventilation.
Adding a Sink and Faucet
An outdoor sink dramatically improves convenience.
- Sink Types: Undermount, drop-in. Stainless steel is the most practical material.
- Faucet Styles: Look for outdoor-rated faucets with durable finishes like brushed nickel or stainless steel.
- Plumbing: You’ll need hot and cold water lines run to the sink. Consider a water heater if you want hot water. Greywater disposal systems might be required by local regulations.
Refrigeration and Other Appliances
- Outdoor Refrigerator: Essential for keeping drinks and ingredients chilled. Choose an appliance specifically designed for outdoor use, as they are built to withstand temperature fluctuations and moisture.
- Side Burner: Great for simmering sauces or boiling water while grilling.
- Pizza Oven: A popular addition for those who love Neapolitan-style pizzas.
- Warming Drawer: Keeps food warm before serving.
Storage Solutions
Smart storage is key to a functional outdoor kitchen.
- Outdoor Cabinets: Made from weather-resistant materials like stainless steel, marine-grade polymer, or treated wood. They keep your tools and supplies protected from the elements.
- Drawers: For utensils, linens, and grilling tools.
- Propane Tank Storage: Secure and well-ventilated enclosures for propane tanks.
Ventilation and Lighting: Safety and Ambiance
Proper outdoor kitchen ventilation and lighting are crucial for safety and usability.
Ventilation Considerations
Good ventilation is essential for dissipating smoke, grease, and heat from your grill and cooking area.
- Range Hood: For enclosed outdoor kitchens or those with a roof, an outdoor-rated range hood is recommended. Ensure it’s powerful enough for the heat output of your grill.
- Open-Air Design: If your kitchen is largely open, natural airflow can be sufficient, but strategic placement away from seating is still important.
- Gas Grill Safety: Always ensure your gas grill has adequate clearance and is used in a well-ventilated area.
Lighting Your Outdoor Space
Effective lighting enhances both safety and ambiance.
- Task Lighting: Over the grill and prep areas to ensure visibility while cooking. Consider LED strip lights or spotlights.
- Ambient Lighting: String lights, lanterns, or wall sconces to create a warm and inviting atmosphere.
- Safety Lighting: Along pathways or steps leading to the kitchen.
- Dimmer Switches: Allow you to control the mood.
Finishing Touches and Furnishings
The structural elements are in place, and the appliances are installed. Now it’s time to add the final touches that make your outdoor kitchen truly yours. This includes selecting weatherproof outdoor furniture and decorative elements.
Selecting Weatherproof Outdoor Furniture
Your furniture needs to withstand the elements while providing comfort and style.
- Materials: Teak, cedar, powder-coated aluminum, wicker (made from synthetic resins), and high-quality plastic are excellent choices.
- Cushions: Look for outdoor-specific fabrics like Sunbrella, which are resistant to fading, mold, and mildew.
- Types of Furniture: Dining sets, bar stools, lounge chairs, and side tables.
Decor and Accessories
- Serving Trays and Utensils: Store them in your outdoor cabinets.
- Outdoor Rugs: Add color and comfort underfoot.
- Plants and Greenery: Bring life and a natural feel to the space.
- Outdoor Sound System: For entertaining.
Frequently Asked Questions About DIY Outdoor Kitchens
Here are some common questions people have when embarking on a DIY outdoor kitchen project:
Q1: How much does a DIY outdoor kitchen typically cost?
A1: The cost can vary wildly, from a few thousand dollars for a basic grill station to tens of thousands for a fully equipped luxury kitchen. Factors include appliance choices, materials, size, and whether you hire any professionals. A DIY approach can save 30-50% compared to hiring a contractor.
Q2: What are the most important things to consider for durability?
A2: Choose weather-resistant materials for your structure, countertops, cabinets, and appliances. Ensure proper drainage to prevent water damage. Seal concrete and natural stone regularly. Protect wood from moisture.
Q3: Do I need a permit to build an outdoor kitchen?
A3: This depends entirely on your local building codes and the scope of your project. It’s always best to check with your local municipality. Larger projects involving gas lines, electricity, or permanent structures often require permits.
Q4: How do I handle utilities like gas and electricity safely?
A4: If you are not experienced with plumbing or electrical work, it is highly recommended to hire licensed professionals for these tasks. Improper installation can be dangerous and can lead to significant problems.
Q5: What is the best location for an outdoor kitchen?
A5: Consider proximity to your house, prevailing winds, sunlight exposure, and access to utilities. Ideally, place it in a spot that’s convenient for serving but also allows for comfortable entertaining without smoke or noise disturbing indoor living spaces.
Q6: Can I build an outdoor kitchen on a wooden deck?
A6: While possible, it requires careful consideration. You must ensure the deck can support the weight of the structure and appliances. Fire-resistant barriers are essential between the grill and the wooden deck. Many people prefer to build on a concrete pad or patio for greater safety and stability.
Q7: What are the essential outdoor kitchen appliances for a beginner?
A7: For a beginner, a good quality built-in grill is the most important. A small outdoor-rated refrigerator and adequate outdoor countertop materials for prep work are also highly recommended. You can add more as your needs and budget grow.
Q8: How important is outdoor kitchen ventilation?
A8: It’s very important for safety and comfort. Good ventilation prevents smoke and grease buildup, improving air quality and reducing fire hazards, especially if you have a roof or enclosure.
By following these steps, you can transform your backyard into a functional and enjoyable outdoor kitchen, perfect for entertaining and al fresco dining. Happy building!