
Can you build a kitchen island yourself? Yes, you absolutely can build a kitchen island yourself! This guide will walk you through how to make a kitchen island, transforming your kitchen with a functional and stylish centerpiece. Whether you’re looking for a DIY kitchen island project to tackle this weekend or a more involved build to create a custom kitchen island, we’ve got you covered. Let’s dive into the exciting world of building your own kitchen island!
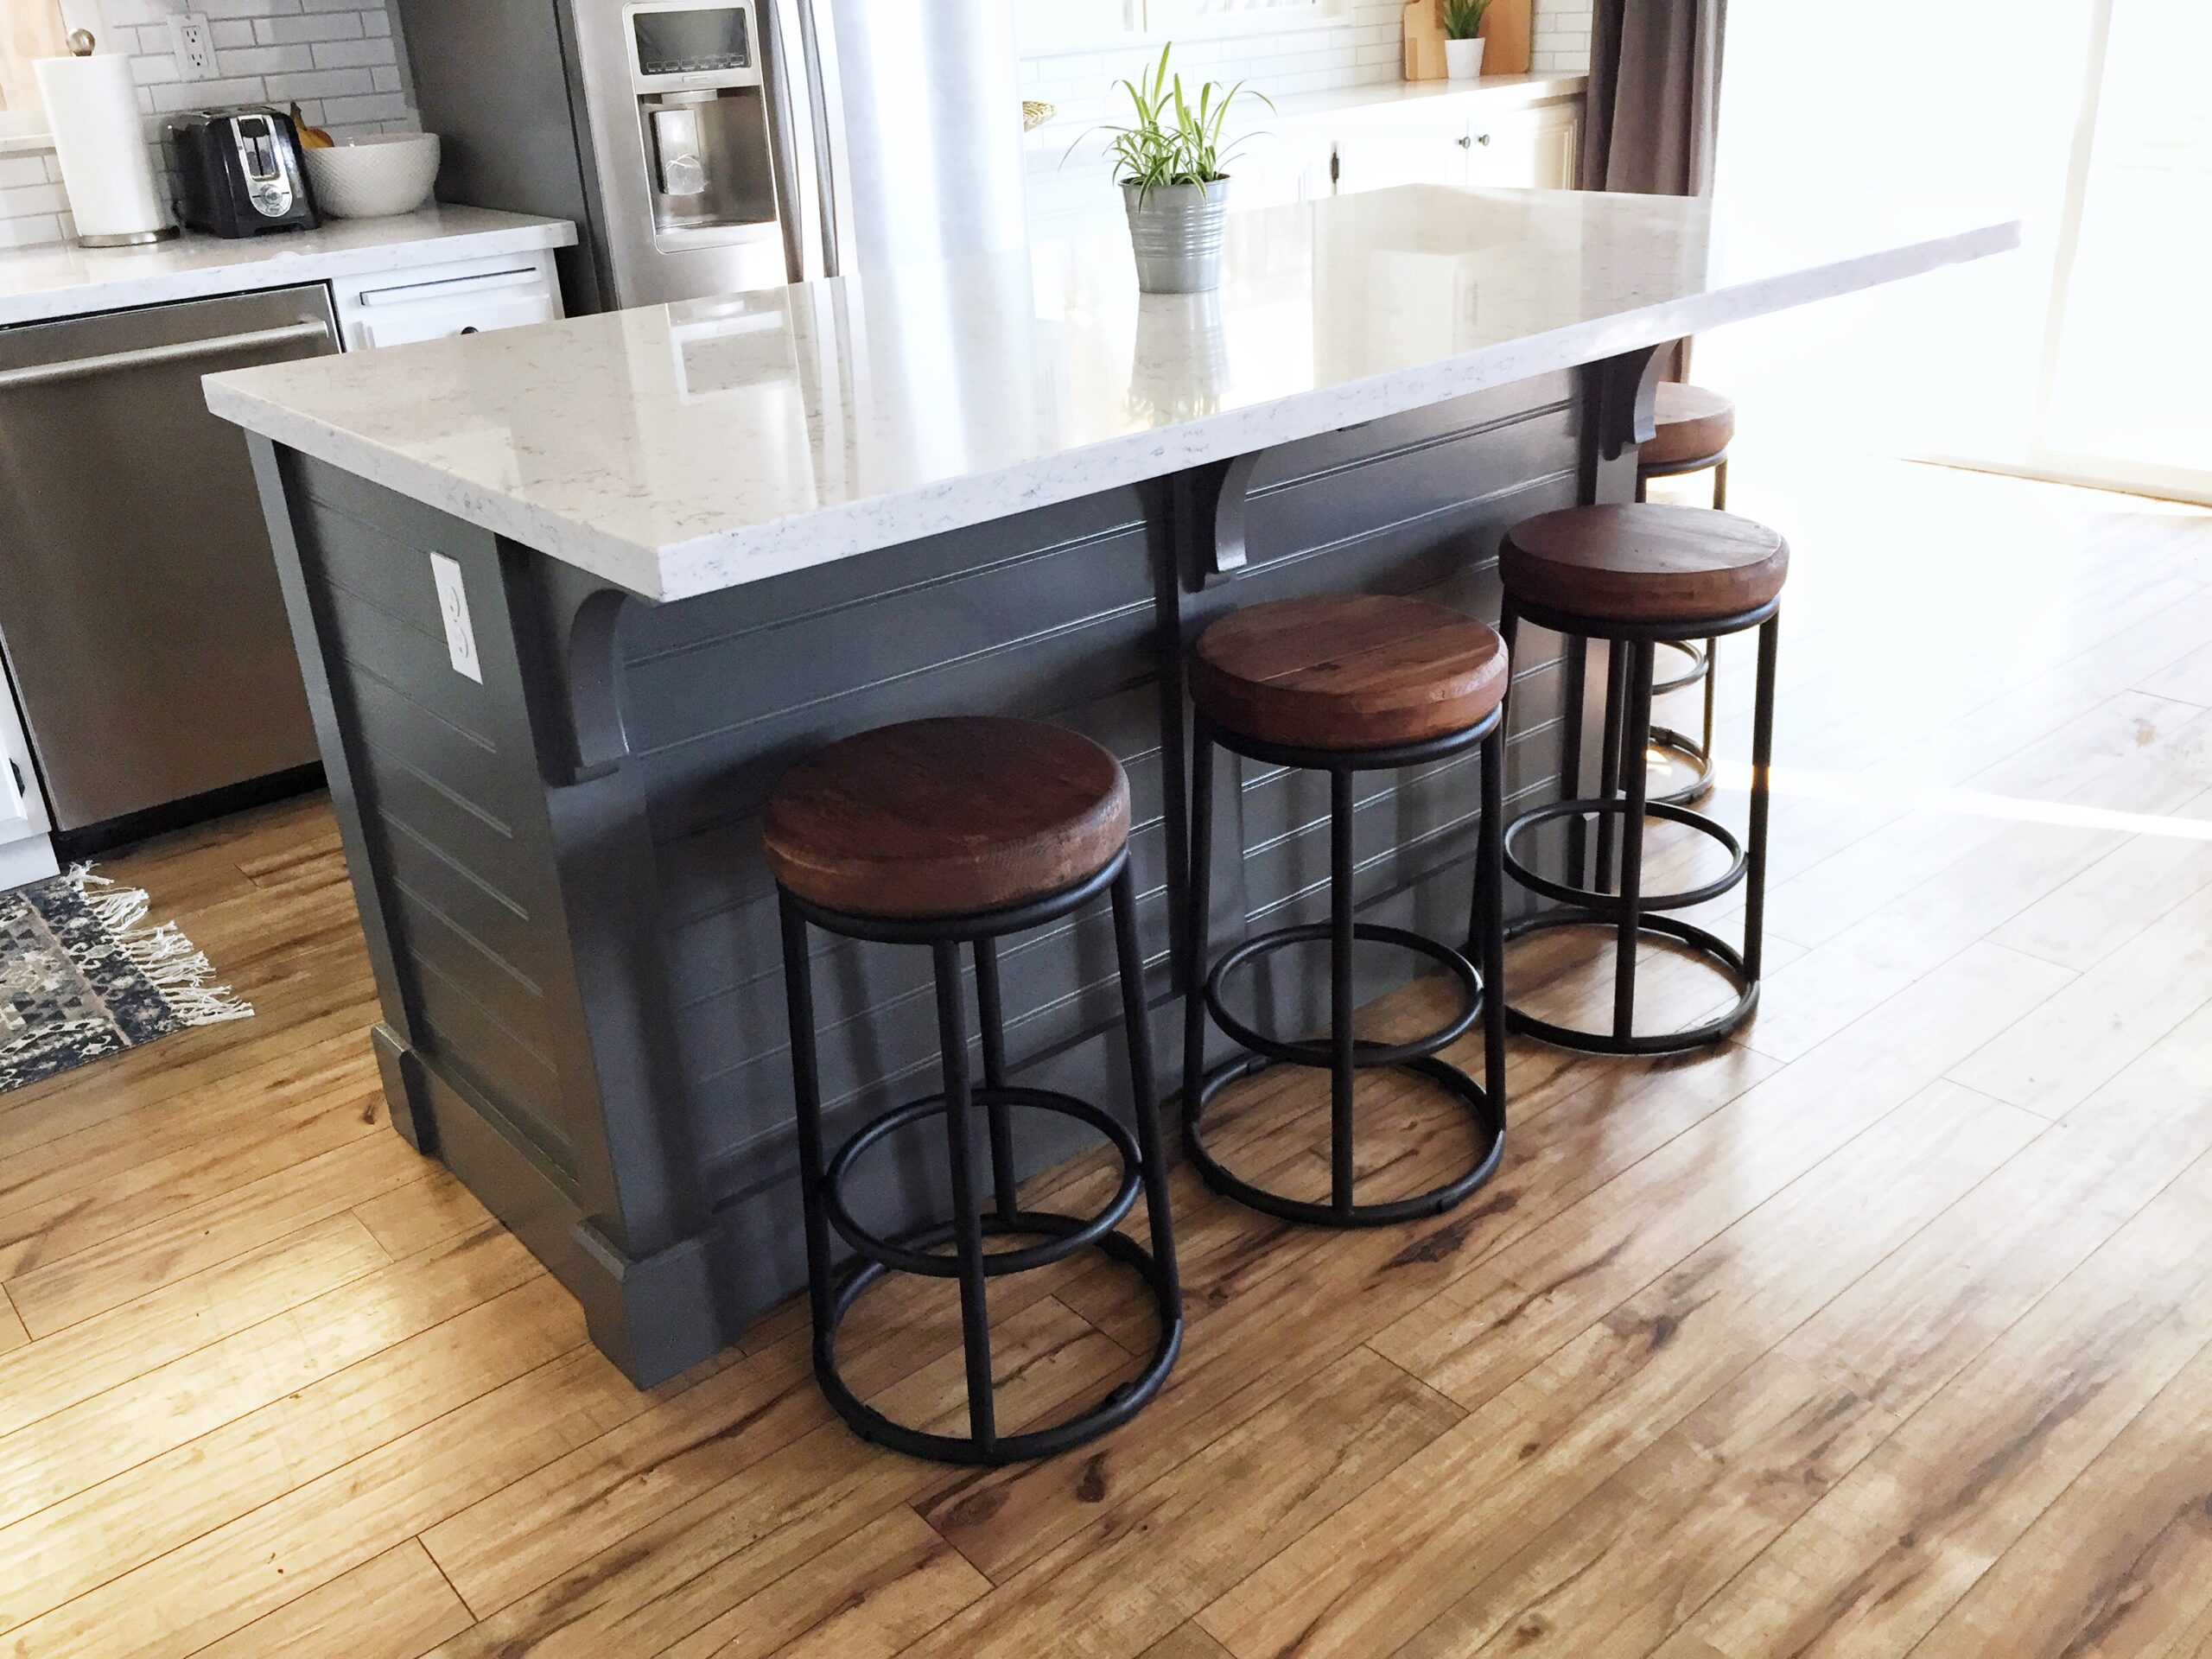
Image Source: domesticblonde.com
Planning Your DIY Kitchen Island
Before you even pick up a hammer, good planning is key to a successful DIY kitchen island. This is where your kitchen island design really comes to life. Think about what you want your island to do for your kitchen.
Determining Your Needs and Style
- Functionality: What will you use it for most? Food prep, extra dining space, storage, or a bit of everything?
- Size and Shape: Measure your kitchen space carefully. Consider traffic flow around the island. A common mistake is making it too big or too small.
- Height: Standard countertop height is around 36 inches. If you plan for seating, you might want a counter-height island (36 inches) or a bar-height island (40-42 inches).
- Style: Do you want a modern, rustic, farmhouse, or traditional look? This will influence your material choices and design elements.
- Mobility: Do you need a freestanding kitchen island that can be moved, or a more permanent fixture? A portable kitchen island is a great option if you have a smaller kitchen or like to rearrange your space.
Essential Kitchen Island Plans
Having a solid set of kitchen island plans is crucial. You can find many free or paid plans online, or you can draw your own if you’re comfortable with sketching.
- Sketching Your Design: Start with a simple drawing. Think about the basic box shape, where legs or cabinets will go, and if you’ll have a countertop overhang for seating.
- Choosing a Style:
- Cabinet Base: This offers lots of kitchen island storage. You can use pre-made cabinets or build your own.
- Table Style: Simpler to build, often with legs and a solid top. Great for a freestanding kitchen island.
- Butcher Block Island: This is a popular choice, giving you a durable and attractive work surface. A butcher block island adds warmth and character.
- Considering Additional Features:
- Kitchen Island with Seating: Plan for an overhang on one side to tuck in stools.
- Kitchen Island Storage: Think about drawers, shelves, or even a trash can pull-out.
- Downdraft Ventilation: If you plan to install a cooktop, you’ll need to factor in ventilation.
Material Selection
The materials you choose will impact the look, durability, and cost of your DIY kitchen island.
- Wood: Plywood, pine, oak, maple are common choices. Pine is affordable but softer. Oak and maple are harder and more durable.
- Countertop Material:
- Butcher Block: Excellent for prep work. Requires sealing and regular maintenance.
- Laminate: Budget-friendly and comes in many styles.
- Granite/Quartz: Durable and beautiful but more expensive and heavier.
- Concrete: Modern and durable, but can be DIY-friendly with kits.
- Hardware: Hinges, drawer slides, handles, and knobs.
Building the Base of Your Kitchen Island
This is where the build a kitchen island process really starts taking shape. We’ll focus on a common cabinet-style base, which provides excellent kitchen island storage.
Step 1: Constructing the Cabinet Boxes
You can buy pre-made cabinet boxes or build your own. Building your own offers more flexibility for a custom kitchen island.
- Materials:
- 3/4-inch plywood (for cabinet sides, top, bottom, and back)
- 1/4-inch plywood or hardboard (for cabinet backs)
- Wood screws (1 1/4-inch and 2-inch)
- Wood glue
- Pocket hole jig and screws (optional but recommended for strong joints)
-
Cutting the Plywood:
- Carefully measure and cut your plywood according to your kitchen island plans. If you don’t have a table saw, many home improvement stores will cut plywood for you.
- Example Dimensions (adjust as needed):
| Component | Length (inches) | Width (inches) | Thickness (inches) |
| :———– | :————– | :————- | :—————– |
| Side Panels | 34 | 23 | 3/4 |
| Top/Bottom | 22 1/4 | 23 | 3/4 |
| Back Panel | 34 | 22 1/4 | 3/4 |
| Shelf (if any)| 21 1/2 | 22 1/4 | 3/4 |
-
Assembly:
- Apply wood glue to the edges of the side panels.
- Attach the bottom panel to the side panels using wood screws. Pre-drilling pilot holes will prevent the wood from splitting.
- Attach the top panel in the same way.
- If using pocket holes, drill pocket holes on the edges of the panels that will attach to others. This creates strong, hidden joints.
- Slide the back panel into grooves (if you cut them) or attach it with glue and screws. Ensure the box is square before attaching the back.
Step 2: Adding Internal Supports and Shelves
For a sturdy DIY kitchen island, internal supports are essential, especially if you’re adding a heavy countertop like granite or a thick butcher block island.
- Cleats for Shelves: Cut strips of wood (e.g., 1×2 or 3/4-inch plywood) to act as shelf supports. Glue and screw these cleats inside the cabinet box at your desired shelf heights.
- Installing Shelves: Slide your cut shelves onto the cleats. You can secure them with a few screws from the cleat into the shelf.
- Drawer Slides (if adding drawers): Follow the manufacturer’s instructions to install drawer slides onto the cabinet sides and the drawer boxes themselves.
Step 3: Creating the Outer Frame and Base
This step adds structure and a finished look to your DIY kitchen island.
- Face Frame: For a cabinet look, create a face frame. This is typically made from 1×2 or 1×3 lumber.
- Measure the front opening of your cabinet box.
- Cut pieces of lumber to fit around the opening. You can create a flush face frame or one that slightly overlaps the cabinet.
- Glue and screw the face frame pieces together, and then attach the assembled face frame to the front of your cabinet box. Pocket holes are great here too.
- Toe Kick: A toe kick is a recessed area at the bottom of the island, making it more comfortable to stand at.
- Cut pieces of 1×4 or 1×6 lumber for the toe kick.
- Attach these pieces to the front and sides of the base, creating a slight recess.
- Legs or Base (Optional): If you’re building a table-style island or want a different look, attach legs or a decorative base according to your kitchen island plans.
Adding the Countertop
The countertop is often the focal point of your DIY kitchen island. For a butcher block island, this is a particularly satisfying step.
Preparing the Countertop
- Butcher Block: If you bought a pre-made butcher block, it might need sanding and sealing. Use a food-safe mineral oil or a polyurethane finish. Apply multiple coats, letting each dry thoroughly.
- Plywood Countertop: You can create a thick plywood countertop by laminating several layers together or by building a frame and attaching a solid piece on top. Edge banding can give plywood a more finished look.
- Other Materials: Follow the manufacturer’s instructions for laminate, granite, or quartz. These often require professional templating and installation for a perfect fit.
Attaching the Countertop
This is a critical step for stability, especially for a freestanding kitchen island.
- Securing from Below: The most common and secure method is to attach the countertop from underneath.
- Flip the cabinet base upside down on a protected surface.
- Position the countertop on top, ensuring it overhangs evenly on all sides as per your kitchen island design.
- From inside the cabinet box, screw upwards into the underside of the countertop. Use screws that are long enough to penetrate the countertop but not so long that they go all the way through.
- Countertop Brackets: For heavier countertops or if you can’t access from below, use sturdy countertop brackets installed on the inside of the cabinet frame.
- Adhesive: For some materials, construction adhesive can be used in conjunction with screws for extra security.
Finishing Touches for Your Custom Kitchen Island
The finishing touches elevate your DIY kitchen island from functional to fabulous. This is where your custom kitchen island truly shines.
Sanding and Priming
- Sanding: Once the base is assembled and the countertop is attached, give the entire structure a good sanding. Start with a medium-grit sandpaper (e.g., 120-grit) and finish with a fine-grit (e.g., 220-grit) for a smooth surface.
- Cleaning: Wipe down the entire island with a damp cloth to remove all dust.
- Priming: Apply a coat or two of good quality primer. This will help your paint adhere better and provide a more even finish.
Painting or Staining
- Painting: Apply your chosen paint color. Two coats are usually sufficient. Use a good quality paint brush or a paint sprayer for a professional finish. Consider a durable enamel paint for high-traffic areas.
- Staining: If you’re working with natural wood, staining can enhance its grain. Apply stain evenly with a brush or cloth, and wipe off the excess. Follow up with a protective topcoat, like polyurethane.
Adding Hardware
- Handles and Knobs: Install your chosen hardware on drawers and cabinet doors.
- Drawer Slides: If you’ve installed drawers, ensure they slide smoothly.
Optional Features
- Wheels for Portability: If you want a portable kitchen island, attach heavy-duty casters to the bottom. Look for locking casters to keep it stable when in use.
- Electrical Outlets: For a truly functional island, consider adding electrical outlets. This requires some electrical knowledge and adherence to safety codes. It’s often best to consult an electrician for this step.
- Lighting: Under-cabinet LED strip lights can add ambiance and task lighting.
Creating a Kitchen Island with Seating
Building a kitchen island with seating requires specific design considerations to ensure comfort and proper flow.
Overhang for Seating
- Depth: For comfortable seating, you’ll need an overhang of at least 10-12 inches for counter-height stools (36-inch high island) or 15-18 inches for bar-height stools (40-42 inch high island).
- Support: A substantial overhang needs support. This can be achieved with:
- Thicker Countertop Material: A thicker piece of butcher block or stone can offer more stability.
- Apron or Brace: Install a sturdy apron or brace directly under the overhang on the cabinet structure.
- Countertop Support Brackets: Metal brackets that are hidden from view provide excellent support. Ensure they are spaced appropriately to prevent sagging.
Stool Clearance
- Knee Space: Ensure there’s enough legroom under the overhang for people to sit comfortably.
- Traffic Flow: Leave adequate space for people to walk behind seated guests. A minimum of 36 inches is recommended.
Ideas for Kitchen Island Storage
Maximizing kitchen island storage can declutter your kitchen and make it more efficient.
Drawer Options
- Deep Drawers: Perfect for pots, pans, and smaller appliances.
- Shallow Drawers: Ideal for utensils, dish towels, and cutlery.
- Spice Racks: Install pull-out spice racks or shallow drawers specifically for spices.
Cabinet and Shelf Solutions
- Adjustable Shelves: Allow you to customize storage for different-sized items.
- Pull-Out Shelves: Make it easier to access items at the back of deep cabinets.
- Open Shelving: Can be used for decorative items or frequently used dishes.
- Trash/Recycling Bins: Integrate pull-out bins for easy waste disposal.
Specialty Storage
- Wine Racks: Built-in wine racks add a touch of elegance.
- Book Shelves: If your island is a focal point, integrating bookshelves can be a nice touch.
- Appliance Garages: Conceal small appliances with dedicated cabinets.
Popular Kitchen Island Styles for DIYers
Let’s explore some popular kitchen island design ideas that are achievable for DIYers.
The Butcher Block Island
A butcher block island is a classic choice. Its durability and natural beauty make it a favorite.
- Pros: Excellent for food prep, adds warmth, relatively easy to DIY with pre-made tops.
- Cons: Requires regular sealing and maintenance, can be prone to scratches and stains if not cared for.
- DIY Tip: Use a thick, solid butcher block top (2-3 inches) for best durability and a substantial look.
The Freestanding Kitchen Island
A freestanding kitchen island offers flexibility and can often be moved if needed.
- Pros: Can be repositioned, often simpler to build, can be a good option for renters.
- Cons: May not offer as much integrated storage as a built-in.
- DIY Tip: Consider adding casters for a truly portable kitchen island experience.
The Kitchen Island with Seating
Combining prep space with a dining area is highly practical.
- Pros: Creates a multi-functional zone, great for casual dining and entertaining.
- Cons: Requires careful planning for overhang and stool clearance.
- DIY Tip: Ensure your countertop support is robust for the seating area.
The Storage-Focused Island
For those who need maximum kitchen island storage, this is the way to go.
- Pros: Declutters the kitchen, provides ample space for everything.
- Cons: Can look bulky if not designed well.
- DIY Tip: Mix and match drawer, cabinet, and open shelving options for a balanced look.
Frequently Asked Questions (FAQ)
Q: How much does it cost to build a DIY kitchen island?
A: The cost can vary significantly, from a few hundred dollars for a simple table-style island using basic materials to over a thousand dollars for a more elaborate custom kitchen island with premium materials like granite countertops and custom cabinetry. Your kitchen island plans and material choices are the biggest cost drivers.
Q: What is the easiest type of kitchen island to build?
A: A simple table-style island with legs and a solid top is generally the easiest DIY kitchen island to build. A portable kitchen island on casters can also be quite straightforward. Islands incorporating cabinetry and drawers will take more time and skill.
Q: Can I build a kitchen island with seating using butcher block?
A: Yes, a butcher block island can absolutely incorporate seating. Ensure you use a thick butcher block (at least 2 inches) and provide adequate support underneath the overhang for stability.
Q: What is the standard height for a kitchen island?
A: The standard countertop height for a kitchen island is typically 36 inches. However, this can be adjusted. Islands intended for bar seating are often higher, around 40-42 inches.
Q: Do I need special tools to build a kitchen island?
A: Basic woodworking tools are essential: a measuring tape, pencil, saw (circular or miter saw), drill, screws, wood glue, and sandpaper. A pocket hole jig is highly recommended for stronger joints, and a table saw is helpful for precise cuts if you’re cutting your own plywood.
Q: How do I make my DIY kitchen island look professional?
A: Pay attention to detail! Use a pocket hole jig for hidden fasteners, ensure all cuts are precise, sand thoroughly, apply primer and multiple thin coats of paint or stain, and choose good quality hardware. Taking your time with each step will make a huge difference.
Building a DIY kitchen island is a rewarding project that can significantly enhance your kitchen’s functionality and aesthetic. With careful planning, the right kitchen island plans, and a willingness to learn, you can create a beautiful and practical custom kitchen island that you’ll enjoy for years to come. Happy building!