
What is the best way to clean a kitchen? The best way to clean a kitchen involves a systematic approach that tackles grime, disinfects surfaces, and maintains long-term kitchen hygiene. Can I use natural products to clean my kitchen? Yes, many effective and safe natural cleaning solutions can be made at home. Who is the best person to clean my kitchen? Anyone dedicated to thoroughness and armed with the right tools and techniques can clean a kitchen like a pro.
A sparkling clean kitchen isn’t just about aesthetics; it’s crucial for your health and well-being. Leftover food particles and grease can harbor bacteria, posing a risk to your family. This guide will walk you through the process of achieving a professionally clean kitchen, from routine tasks to a full-blown kitchen deep cleaning. We’ll explore effective DIY kitchen cleaning solutions, the power of natural kitchen cleaning agents, and essential kitchen hygiene tips to keep your culinary space pristine.
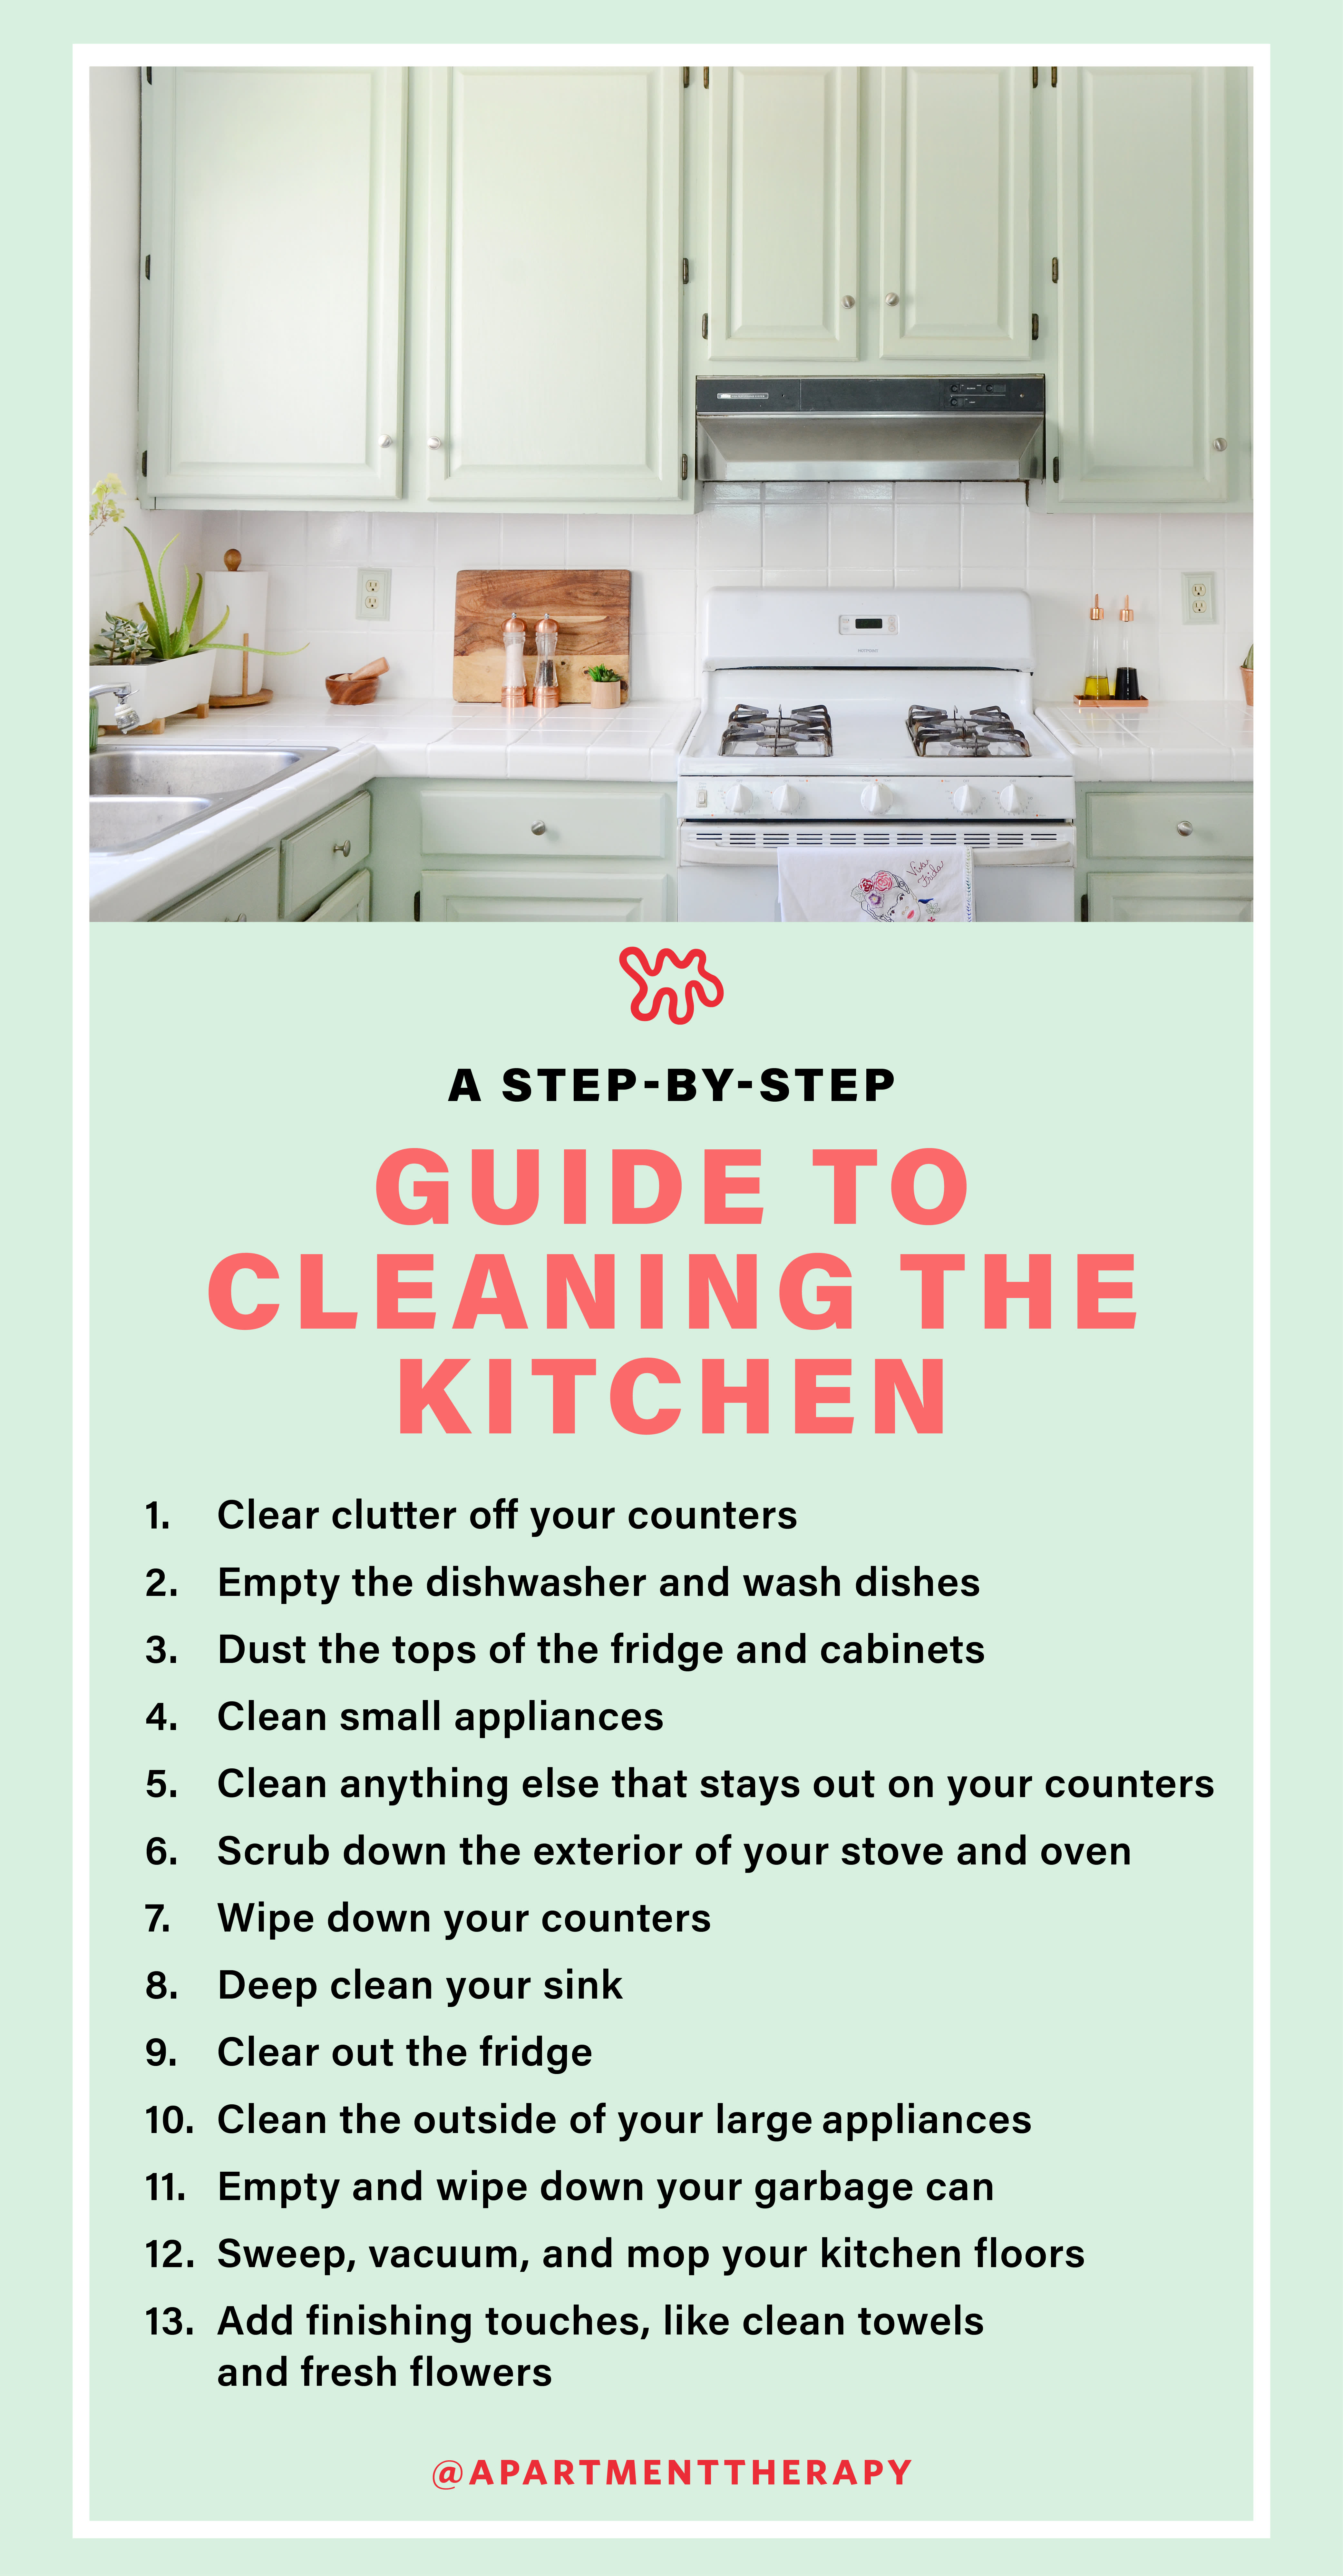
Image Source: cdn.apartmenttherapy.info
The Foundation: Prepping for a Sparkling Clean
Before diving into the nitty-gritty, a little preparation goes a long way. This ensures you have everything you need and makes the cleaning process smoother.
Decluttering: The First Step to a Tidy Kitchen
- Clear Countertops: Remove everything from your countertops. Put away appliances you don’t use daily, store spices, and clear mail or other clutter.
- Empty the Sink: Ensure your sink is completely empty. This gives you a clean slate to work with.
- Deal with Dishes: Wash or load any dirty dishes into the dishwasher. A clean sink makes the entire process feel more manageable.
- Sort and Store: Briefly go through drawers and cabinets. Discard expired food, donate unused items, and organize as you go. This isn’t a full declutter, but a quick tidy.
Gathering Your Arsenal: Tools and Supplies
Having the right tools at your disposal is key to efficient and effective cleaning.
- Cleaning Cloths: Microfiber cloths are excellent for most surfaces as they are absorbent and won’t scratch.
- Sponges: Have a variety of sponges, including non-scratch and scrubby options.
- Paper Towels: Useful for quick wipes and drying.
- Gloves: Protect your hands from cleaning solutions.
- Bucket: For mixing cleaning solutions and rinsing cloths.
- Spray Bottles: For your DIY cleaners.
- All-Purpose Cleaner: Either a commercial or DIY version.
- Degreaser: Especially useful for stovetops and greasy areas.
- Glass Cleaner: For windows and glass appliance fronts.
- Floor Cleaner: Suitable for your specific flooring type.
- Baking Soda: A miracle worker for scrubbing and deodorizing.
- Vinegar: A natural disinfectant and degreaser.
- Dish Soap: Your go-to for everyday grease.
- Lemon: For scent and a mild bleaching effect.
- Old Toothbrush: Perfect for grout and tight corners.
- Scrub Brush: For tougher stains on floors or the oven.
- Vacuum Cleaner with Attachments: For floors and corners.
- Mop: Again, suitable for your floor type.
Tackling the Big Jobs: A Kitchen Deep Cleaning Checklist
A kitchen deep cleaning goes beyond the surface. It’s about reaching those often-neglected areas to ensure complete kitchen sanitation. This is often best done when you have more time, like during a spring cleaning kitchen session.
1. Cabinet and Drawer Overhaul: Kitchen Cabinet Cleaning Mastery
Dirty cabinets can be a major eyesore and a source of hidden grime. Proper kitchen cabinet cleaning is essential.
DIY Cabinet Cleaner Recipe:
- 1 part white vinegar
- 2 parts warm water
- A few drops of dish soap (optional, for tougher grease)
Mix these in a spray bottle.
Cleaning Process:
- Empty Cabinets: Start by emptying one cabinet at a time. This makes the task less overwhelming.
- Wipe Down Shelves: Spray your DIY cleaner onto a microfiber cloth (not directly onto the cabinets, especially if they are wood with a finish) and wipe down the interior shelves. For stubborn spots, let the solution sit for a minute before wiping.
- Exterior Cleaning: For the cabinet doors and drawers, spray the cleaner onto a cloth and wipe them down. Pay attention to handles and edges where fingerprints and grease accumulate.
- Tackle Grease Buildup: For heavily greased areas, a paste of baking soda and water can be effective. Apply, let sit for a few minutes, then gently scrub and wipe clean.
- Hardware: Remove knobs and handles if possible and clean them separately. A toothbrush dipped in the vinegar solution is great for intricate designs.
- Organization: As you put items back, take the opportunity to organize. Discard expired items, group similar products, and consider using drawer organizers.
- Restoring Shine (Wood Cabinets): After cleaning, you can apply a small amount of mineral oil or a wood polish to wood cabinets to restore their sheen.
2. Countertop Cleaning: From Granite to Laminate
Your countertops are high-traffic surfaces that need regular attention. Countertop cleaning depends on the material.
General Countertop Cleaning:
- Daily Wipe-Down: Use a damp cloth with a little dish soap or your DIY cleaner after each use.
- Deep Cleaning:
- Granite/Quartz: Use a pH-neutral cleaner or a mild solution of dish soap and water. Avoid abrasive cleaners or acidic solutions like vinegar on unsealed granite, as they can etch the surface. For disinfecting, a 70% isopropyl alcohol spray works well and evaporates quickly.
- Laminate: Most laminate countertops can handle a mild all-purpose cleaner or a vinegar and water solution. For stubborn stains, a baking soda paste can be used cautiously, followed by a thorough rinse.
- Marble: Marble is porous and sensitive to acids. Use a specialized marble cleaner or a mild, pH-neutral soap. Wipe up spills immediately.
- Stainless Steel: Use a stainless steel cleaner or a mixture of vinegar and water. Always wipe in the direction of the grain to avoid scratches.
Stubborn Stains:
- Food Stains: For most stains, a paste of baking soda and water left on the stain for a few minutes can lift it.
- Grease: A solution of warm water and dish soap is usually effective. For tougher grease, a dedicated degreaser might be necessary.
3. The Appliance Deep Dive: Stovetops, Ovens, and Refrigerators
Appliances require specific attention to maintain their functionality and hygiene.
Stovetop Cleaning:
- Gas Stovetops: Remove grates and burner caps. Soak them in hot, soapy water or a solution of ammonia (in a well-ventilated area) for tough grease. Clean the stovetop surface with a degreaser or baking soda paste. Use a toothbrush to clean under the burner controls.
- Electric Stovetops (Coil): Remove coils and drip pans. Wash drip pans in hot, soapy water. For baked-on food on the stovetop itself, a baking soda paste is effective.
- Electric Stovetops (Glass/Ceramic): Use a ceramic cooktop cleaner and a soft cloth. For burnt-on food, specialized scrapers designed for glass cooktops can be used carefully. Avoid abrasive sponges.
Oven Cleaning Methods: Tackling Baked-On Grime
Oven cleaning methods can range from self-cleaning features to manual scrubbing.
- Self-Cleaning Cycle: If your oven has a self-cleaning feature, follow the manufacturer’s instructions. Ensure good ventilation during and after the cycle, as it produces fumes. Remember to wipe out the ash residue afterward.
- Natural Oven Cleaning (DIY):
- Baking Soda Paste: Mix baking soda with water to form a thick paste. Spread this paste all over the interior of the oven, avoiding heating elements and the door gasket. Let it sit overnight.
- Scrape and Wipe: The next day, use a damp cloth or sponge to wipe away the dried paste. For stubborn burnt-on bits, use a plastic scraper or an old credit card.
- Vinegar Rinse: Spray a little white vinegar on any remaining baking soda residue to help it fizz and loosen. Wipe clean with a damp cloth.
- Commercial Oven Cleaners: If using commercial cleaners, follow the instructions carefully, ensure good ventilation, and wear gloves.
Refrigerator Cleaning:
- Empty and Discard: Remove all food. Check expiration dates and discard anything old or questionable.
- Shelves and Drawers: Remove shelves and drawers. Wash them in warm, soapy water. For stubborn stains or odors, a solution of baking soda and water or diluted vinegar can be used.
- Interior Walls: Wipe down the interior walls with a damp cloth and your chosen cleaning solution. Pay attention to the rubber seals around the door.
- Exterior: Wipe down the exterior, including handles and the control panel, with an appropriate cleaner for the material. For stainless steel, use a stainless steel cleaner and wipe with the grain.
- Deodorizing: Place an open box of baking soda in the refrigerator to absorb odors.
4. Sink and Faucet Revival: Banishing Grime and Water Spots
Your sink and faucet are used constantly, making them prime spots for bacteria and limescale.
- Sink Cleaning:
- Stainless Steel Sinks: Use a paste of baking soda and water for scrubbing. Rinse thoroughly and dry to prevent water spots. For shine, a little mineral oil can be buffed in.
- Composite Sinks: Follow the manufacturer’s recommendations. Generally, mild dish soap and water are safe. Avoid abrasive cleaners.
- Faucet Cleaning:
- Use a mixture of vinegar and water in a spray bottle. Spray onto a cloth and wipe the faucet. For intricate areas, a toothbrush works well.
- For limescale buildup, soak a cloth in vinegar and wrap it around the faucet for a few minutes. Then, wipe clean.
- Polish with a dry microfiber cloth to restore shine.
5. Microwave Makeover: Zapping Germs and Splatters
Microwaves can get incredibly messy with food splatters.
- Steam Clean: Place a microwave-safe bowl filled with 1 cup of water and a tablespoon of white vinegar (or a few lemon slices) inside the microwave. Heat on high for 3-5 minutes until it steams up. Let it sit for another 5 minutes with the door closed. The steam will loosen food particles.
- Wipe Down: Carefully remove the bowl (it will be hot!). Wipe down the interior, including the turntable, with a damp cloth.
- Exterior: Clean the exterior with an all-purpose cleaner.
6. Kitchen Floor Cleaning: The Final Frontier
A clean floor makes the entire kitchen feel fresh. Kitchen floor cleaning depends on your flooring type.
- Tile and Grout: Sweep or vacuum first. For regular cleaning, use a mop with warm water and a mild detergent or a solution of equal parts water and vinegar. For grout, a paste of baking soda and water applied with a toothbrush can lift stains. Rinse thoroughly.
- Linoleum/Vinyl: Sweep or vacuum. Clean with a damp mop and a mild detergent or a commercial linoleum cleaner. Avoid excessive water, which can seep into seams.
- Hardwood: Sweep or vacuum with a soft brush attachment. Clean with a damp (not wet) mop using a hardwood floor cleaner or a very dilute solution of vinegar and water. Always wipe with the grain and dry immediately.
- Laminate: Sweep or vacuum. Use a damp mop with a laminate floor cleaner or a solution of water and a small amount of vinegar. Avoid soaking the floor.
Natural Kitchen Cleaning: Powerful DIY Solutions
Embracing natural kitchen cleaning is not only eco-friendly but also often more affordable and safer, especially around food preparation areas. These DIY kitchen cleaning recipes utilize common household ingredients.
Table 1: Natural Cleaning Solutions
| Cleaning Task | Ingredients | Instructions |
|---|---|---|
| All-Purpose Cleaner | 1 part white vinegar, 2 parts water | Mix in a spray bottle. Use for countertops, cabinets (test in an inconspicuous area first), and general surfaces. |
| Degreaser | 1 part white vinegar, 1 part warm water, 1 tsp dish soap | Mix in a spray bottle. Excellent for greasy stovetops and backsplashes. |
| Gentle Scrubber | Baking soda, water | Make a paste. Use for stubborn stains on sinks, ovens, and countertops. |
| Glass Cleaner | 1 part white vinegar, 4 parts water, 1 drop dish soap | Mix in a spray bottle. Use for windows, mirrors, and glass appliance fronts. |
| Drain Cleaner | 1/2 cup baking soda, 1 cup white vinegar, hot water | Pour baking soda down the drain, followed by vinegar. Let fizz, then flush with hot water. |
| Oven Cleaner | Baking soda, water | Make a thick paste, apply to oven interior (avoid elements), let sit overnight, scrape and wipe clean. |
| Refrigerator Deodorizer | Open box of baking soda | Place in the fridge to absorb odors. |
5. Sink and Faucet Revival: Banishing Grime and Water Spots
Your sink and faucet are used constantly, making them prime spots for bacteria and limescale.
- Sink Cleaning:
- Stainless Steel Sinks: Use a paste of baking soda and water for scrubbing. Rinse thoroughly and dry to prevent water spots. For shine, a little mineral oil can be buffed in.
- Composite Sinks: Follow the manufacturer’s recommendations. Generally, mild dish soap and water are safe. Avoid abrasive cleaners.
- Faucet Cleaning:
- Use a mixture of vinegar and water in a spray bottle. Spray onto a cloth and wipe the faucet. For intricate areas, a toothbrush works well.
- For limescale buildup, soak a cloth in vinegar and wrap it around the faucet for a few minutes. Then, wipe clean.
- Polish with a dry microfiber cloth to restore shine.
6. Microwave Makeover: Zapping Germs and Splatters
Microwaves can get incredibly messy with food splatters.
- Steam Clean: Place a microwave-safe bowl filled with 1 cup of water and a tablespoon of white vinegar (or a few lemon slices) inside the microwave. Heat on high for 3-5 minutes until it steams up. Let it sit for another 5 minutes with the door closed. The steam will loosen food particles.
- Wipe Down: Carefully remove the bowl (it will be hot!). Wipe down the interior, including the turntable, with a damp cloth.
- Exterior: Clean the exterior with an all-purpose cleaner.
7. Kitchen Floor Cleaning: The Final Frontier
A clean floor makes the entire kitchen feel fresh. Kitchen floor cleaning depends on your flooring type.
- Tile and Grout: Sweep or vacuum first. For regular cleaning, use a mop with warm water and a mild detergent or a solution of equal parts water and vinegar. For grout, a paste of baking soda and water applied with a toothbrush can lift stains. Rinse thoroughly.
- Linoleum/Vinyl: Sweep or vacuum. Clean with a damp mop and a mild detergent or a commercial linoleum cleaner. Avoid excessive water, which can seep into seams.
- Hardwood: Sweep or vacuum with a soft brush attachment. Clean with a damp (not wet) mop using a hardwood floor cleaner or a very dilute solution of vinegar and water. Always wipe with the grain and dry immediately.
- Laminate: Sweep or vacuum. Use a damp mop with a laminate floor cleaner or a solution of water and a small amount of vinegar. Avoid soaking the floor.
Maintaining Kitchen Hygiene: Tips for Everyday Cleanliness
Kitchen hygiene tips are about creating habits that prevent deep-seated grime and bacteria build-up. Regular maintenance is far easier than tackling a heavily soiled kitchen.
Daily Habits for a Pristine Kitchen
- Wipe Down Surfaces: After cooking and eating, wipe down countertops, the stovetop, and the sink.
- Wash Dishes Promptly: Don’t let dishes pile up. Wash them immediately or load them into the dishwasher.
- Clean Spills Immediately: Address spills as they happen to prevent stains and sticky residue.
- Sanitize High-Touch Areas: Regularly wipe down appliance handles (refrigerator, oven, microwave), cabinet knobs, and light switches.
- Empty Trash and Recycling: Take out the trash daily or as needed to prevent odors and pests. Clean the inside of the trash can periodically.
Weekly Tasks for a Deeper Clean
- Thorough Countertop Wipe: Give your countertops a more thorough clean and sanitization.
- Appliance Exteriors: Wipe down the exteriors of your refrigerator, microwave, and dishwasher.
- Microwave Interior: Give the inside of the microwave a quick wipe-down.
- Sink Scrub: Give your sink a good scrub, paying attention to the drain area.
- Floor Sweep/Mop: Sweep or vacuum the kitchen floor, and mop if needed.
- Check and Wipe Down Refrigerator Shelves: Quick check for spills or old food.
Monthly or Seasonal Deep Dives
- Full Cabinet Wipe-Down: As detailed in the kitchen cabinet cleaning section.
- Oven Cleaning: If not done monthly, aim for quarterly.
- Refrigerator Interior Clean-Out: A thorough empty, clean, and organization of the refrigerator.
- Appliance Deep Cleaning: Focus on specific appliances like cleaning the dishwasher filter or the condenser coils on the refrigerator.
- Vent Hood and Filter Cleaning: Grease and dust accumulate here.
- Pantry Organization: Declutter and wipe down pantry shelves.
Frequently Asked Questions (FAQ)
Q1: How often should I deep clean my kitchen?
A1: A full kitchen deep cleaning is recommended at least twice a year, often coinciding with seasonal changes like spring cleaning kitchen. However, depending on usage, you might need to do it more frequently.
Q2: Are natural cleaners truly effective for tough grease?
A2: Yes, natural cleaners like vinegar and baking soda are surprisingly effective at cutting through grease. For very tough grease, you might need to apply them more generously or let them sit for longer. Combining them with dish soap also enhances their degreasing power.
Q3: How do I remove tough burnt-on food from my stovetop or oven?
A3: For stovetops and ovens, a paste of baking soda and water is your best friend. Apply it liberally to the burnt-on areas and let it sit for several hours or overnight. Then, gently scrape with a plastic scraper or an old credit card and wipe clean.
Q4: Can I use vinegar on all countertop materials?
A4: No. While vinegar is a fantastic natural cleaner, its acidity can damage certain materials like unsealed granite, marble, and some types of natural stone. Always check your countertop manufacturer’s recommendations or test in an inconspicuous area first. For these sensitive materials, a pH-neutral cleaner or mild dish soap is safer.
Q5: How can I prevent odors in my kitchen?
A5: Regular kitchen hygiene tips include prompt disposal of trash, cleaning up spills immediately, and wiping down surfaces. For lingering odors, an open box of baking soda in the refrigerator or on the counter can absorb smells. Simmering water with lemon peels or cinnamon sticks can also refresh the air.
By following this comprehensive guide, you can transform your kitchen into a spotless, hygienic, and welcoming space. Remember that consistency is key – incorporating daily and weekly cleaning habits will make the larger deep cleaning tasks much more manageable.