
Can you unclog a kitchen sink fast with DIY methods? Absolutely! Many common kitchen drain clogs can be cleared quickly using simple household items and tools you likely already have. This guide will walk you through effective DIY solutions to banish that frustrating sink drain blockage.
A clogged kitchen sink is more than just an inconvenience; it can quickly disrupt your daily routine. Whether it’s a slow drain or a complete standstill, knowing how to tackle a kitchen drain clog is a valuable skill. This article will equip you with practical tips and step-by-step instructions to unclog kitchen sink woes without calling a plumber. We’ll cover everything from natural drain cleaner alternatives to using a plumbing snake for tougher jobs.
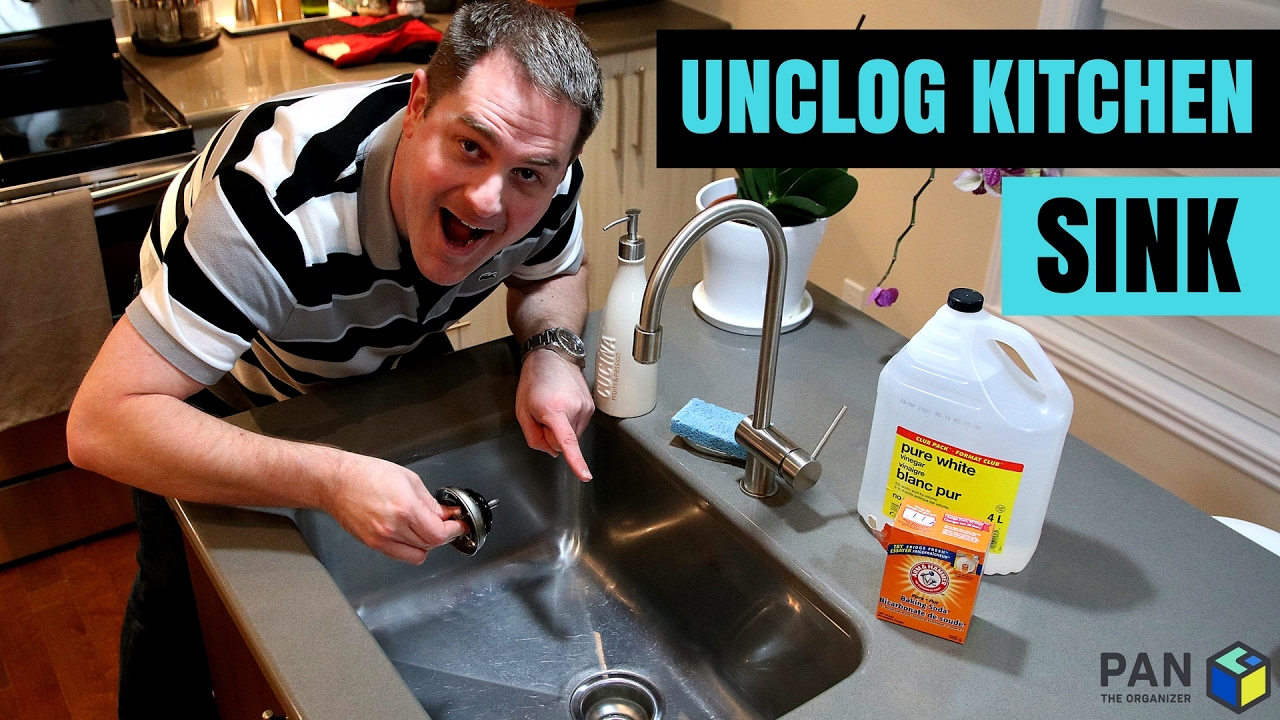
Image Source: i.ytimg.com
Common Culprits Behind Kitchen Sink Clogs
Before diving into the solutions, it’s helpful to know what causes your sink drain to become blocked. Understanding these causes can help you prevent future issues.
- Grease and Fat Buildup: This is arguably the biggest offender. When hot grease, oil, or fat is poured down the drain, it cools and solidifies as it travels through your pipes. Over time, this sticky layer traps food particles and other debris, creating a stubborn blockage.
- Food Scraps: Small pieces of food, coffee grounds, eggshells, and vegetable peels can accumulate in the pipes. While some garbage disposals can handle certain items, many food scraps are best disposed of in the trash.
- Starchy Foods: Foods like rice, pasta, and potato peels can swell when wet, forming a paste-like substance that contributes to drain blockage.
- Fibrous Foods: Celery, corn husks, and onion skins have tough fibers that can snag and build up in the pipes.
- Foreign Objects: Accidentally dropping silverware, bottle caps, or other non-food items down the sink drain can lead to immediate and severe clogs.
Quick Fixes: DIY Drain Cleaner Solutions
When you face a blocked sink, your first instinct might be to reach for a chemical drain cleaner. While effective, these can be harsh on your pipes and the environment. Fortunately, several natural and effective DIY drain cleaners can do the trick.
The Power Duo: Baking Soda and Vinegar
This classic combination is a go-to for many homeowners facing a kitchen drain clog. The chemical reaction between baking soda (a base) and vinegar (an acid) creates fizzing and bubbling, which can help break down grease and grime.
Materials:
- Baking soda (about 1 cup)
- White vinegar (about 1 cup)
- Boiling hot water drain (about 2 cups)
- A stopper or rag
Steps:
- Clear Standing Water: If there’s standing water in the sink, try to remove as much of it as possible using a cup or bowl. This allows the baking soda and vinegar to directly contact the clog.
- Pour Baking Soda: Carefully pour about one cup of baking soda directly into the sink drain. Try to get it as far down the drain as possible.
- Add Vinegar: Immediately follow with about one cup of white vinegar. You’ll notice a vigorous fizzing reaction.
- Stopper the Drain: Quickly cover the drain with a stopper or a damp rag. This helps to force the fizzing action downwards into the clog, rather than letting it escape upwards.
- Wait: Let the mixture sit for at least 15-30 minutes. For more stubborn clogs, you can leave it for an hour or even overnight.
- Flush with Hot Water: Boil about two cups of water. After the waiting period, remove the stopper and carefully pour the boiling hot water drain down the sink drain. This hot water helps to flush away the loosened debris.
- Test: Run the tap to see if the water drains freely. You might need to repeat the process if the clog is particularly stubborn.
Why it works: The fizzing action helps to loosen accumulated grease, soap scum, and other buildup. The heat from the boiling water further aids in dissolving fatty deposits.
Hot Water Drain Flush: A Simple Yet Effective Method
Sometimes, a simple flush of hot water drain is all that’s needed, especially for minor grease buildup.
Materials:
- Boiling water (a kettle or large pot full)
Steps:
- Remove Standing Water: Again, remove any standing water from the sink.
- Carefully Pour: Slowly and carefully pour a kettle full of boiling water directly down the sink drain. Pour in stages, allowing the hot water to work for a few seconds between pours.
- Repeat if Necessary: For minor clogs, this might be enough. If the drain is still slow, you can repeat the process.
Caution: Avoid this method if you have PVC pipes that are old or may have been damaged, as excessive heat could potentially warp them. If you are unsure, stick to warm water.
Dish Soap and Hot Water
Dish soap is designed to cut through grease, making it a good ally in tackling a greasy kitchen drain clog.
Materials:
- Liquid dish soap (about half a cup)
- Boiling water
Steps:
- Pour Dish Soap: Pour about half a cup of liquid dish soap into the sink drain.
- Add Hot Water: Follow with a kettle of boiling water, poured slowly and carefully.
- Wait: Let it sit for about 10-15 minutes.
- Flush: Flush with more hot water.
Mechanical Solutions for a Stubborn Blockage
When DIY drain cleaner methods don’t quite cut it, it’s time to bring in some mechanical muscle. These methods physically remove the obstruction.
The Humble Plunger: Your First Line of Defense
A plunging sink is an age-old, effective method for clearing many types of clogs. The suction and pressure created by plunging can dislodge obstructions.
Materials:
- A sink plunger (ensure it’s a cup-shaped plunger, not a toilet plunger which has a flange)
- A rag or stopper for the overflow drain (if your sink has one)
- Water
Steps:
- Create a Seal: Ensure there’s enough water in the sink to cover the rubber cup of the plunger. If not, add some water.
- Cover Other Drains: If you have a double sink, block the other drain with a stopper or a wet rag to create maximum suction. If your sink has an overflow drain near the top, block this as well with a rag. This is crucial for effective plunging.
- Position the Plunger: Place the plunger directly over the sink drain, ensuring the rubber cup creates a complete seal around the opening.
- Plunge Vigorously: Push down and pull up sharply and repeatedly. Aim for about 15-20 vigorous plunges. You want to create a strong back-and-forth motion of water and air.
- Check for Drainage: Lift the plunger. If the water drains, you’ve likely cleared the clog. If not, repeat the plunging process.
- Flush: Once water is draining, flush the sink drain with hot water to clear any remaining debris.
Tips for Effective Plunging:
- Proper Seal: The most important aspect is achieving a good seal.
- Consistent Motion: Keep the plunges consistent and forceful.
- Patience: It might take several attempts to dislodge a stubborn clog.
Using a Plumbing Snake (Auger)
A plumbing snake, also known as a drain auger, is a flexible metal cable that you can feed into the drain to physically break up or pull out a clog. This is one of the most effective ways to deal with a deep-seated drain blockage.
Materials:
- A drain auger (a manual or electric plumbing snake)
- Gloves
- A bucket or trash bag
- A rag
Steps:
- Prepare the Area: Lay down some old rags or a bucket to catch any mess that might come out of the drain.
- Feed the Snake: Gently feed the end of the plumbing snake into the sink drain. Push it in until you feel resistance, indicating you’ve reached the clog.
- Rotate and Advance: Once you hit the obstruction, lock the cable and slowly rotate the handle (usually clockwise). This action helps the auger’s tip bore into or grab the clog. Continue to push the snake forward as you rotate.
- Break Up or Retrieve: The goal is to either break up the clog into smaller pieces that can be flushed away or to snag it so you can pull it back out. You might feel the resistance lessen as the clog breaks apart.
- Retract the Snake: Carefully pull the plumbing snake back out of the drain. Be prepared for debris to come out with it. Clean the auger as you retract it.
- Flush the Drain: Once the snake is removed, run hot water down the sink drain to flush away any remaining loosened debris and to test if the kitchen drain clog has been cleared.
- Repeat if Necessary: If the drain is still slow, you may need to repeat the process, potentially trying to reach a bit further into the pipe.
Types of Plumbing Snakes:
- Manual Hand Augers: These are the most common for DIY use. They have a hand crank to rotate the cable.
- Toilet Augers: Designed specifically for toilets, they have a protective sleeve to prevent scratching porcelain. Not ideal for kitchen sinks.
- Drum Augers/Electric Augers: These are more powerful and typically used by professionals, but smaller versions are available for home use. They have a motor to spin the cable.
Important Considerations for Using a Plumbing Snake:
- Patience is Key: Don’t force the snake. Gentle but firm pressure and rotation are most effective.
- Know Your Pipes: Be aware of any bends or traps in your plumbing system. The snake might get caught in a P-trap.
- Cleanliness: Wear gloves and be prepared for mess.
Dealing with Garbage Disposals
Many kitchens have garbage disposals, and these can also be a source of drain blockage. If your sink is clogged and you have a disposal, there are a few extra steps to consider.
Resetting Your Garbage Disposal
Garbage disposals have a safety feature that will shut off the motor if it jams or overheats.
Steps:
- Turn Off Power: Locate the reset button, usually on the bottom of the disposal unit. Crucially, turn off the power to the disposal at the breaker box first to prevent accidental activation while you work.
- Press the Reset Button: Push the red or black reset button firmly. It should pop out slightly if it has tripped.
- Check for Obstructions (Optional): With the power still off, you can use tongs or pliers (never your hand!) to check the disposal’s grinding chamber for any foreign objects that might have caused the jam.
- Restore Power: Turn the power back on at the breaker box.
- Test: Run cold water into the sink and then briefly turn on the disposal to see if it operates.
Using the Wrench Slot
Most garbage disposals have a hex-shaped hole on the bottom center. A special wrench (often supplied with the unit, or a standard Allen wrench) can be inserted here.
Steps:
- Turn Off Power: Again, ensure the power to the disposal is OFF at the breaker box.
- Insert Wrench: Insert the appropriate wrench into the slot.
- Work Back and Forth: Move the wrench back and forth to manually rotate the grinding plates. This can help dislodge whatever is jamming the unit.
- Remove Obstructions: If you can free something, use tongs or pliers to remove it from the grinding chamber.
- Reset and Test: Reset the disposal (as described above) and test with cold water.
When to Call a Professional Plumber
While these DIY methods are effective for many common clogs, there are times when you should call in a professional plumber.
Signs you need a plumber:
- Persistent Clogs: If you’ve tried multiple DIY methods and the clog remains, it might be deeper in the system or more severe.
- Multiple Fixtures Clogged: If you notice slow drains or clogs in other sinks, toilets, or showers in your home, it suggests a larger issue with your main sewer line.
- Foul Odors: Persistent foul smells emanating from the drain can indicate a serious blockage or a problem with your sewer system.
- Water Backups: If you see sewage or dirty water backing up into fixtures, this is a serious plumbing emergency.
- Lack of Confidence: If you’re uncomfortable performing any of these DIY tasks or worry about causing further damage, it’s always best to call a professional.
Preventing Future Kitchen Sink Clogs
The best approach to a blocked sink is to prevent it from happening in the first place. Here are some proactive measures:
- Scrape Plates: Always scrape food scraps from plates into the trash or compost bin before rinsing them in the sink.
- Avoid Pouring Grease Down the Drain: Collect grease, oil, and fats in a disposable container and discard them in the trash once cooled.
- Use Strainers: Place a drain strainer in your sink drain to catch food particles. Clean it regularly.
- Run Cold Water with Disposal: If you use a garbage disposal, always run cold water while it’s operating and for about 15-30 seconds afterward. This helps to solidify any grease and flush it through the pipes.
- Be Wary of Starchy Foods and Fibers: Limit what you put down the drain that contains rice, pasta, potato peels, coffee grounds, and fibrous vegetables.
- Regular Maintenance: Consider a monthly flush with hot water drain or the baking soda and vinegar mixture as a preventative measure.
Frequently Asked Questions (FAQs)
Here are some common questions people have about unclogging kitchen sinks:
Q1: How often should I use baking soda and vinegar to clean my drains?
A1: For maintenance and prevention, using the baking soda and vinegar method once a month can help keep your drains clear of minor buildup.
Q2: Can I use bleach in my kitchen sink drain?
A2: It is generally not recommended to use bleach in your kitchen sink drain, especially if you have recently used other drain cleaners or if you have a septic system. Bleach is a strong chemical that can damage pipes and is less effective on grease clogs than other methods. It’s also hazardous if mixed with other cleaning chemicals.
Q3: My sink is completely blocked, and I can’t even get water to go down. What should I do?
A3: If your sink is completely blocked, start by removing as much standing water as possible. Then, try the baking soda and vinegar method followed by hot water. If that doesn’t work, a plumbing snake will likely be your next best bet. If the clog is severe or you’re unable to dislodge it, it’s time to call a plumber.
Q4: Is it safe to use chemical drain cleaners regularly?
A4: It’s best to use chemical drain cleaners sparingly. They can be very effective but are harsh on pipes and can cause damage over time, especially to older or weaker pipes. They can also be harmful to the environment. Natural and mechanical methods are generally preferred for regular maintenance.
Q5: What if the clog is in the P-trap?
A5: The P-trap is the U-shaped pipe under your sink. Clogs can often lodge here. You can unscrew the P-trap (with a bucket underneath to catch water and debris), clean it out, and then reassemble it. However, if you’re not comfortable with this, a plumbing snake can often reach and clear a clog in the trap as well.
By following these tips and understanding the causes of kitchen drain clog issues, you can effectively unclog kitchen sink problems and keep your drains flowing freely. Remember to prioritize safety and consider calling a professional if the problem persists.