
Can you paint kitchen cabinets without sanding? Yes, you absolutely can! This guide will walk you through how to achieve a beautiful, durable painted finish on your kitchen cabinets without the tedious step of sanding. Many homeowners are looking for a way to update their kitchens without the mess and labor of traditional sanding. Cabinet painting without sanding is a popular and achievable DIY project that can dramatically transform your space. We’ll cover everything from choosing the right paint to the precise steps for a professional-looking result. This is your ultimate resource for a kitchen cabinet makeover no sanding.
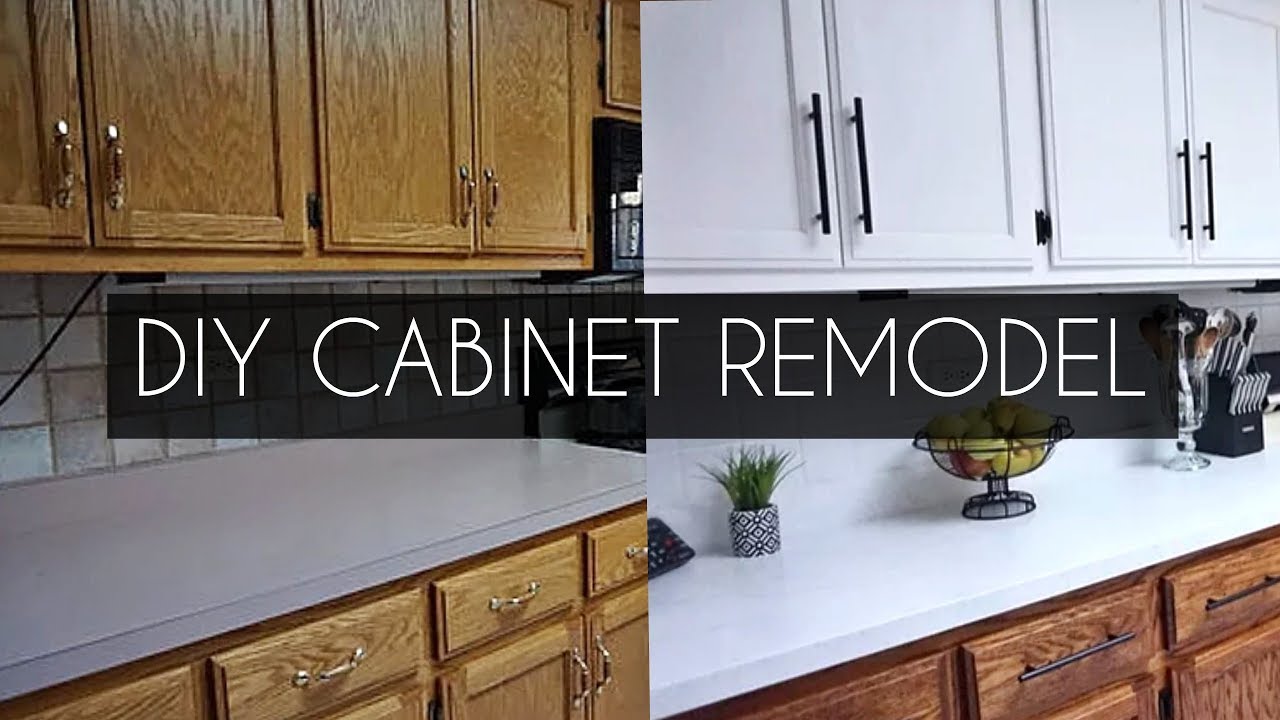
Image Source: i.ytimg.com
Why Skip the Sanding?
Sanding is often seen as a necessary evil in painting projects. It creates a rough surface for new paint to adhere to. However, for many cabinet materials, especially those with a good existing finish, sanding can be skipped entirely with the right preparation and paint. This saves you significant time, effort, and dust in your home. It makes cabinet refacing no sanding a much more accessible option for many DIYers.
Benefits of No-Sanding Cabinet Painting:
- Time Savings: Eliminates hours of sanding.
- Reduced Mess: No dust clouds throughout your home.
- Less Physical Effort: No strenuous sanding required.
- Accessibility: Makes cabinet painting a more manageable DIY project for more people.
Choosing the Best Paint for Cabinets Without Sanding
Selecting the right paint is crucial when you’re aiming for a cabinet painting without sanding project. You need a paint that is formulated for adhesion and durability on smooth surfaces.
Types of Paint to Consider:
Chalk Paint Kitchen Cabinets
Chalk paint is renowned for its ability to adhere to almost any surface with minimal prep. It creates a matte, chalky finish that is easily distressed for a vintage look, or can be sealed for a smooth, modern finish.
- Pros: Excellent adhesion, no primer often needed, forgiving finish, beautiful matte look.
- Cons: Requires a topcoat (wax or polycrylic) for durability, can be more expensive, potential for brush strokes if not applied carefully.
- Application Tips: Apply thin, even coats. Use a good quality brush for a smooth finish, or a roller for a more uniform look. Always seal with a water-based polycrylic or furniture wax for protection.
Milk Paint Kitchen Cabinets
Milk paint, especially modern formulations, also offers great adhesion without sanding. It can create a chippy, antique look or a smoother finish depending on the formulation and application.
- Pros: Natural ingredients, can achieve a unique aged look, good adhesion.
- Cons: Can sometimes chip unexpectedly (which can be a pro if that’s the look you want), requires a bonding agent for smooth surfaces if you don’t want chipping, needs a topcoat for durability.
- Application Tips: Mix according to manufacturer instructions. If you desire a smoother finish, use a milk paint with a bonding agent or apply a specialized primer first. Seal with a water-based polycrylic.
Lacquer Kitchen Cabinets No Sanding
While traditional lacquers often require extensive sanding and professional application, some modern acrylic lacquers and cabinet paints mimic the smooth, durable finish of lacquer without the need for heavy prep. These are often high-quality enamel paints.
- Pros: Extremely durable, smooth, professional finish, resists chipping and wear.
- Cons: Can be more expensive, often requires a specialized primer, can be trickier to apply without spraying equipment for the best results.
- Application Tips: Use a high-quality bonding primer specifically designed for cabinets. For the smoothest finish, spray application is recommended. If brushing or rolling, use high-density foam rollers or high-quality synthetic brushes.
Enamel Paints (Water-Based Acrylic Enamels)
These are often the go-to for a DIY kitchen cabinet update no sanding. They offer good adhesion and a durable, semi-gloss or satin finish. Many brands specifically market these for cabinets.
- Pros: Good adhesion, durable finish, easy cleanup (water-based), available in many colors and finishes, relatively affordable.
- Cons: May require a bonding primer for very slick surfaces, can show brush strokes if not applied carefully.
- Application Tips: Always use a high-quality bonding primer. Thin, even coats are key. A good quality synthetic brush or a high-density foam roller will give the best results.
What is the Best Paint for Cabinets No Sanding?
The best paint for cabinets no sanding is typically a high-quality water-based acrylic enamel or a specialized cabinet paint designed for adhesion. Brands like Benjamin Moore’s Advance, Sherwin-Williams’ Emerald Urethane Trim Enamel, or Behr’s Urethane Alkyd Enamel are excellent choices. They offer durability, a smooth finish, and good adhesion when paired with the correct primer.
The Essential Prep Work: Preparation for Painting Cabinets No Sanding
Even though you’re skipping sanding, proper prep for painting cabinets no sanding is absolutely critical for a lasting and beautiful finish. This is where most “no-sanding” failures happen – people skip the crucial cleaning and degreasing steps.
Step-by-Step Prep Guide:
1. Empty and Remove Cabinet Doors and Drawers
- Take everything out of your cabinets.
- Label each door and drawer with a number or letter that corresponds to its location on the cabinet frame. Use painter’s tape and a pen. This is vital for reassembly!
- Remove all hardware – hinges, knobs, handles. Store them in a safe place, perhaps in labeled baggies.
2. Thorough Cleaning: The Non-Negotiable Step
This is the most important part of cabinet painting without sanding. Grease, grime, and food splatters build up on kitchen cabinets. If you paint over this, your new paint will not adhere properly and will likely peel or chip.
- Degreaser: Use a strong degreaser. TSP (Trisodium Phosphate) is a powerful option, but be sure to follow safety precautions and wear gloves and eye protection. Diluted ammonia or a specialized kitchen degreaser also works well.
- Application: Apply the degreaser with a clean sponge or cloth. Work in sections.
- Rinsing: Rinse thoroughly with clean water and a clean sponge. You need to remove all traces of the degreaser.
- Drying: Allow cabinets to dry completely. You can use a fan to speed up the process.
3. Repairing Imperfections
- Minor Dings and Scratches: Fill small dents or scratches with a lightweight spackling compound or wood filler. Let it dry completely.
- Sanding (Spot Sanding): Lightly sand the filled areas with a fine-grit sandpaper (220 grit) until smooth and flush with the cabinet surface. Wipe away any dust with a tack cloth or a damp cloth.
4. Cleaning Again (Lightly)
After any spot repairs, it’s a good idea to give the cabinets a final, light wipe-down with a tack cloth or a damp microfiber cloth to ensure no dust or filler residue remains.
5. Deglossing (Optional but Recommended)
For extremely glossy or slick surfaces, a liquid deglosser can help create a better surface for paint to adhere to, even without traditional sanding.
- How it Works: Deglossers contain chemicals that slightly etch the surface of the paint or finish.
- Application: Apply with a clean cloth, following the product instructions. It usually requires minimal wiping and then a clean cloth wipe-down.
- Drying: Let it dry completely according to the product directions.
Priming: The Foundation of Your No-Sanding Paint Job
Even with advanced paints, a good primer is your best friend when cabinet painting without sanding. A high-quality bonding primer is essential to ensure adhesion to slick surfaces and to create a uniform base for your topcoat.
Choosing the Right Primer:
- Bonding Primer: Look for primers specifically labeled as “bonding primers” or “adhesion primers.” These are formulated to stick to challenging surfaces like laminate, melamine, or previously finished wood.
- Oil-Based vs. Water-Based: While oil-based primers generally offer superior adhesion, modern water-based bonding primers are very effective and easier to clean up. Many cabinet-specific primers are water-based acrylic formulas.
- Stain-Blocking Primer (If Needed): If your cabinets are bare wood or you’re concerned about tannins bleeding through (especially with lighter paint colors), a stain-blocking primer is a good choice.
Priming Process:
- Apply Thin, Even Coats: Apply one or two thin coats of your chosen bonding primer. Avoid thick, gloppy coats, as this can lead to drips and unevenness.
- Brush Strokes vs. Rollers: Use a high-quality synthetic brush for corners and edges. For flat surfaces, a high-density foam roller can provide a smoother finish than a traditional roller.
- Drying Time: Allow the primer to dry completely according to the manufacturer’s instructions. This is crucial for proper adhesion.
- Light Scuff Sanding (Optional, but Beneficial): If the primer directions allow, and you want an extra layer of insurance for adhesion and smoothness, you can very lightly scuff sand the dried primer with 220-grit sandpaper. This is much less intensive than sanding the original cabinets. Wipe away all dust with a tack cloth.
Painting Your Kitchen Cabinets: The Transformation
Now for the exciting part – applying the paint! The technique you use will depend on the paint type and the finish you desire.
Application Techniques:
Brush and Roller Method
This is the most common method for DIYers. It’s accessible and can yield excellent results with patience and the right tools.
- Tools:
- High-quality synthetic bristle brushes (angled sash brushes are great for detail).
- High-density foam rollers (specifically for cabinets or trim).
- Paint tray.
- Paint pail or a separate container for easier pouring.
- Technique:
- Thin Coats: Apply paint in thin, even coats. It’s much better to do 2-3 thin coats than one thick coat.
- Direction: For doors and drawer fronts, paint in the direction of the wood grain if applicable. For frames, paint from top to bottom.
- Brush vs. Roller: Use a brush for recessed areas, edges, and details. Use the foam roller for the main flat surfaces. Overlap your roller strokes slightly.
- “Tips and Tricks”:
- Maintain a Wet Edge: Try to overlap your strokes while the previous section is still wet to avoid lap marks.
- Don’t Overwork the Paint: Apply the paint and then lightly smooth it out with your brush or roller. Too much back-and-forth can create brush marks.
- “Back-rolling” (for sprayed finishes, but adaptable): After applying a thin coat of paint with a roller, lightly go over it with a dry foam roller to smooth out any texture.
- Drying Time: Allow each coat to dry thoroughly according to the paint manufacturer’s recommendations before applying the next coat. This usually means several hours, or even overnight.
Spray Painting Kitchen Cabinets No Sanding
Spray painting offers the most professional and smoothest finish, especially for lacquer kitchen cabinets no sanding. While it requires specialized equipment and more setup, it’s a fantastic option for achieving a flawless look.
- Tools:
- Paint sprayer (HVLP – High Volume Low Pressure – sprayers are ideal for DIY).
- Appropriate paint (enamels, lacquers, or chalk paint diluted according to sprayer instructions).
- Respirator mask, gloves, eye protection.
- Drop cloths, plastic sheeting, painter’s tape for masking.
- Setup:
- Ventilation: Ensure you are in a well-ventilated area. If spraying indoors, open windows and use fans.
- Masking: Meticulously mask off everything you don’t want painted – walls, countertops, floors, appliances.
- Work Area: If possible, remove doors and drawers and spray them in a dedicated space like a garage or outside on sawhorses.
- Technique:
- Thin, Even Coats: Apply paint in very thin, even coats.
- Consistent Motion: Keep the sprayer moving at a consistent speed and distance from the surface.
- Overlap: Overlap your spray passes by about 50%.
- “Practice Coat”: Before spraying your cabinets, do a test spray on a piece of cardboard to get the paint flow and pressure just right.
- Drying: Allow adequate drying time between coats.
- Safety First: Always wear a respirator when spraying paint, as the fumes and fine mist can be harmful.
Applying Topcoats for Durability
Once your final coat of paint is dry, a topcoat is highly recommended for cabinet painting without sanding, especially for high-traffic areas like kitchens. This adds an extra layer of protection against moisture, scratches, and wear.
Types of Topcoats:
- Water-Based Polycrylic: This is a clear, water-based protective finish that dries clear and doesn’t yellow. It’s durable and easy to clean up. Available in satin, semi-gloss, and gloss finishes.
- Water-Based Polyurethane: Similar to polycrylic but often a bit more durable. Can sometimes have a slight amber tint, especially oil-based versions. Water-based is preferred for lighter paint colors.
- Furniture Wax (for Chalk Paint): If you used chalk paint and want a matte, soft finish, a good quality furniture wax is essential. It provides protection but isn’t as durable as polycrylic against heavy moisture or wear.
Topcoat Application:
- Apply Thin Coats: Just like the paint, apply the topcoat in thin, even coats.
- Use the Right Tool: A high-quality synthetic brush or a high-density foam roller works well. If you sprayed the paint, consider spraying the topcoat as well.
- Drying: Allow ample drying time between coats. Many professionals recommend 2-3 coats of topcoat for maximum durability on kitchen cabinets.
- Curing Time: Be aware of the paint’s “curing time” – this is when the paint reaches its maximum hardness. It can take 7-30 days, depending on the product. During this time, be extra gentle with your cabinets, avoiding harsh cleaning or sliding heavy items.
Reassembling Your Kitchen Cabinets
Once everything is dry and cured (or at least fully hardened to the touch), it’s time to reassemble!
- Reattach Hardware: Screw the hinges, knobs, and handles back onto the doors and drawer fronts.
- Hang Doors and Replace Drawers: Carefully reattach the doors to the cabinet frames and slide the drawers back into place. Use your labels to ensure everything goes back where it belongs.
- Clean Up: Remove all painter’s tape and drop cloths. Clean your brushes, rollers, and sprayer thoroughly.
Pros and Cons of No-Sanding Cabinet Painting
| Pros | Cons |
|---|---|
| Saves significant time and effort | Requires meticulous cleaning and prep work |
| Less dust and mess in your home | Not suitable for severely damaged or peeling original finishes |
| More accessible for DIY beginners | Might require a specialized bonding primer for very slick surfaces |
| Can achieve professional-looking results | Durability relies heavily on the quality of paint, primer, and topcoat |
| Opens up options for DIY kitchen cabinet update | Some paint types (like chalk paint) require a durable topcoat |
Frequently Asked Questions (FAQ)
Q1: Will paint without sanding last?
Yes, if done correctly. The key is thorough cleaning, using a high-quality bonding primer, and applying durable cabinet paint with a good topcoat. Skipping the cleaning and degreasing steps is the main reason for paint failure in no-sanding methods.
Q2: What if my cabinets have a high-gloss finish?
High-gloss finishes are the most challenging for adhesion without sanding. You absolutely must use a very strong degreaser and consider a liquid deglosser or a high-quality bonding primer specifically designed for slick surfaces.
Q3: Can I use spray paint from a can?
While you can use spray paint from a can, it’s generally not recommended for kitchen cabinets if you want a long-lasting, durable finish. Professional spray paints and enamels designed for cabinets will yield much better results.
Q4: How many coats of paint do I need?
Typically, 2-3 thin coats of paint are sufficient over a properly primed surface. Always follow the manufacturer’s recommendations for your specific paint.
Q5: How long until my cabinets are fully cured?
Curing time varies by product, but it can take anywhere from 7 to 30 days for paint to reach its maximum hardness. During this period, be gentle with your cabinets.
Q6: What’s the difference between chalk paint and latex paint for cabinets?
Chalk paint has a matte, powdery finish and adheres well to many surfaces with minimal prep. Latex paint (especially acrylic enamels) offers a smoother, more durable finish inherently and is often preferred for high-traffic areas like kitchens when paired with the right primer and topcoat.
Q7: Can I do cabinet refacing no sanding with these methods?
While this guide focuses on painting, the principle of no-sanding prep is applicable to other cabinet updates. However, true cabinet refacing involves applying a new veneer or material over existing cabinets, which is a different process than painting.
This comprehensive guide should empower you to tackle your DIY kitchen cabinet update no sanding with confidence. With the right preparation and materials, you can achieve a beautiful, updated kitchen without the mess and hassle of traditional sanding. Enjoy your refreshed cabinets!