
A clogged kitchen sink drain pipe is a common household annoyance. What causes kitchen sink drains to clog? Kitchen sink drains typically clog due to a buildup of food particles, grease, soap scum, and other debris that accumulates over time, obstructing the flow of water. Can I unclog my kitchen sink myself? Yes, you can often unclog your kitchen sink yourself using several effective DIY drain solutions.
This comprehensive guide will walk you through various drain cleaning methods to clear clogged drain pipes effectively. We’ll cover everything from simple home remedies to more advanced techniques, ensuring your kitchen sink flows freely. Proper sink pipe maintenance can prevent future blockages and keep your plumbing in good condition.
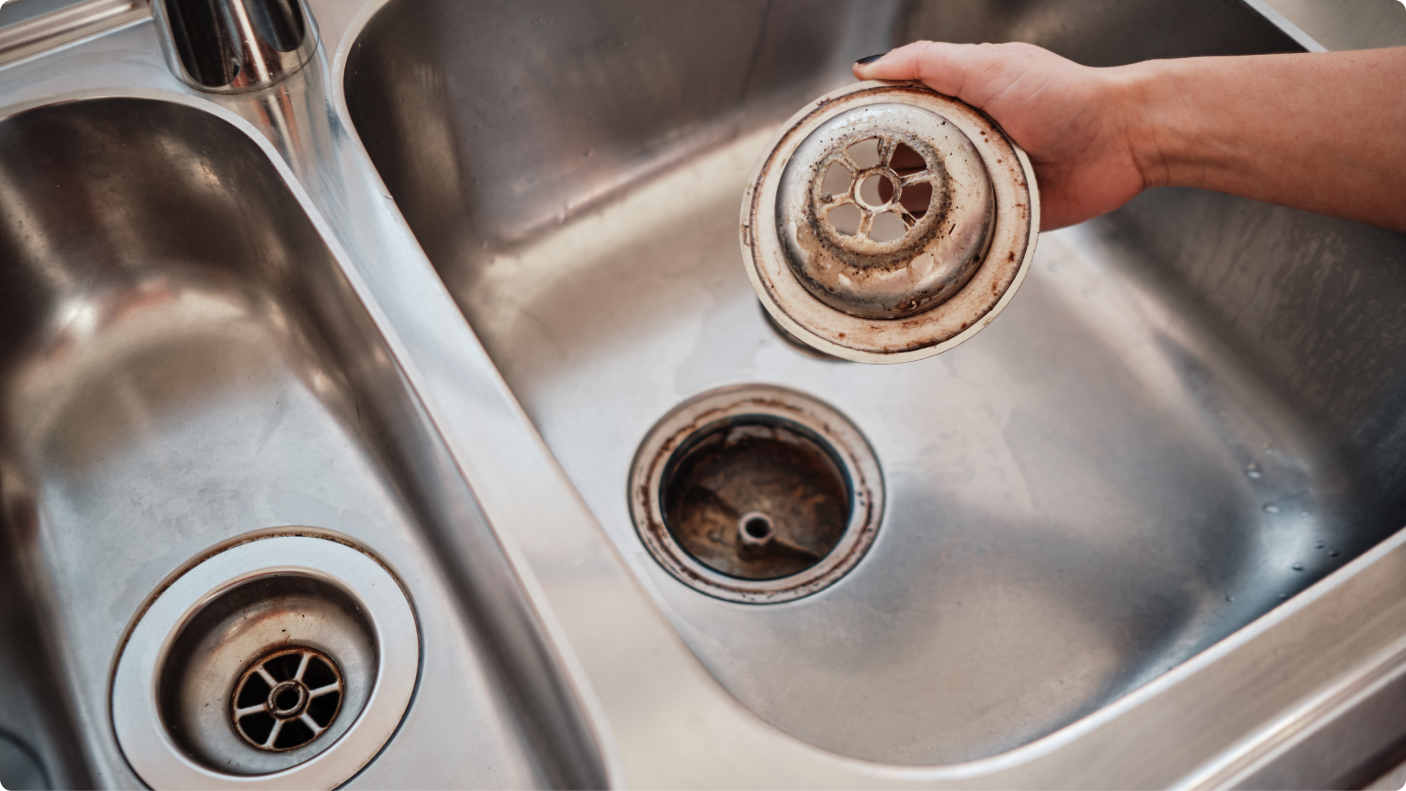
Image Source: images.ctfassets.net
Identifying the Blockage
Before you start unclogging kitchen sink drains, it’s helpful to know what you’re dealing with. Most kitchen sink clogs are caused by a combination of:
- Grease and Fats: When hot grease, oil, or fat goes down the drain, it cools and solidifies, coating the inside of the pipes. Over time, this buildup narrows the pipe and traps other debris. This is a primary culprit for many stubborn clogs.
- Food Scraps: Small food particles, coffee grounds, eggshells, and fibrous vegetables can get caught in the pipes. Even with a garbage disposal, some items may not be fully ground and can contribute to blockages.
- Soap Scum: The fats and oils in bar soap, combined with minerals in the water, create a sticky residue that can cling to pipe walls, attracting and trapping other debris.
- Foreign Objects: Accidental items like small utensils, sponges, or plastic wrappers can fall into the drain and cause an immediate blockage.
Simple DIY Drain Solutions: Your First Line of Defense
When you first notice your kitchen sink draining slowly, don’t panic. Several simple and effective household cleaning hacks can often solve the problem without calling a plumber. These methods are generally safe for most plumbing systems.
1. The Boiling Water Flush
This is the simplest and often most effective method for grease-related clogs.
How it works: Hot water can melt solidified grease and oil, allowing it to flow down the drain.
What you’ll need:
- Kettle or pot
- Boiling water
Steps:
- Carefully boil a kettle or large pot of water.
- Slowly and carefully pour the boiling water directly down the drain opening.
- Wait a few minutes.
- Run hot tap water to see if the drain has cleared.
- Repeat if necessary.
Important Note: Avoid this method if you have PVC pipes that are very old or if you suspect a complete blockage, as the sudden heat could potentially damage weakened pipes.
2. Baking Soda and Vinegar Power
This classic DIY drain solution uses a chemical reaction to break down minor clogs.
How it works: Baking soda (a base) reacts with vinegar (an acid) to create a fizzing action that can dislodge debris.
What you’ll need:
- 1 cup baking soda
- 1 cup white vinegar
- Boiling water
- Drain plug or old cloth
Steps:
- Pour 1 cup of baking soda down the drain.
- Immediately pour 1 cup of white vinegar after the baking soda.
- Quickly cover the drain opening with a plug or a damp cloth to direct the fizzing action downwards into the pipe.
- Let it sit for 15-30 minutes.
- Remove the plug and flush the drain with a kettle of boiling water, followed by hot tap water.
This method is excellent for removing sink odors as well, as the vinegar has deodorizing properties.
3. Salt and Baking Soda Combination
Similar to the baking soda and vinegar method, salt can add an abrasive element to help scrub away buildup.
How it works: Salt, combined with baking soda and hot water, can create a scrubbing action to help break down greasy deposits.
What you’ll need:
- 1/2 cup salt
- 1/2 cup baking soda
- Boiling water
Steps:
- Mix the salt and baking soda together.
- Pour the mixture down the drain.
- Let it sit for about 15-30 minutes.
- Flush with boiling water, followed by hot tap water.
4. Plunger Power: Your Go-To for Blockage Removal
A cup plunger is an essential tool for anyone dealing with unclogging kitchen sink drains.
How it works: A plunger creates suction and pressure, which can dislodge stubborn blockages by forcing water back and forth.
What you’ll need:
- A cup plunger (ensure it has a flat bottom that can create a good seal)
- Water
Steps:
- Ensure there is enough water in the sink to cover the rubber cup of the plunger. If the sink is empty, add a few inches of water.
- If you have a double sink, block the drain opening of the other sink with a wet cloth or stopper to prevent air from escaping.
- Place the plunger cup firmly over the drain opening, ensuring a tight seal.
- Pump the plunger up and down vigorously for about 15-20 seconds.
- Quickly pull the plunger up to break the seal.
- Check if the water drains. If it does, run hot water for a few minutes to clear any remaining debris.
- Repeat the plunging process several times if the clog persists.
Tackling More Stubborn Clogs: When Simple Isn’t Enough
If the basic methods don’t work, you might need to employ tools or slightly more aggressive techniques. Always proceed with caution and follow instructions carefully.
5. The Bent Wire Hanger Trick
For clogs close to the drain opening, a straightened wire coat hanger can be surprisingly effective.
How it works: The wire acts as a makeshift drain snake, allowing you to snag and pull out the debris causing the blockage.
What you’ll need:
- Wire coat hanger
- Pliers (optional, for bending)
- Gloves
- Trash bag
Steps:
- Straighten out a wire coat hanger, leaving a small hook at one end.
- Wear gloves.
- Gently insert the hooked end of the wire into the drain opening.
- Try to feel for the blockage. Once you locate it, use the hook to snag or break up the debris.
- Carefully pull out any debris you can retrieve. Dispose of it in a trash bag.
- Run hot water to see if the drain is cleared.
- Repeat if necessary. Be careful not to push the clog further down the pipe.
6. Cleaning the P-Trap: A Common Culprit
The P-trap is the U-shaped pipe beneath your sink. It’s designed to hold water, which prevents sewer gases from entering your home. However, it’s also a common place for debris to accumulate.
How it works: Directly accessing and cleaning the P-trap allows you to remove blockages that are lodged in this specific section of pipe.
What you’ll need:
- Bucket or large bowl
- Adjustable wrench or pipe wrench
- Gloves
- Rag or old towels
- Wire brush (optional)
Steps:
- Place the bucket or bowl directly under the P-trap to catch any water and debris that will spill out.
- Locate the two slip nuts connecting the P-trap to the vertical drainpipe and the horizontal trap arm.
- Using the adjustable wrench, loosen these slip nuts. Turn them counter-clockwise. You may need to hold the pipe steady with your other hand or a second wrench.
- Once loosened, carefully detach the P-trap. Be prepared for water and gunk to fall into your bucket.
- Empty the contents of the P-trap into the trash or toilet.
- Clean the inside of the P-trap. You can use a rag, a wire brush, or even a strong spray of water. Remove any visible debris.
- Inspect the exposed ends of the pipes for any blockages and clear them if possible.
- Reattach the P-trap, making sure the washers are properly seated.
- Tighten the slip nuts by hand first, then use the wrench to secure them. Do not overtighten, as this can crack the plastic or strip the threads.
- Run water into the sink and check for leaks at the slip nuts. Tighten them slightly if you see any drips.
This is an essential part of sink pipe maintenance and can resolve many drainage issues.
7. Using a Drain Snake (Auger)
For deeper clogs, a drain snake (also known as a plumber’s auger) is a more professional tool for blockage removal.
How it works: The flexible cable of the snake can be fed into the pipe, and the auger at the end can either break up the clog or snag it so it can be pulled out.
What you’ll need:
- Drain snake/plumber’s auger
- Gloves
- Rag or old towels
- Bucket
Steps:
- If the clog is severe, you might need to remove the P-trap first (as described above) to gain direct access to the drainpipe that leads into the wall.
- Feed the end of the drain snake into the pipe opening.
- Slowly push the snake into the pipe, turning the handle clockwise as you go.
- When you encounter resistance, you’ve likely hit the clog. Continue to turn the handle and push gently. The auger at the end will either break through the clog or catch onto it.
- If you feel the snake has snagged the clog, slowly pull the snake back out, turning the handle counter-clockwise. Be prepared for debris to come out with the snake.
- Clear any debris from the snake into a trash bag.
- Once the clog is removed, reassemble the P-trap if you removed it.
- Run hot water down the drain to flush out any remaining material and check for free flow.
- Repeat the snaking process if the drain is still slow.
Chemical Drain Cleaners: Use With Caution
Chemical drain cleaners are widely available, but they should be a last resort. They can be harsh on pipes and the environment.
How it works: These cleaners typically contain strong chemicals like lye or sulfuric acid that dissolve organic matter.
What you’ll need:
- Commercial drain cleaner (follow product instructions precisely)
- Gloves
- Eye protection
- Good ventilation
Steps:
- Read and follow the manufacturer’s instructions carefully. This is crucial for safety.
- Ensure good ventilation in your kitchen by opening windows or turning on the exhaust fan.
- Wear gloves and eye protection.
- Pour the recommended amount of cleaner directly into the drain.
- Allow the cleaner to sit for the time specified on the product label.
- Flush thoroughly with cold water (hot water can sometimes intensify the reaction and create dangerous fumes).
- If the clog doesn’t clear, do not use another chemical cleaner immediately. Wait at least 24 hours and try a mechanical method or a different type of cleaner.
Warnings about Chemical Drain Cleaners:
- Pipe Damage: Repeated use can corrode and damage metal pipes, especially older ones. They can also weaken PVC pipes.
- Environmental Impact: The chemicals can be harmful to aquatic life if they enter waterways.
- Safety Hazards: Fumes can be toxic, and direct contact can cause severe burns. Never mix different chemical cleaners, as this can create dangerous reactions.
- Garbage Disposal: Most chemical drain cleaners should not be used in drains with garbage disposals, as they can damage the unit.
Preventive Maintenance: Keeping Your Drains Clear
The best way to deal with a clogged sink is to prevent it from happening in the first place. Regular plumbing maintenance tips can save you a lot of hassle.
Preventing Grease Buildup
- Never pour grease, oil, or fat down the drain. Wipe greasy pans with paper towels before washing them.
- Collect grease in a container. Once it cools and solidifies, you can scrape it into the trash.
Managing Food Scraps
- Scrape plates thoroughly before rinsing. Food scraps should go into the trash or compost.
- Use a drain strainer. This simple device can catch larger food particles, preventing them from entering the drain. Empty the strainer regularly.
- Be mindful of what you put down the garbage disposal. Avoid fibrous vegetables (celery, corn husks), coffee grounds, eggshells, pasta, rice, and fruit pits, as these can all contribute to clogs.
Regular Cleaning Routines
- Monthly Boiling Water Flush: Pouring boiling water down the drain once a month can help melt away any minor grease buildup.
- Baking Soda & Vinegar Treatment: Performing the baking soda and vinegar flush once a month can help keep pipes clean and remove sink odors.
- Clean the Garbage Disposal: Run cold water while using the disposal. Periodically grind ice cubes followed by citrus peels to help clean the blades and freshen the disposal.
Grease Trap Cleaning: For Businesses and Some Homes
While not common in all residential kitchens, some homes, particularly those with more extensive food preparation or in certain locales, might have a grease trap. Grease trap cleaning is essential for these systems.
How it works: A grease trap is a plumbing device designed to intercept and block fats, oils, and solids from entering the sewer system. It separates these materials from the wastewater.
Why it’s important: If a grease trap is not cleaned regularly, it will fill up, becoming ineffective and potentially causing backups into the building or sewer system.
Cleaning Process (typically professional):
- Inspection: A plumber or specialized service will inspect the trap to assess its fill level.
- Pumping: The contents (sludge and grease) are pumped out using specialized equipment.
- Scraping and Cleaning: The interior of the trap is scraped and cleaned to remove any adhered grease and solids.
- Rinsing and Refilling: The trap is often rinsed and refilled with clean water.
- Proper Disposal: The removed waste is taken to a facility for proper treatment and disposal.
If you suspect your home has a grease trap and it’s not draining properly, it’s best to call a professional plumber for grease trap cleaning.
When to Call a Professional Plumber
While most kitchen sink clogs can be handled with DIY methods, there are times when you should call a professional plumber.
- Persistent Clogs: If you’ve tried multiple methods and the sink still won’t drain, the clog might be too deep or too severe for DIY solutions.
- Multiple Fixtures Affected: If toilets are backing up or other drains in your house are slow, it could indicate a main sewer line blockage, which requires professional intervention.
- Foul Odors Persist: If you’ve tried removing sink odors and they remain strong, there might be a more significant issue, like a blockage further down the line or a problem with your sewer line.
- Suspected Pipe Damage: If you hear gurgling sounds, notice leaks, or suspect your pipes are corroded or damaged, it’s time to call a professional.
- Lack of Confidence: If you’re uncomfortable performing any of the steps, especially P-trap removal or using a drain snake, it’s always safer to hire a professional.
Frequently Asked Questions (FAQ)
Q1: How often should I clean my kitchen sink drain pipe?
A1: For preventive maintenance, it’s recommended to perform a boiling water flush or a baking soda and vinegar treatment monthly. Regular drain strainers and immediate cleanup of grease are also key.
Q2: Can I use bleach to clean my kitchen sink drain?
A2: While bleach can sanitize, it’s not the most effective solution for grease or hair clogs. Furthermore, mixing bleach with other cleaners (like vinegar or ammonia) can create dangerous toxic fumes. It’s generally better to use methods designed for clog removal.
Q3: My garbage disposal isn’t draining. What should I do?
A3: First, ensure the disposal is turned off. Check if the reset button on the bottom of the unit has popped out and press it. If it continues to drain slowly or is completely blocked, you may have a clog in the pipe connected to the disposal. Try the methods described above, but be cautious if you have a garbage disposal. Never put your hand inside the disposal.
Q4: What are the safest DIY drain cleaning methods?
A4: The safest DIY methods include the boiling water flush, the baking soda and vinegar method, and using a plunger. These avoid harsh chemicals and are generally effective for common clogs.
Q5: How do I get rid of a bad smell from my kitchen sink drain?
A5: Bad smells are often caused by trapped food particles and grease. The baking soda and vinegar method is excellent for removing sink odors. You can also try pouring boiling water down the drain or grinding citrus peels in the garbage disposal (if you have one).
By following these drain cleaning methods and plumbing maintenance tips, you can effectively tackle clogged kitchen sink drains and keep your kitchen running smoothly. Remember, prevention is always better than cure!