
Can you use dish soap to clean wood kitchen cabinets? Yes, a diluted dish soap solution is one of the best ways to clean kitchen cabinets, especially for tackling everyday grime and grease. This guide will walk you through kitchen cabinet cleaning to make your wooden cabinet maintenance a breeze and leave them looking like new. We’ll cover everything from gentle cleaning methods to tackling stubborn stains and reviving dull finishes.
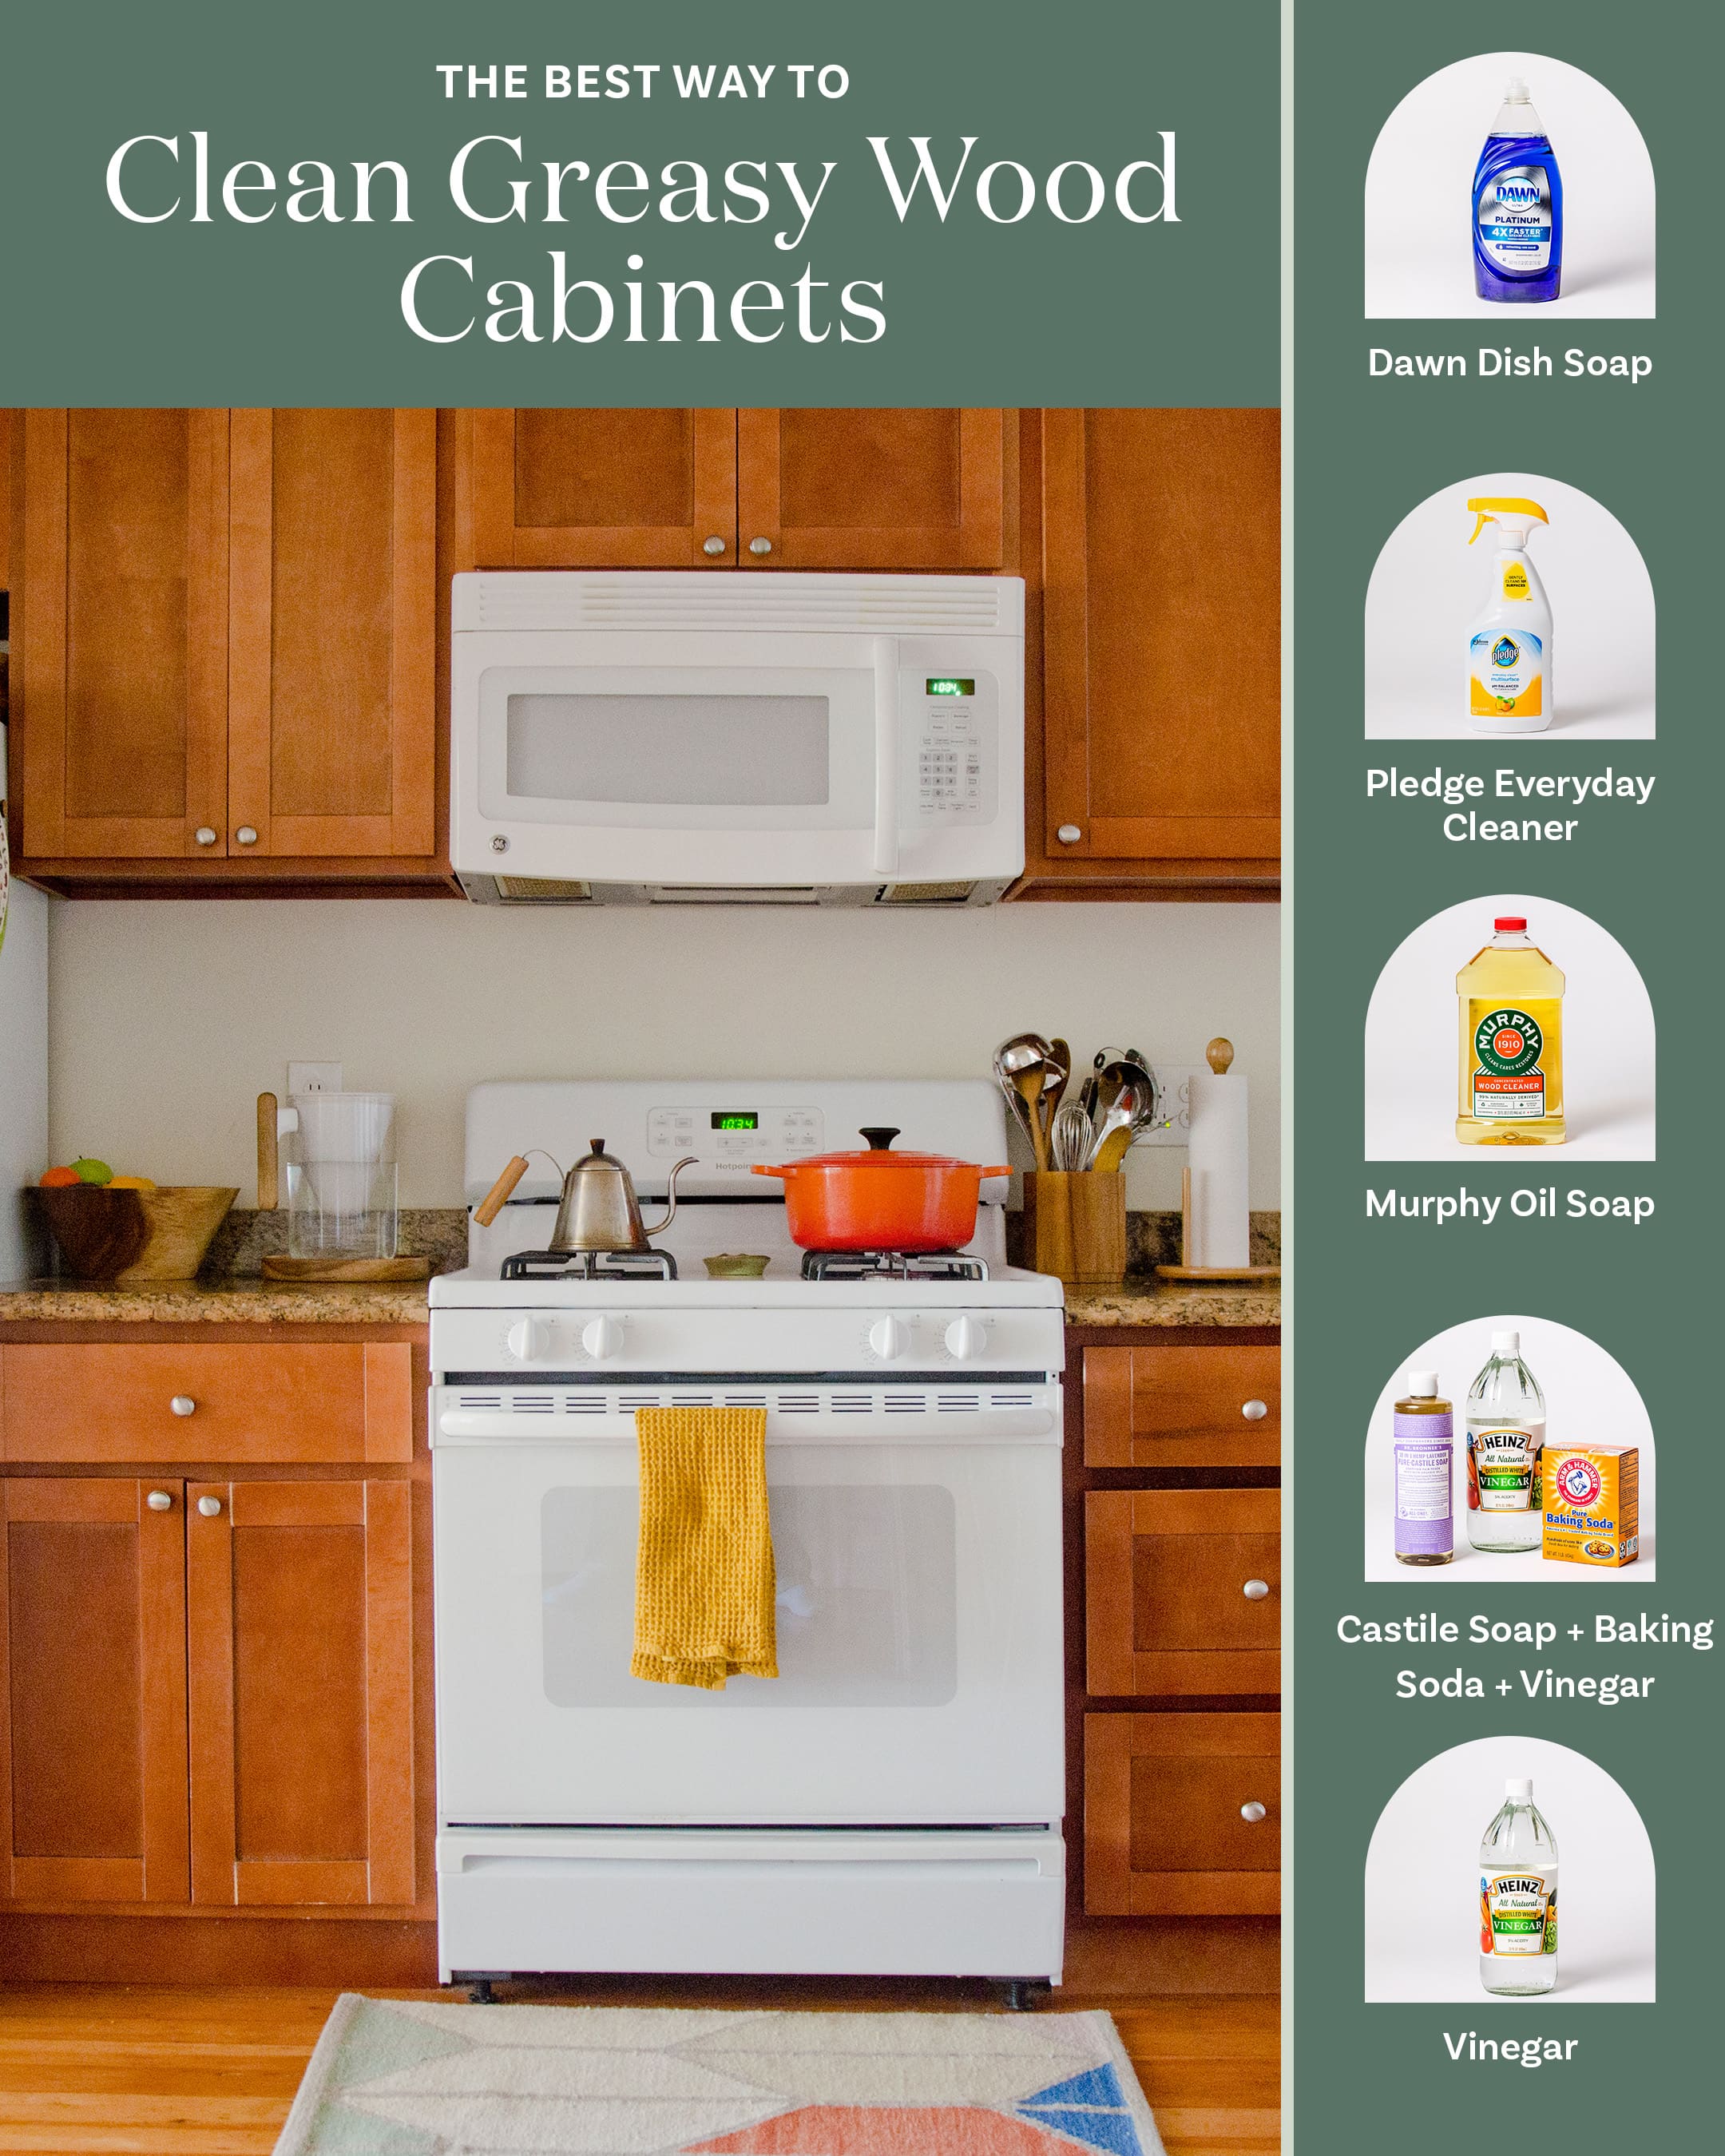
Image Source: cdn.apartmenttherapy.info
Getting Started: What You Need
Before you dive into cleaning cabinet doors, gather your supplies. Having everything ready will make the process smoother.
- Gentle Dish Soap: A few drops in warm water is perfect.
- Soft Cloths: Microfiber cloths are ideal as they are non-abrasive and highly absorbent. You’ll need a few – one for cleaning, one for rinsing, and one for drying.
- Bucket: For your cleaning solution and rinse water.
- Lukewarm Water: Not too hot, not too cold.
- Optional: Natural Wood Cleaner: For those who prefer to avoid dish soap or for tougher jobs.
- Optional: Wood Cabinet Polishing Compound: To restore shine after cleaning.
- Optional: Protective Gloves: To keep your hands from drying out.
- Optional: Old Toothbrush: For nooks and crannies.
- Optional: White Vinegar: For tougher grease spots (use sparingly).
- Optional: Mineral Oil or Beeswax Polish: For conditioning after cleaning.
The Golden Rule: Test First!
This is crucial for wooden cabinet maintenance. Before applying any cleaning solution to your entire cabinets, always test it in an inconspicuous spot. This could be the inside of a cabinet door, the underside of a shelf, or a corner that isn’t easily visible. Wait for it to dry completely to ensure it doesn’t damage the finish or cause discoloration.
The Best Way to Clean Kitchen Cabinets: Step-by-Step
Follow these steps for a thorough kitchen cabinet cleaning that will make your cabinets sparkle.
Step 1: Clear and Prepare
- Empty your cabinets completely. This is a good time for a quick declutter!
- Remove cabinet doors and drawers if they are heavily soiled or if you plan on doing a deeper clean. This allows you to access all areas easily. Label them if you do this to ensure they go back in the right place.
Step 2: Dusting is Key
- Always start with a dry dusting. Use a soft, dry microfiber cloth to remove loose dust, crumbs, and cobwebs from all surfaces, including the tops and edges. This prevents you from just pushing dirt around when you start wet cleaning.
Step 3: Tackling Grease and Grime
This is where removing grease from cabinets becomes the main focus. Kitchens are notorious for grease build-up.
- The Gentle Approach: Mix a few drops of mild dish soap with lukewarm water in your bucket.
- Dampen, Don’t Soak: Dip a clean microfiber cloth into the soapy water and wring it out thoroughly. The cloth should be damp, not dripping wet. Excess water can damage wood finishes.
- Wipe Down Surfaces: Gently wipe down the cabinet surfaces, starting from the top and working your way down. Pay attention to areas around knobs, handles, and hinges where grease tends to accumulate.
- Circular Motions: Use gentle, circular motions to loosen dirt and grease.
- Rinse and Dry Immediately: Dip a second clean cloth in plain lukewarm water and wring it out well. Wipe down the areas you just cleaned to remove any soap residue. Immediately follow with a third dry microfiber cloth to buff and dry the surface completely. This is a vital step to prevent water spots and streaks.
Step 4: Dealing with Stubborn Spots
For tougher spots, you might need something a little stronger, but always proceed with caution.
- DIY Cabinet Cleaner for Grease: If the dish soap solution isn’t cutting it, you can create a slightly stronger DIY cabinet cleaner. Mix equal parts white vinegar and water. However, use this solution very sparingly and test it first. Vinegar is acidic and can dull some finishes if used too often or in too high a concentration. Apply the solution to your cloth, not directly to the cabinets, and wipe the greasy spot. Rinse immediately with a damp cloth and dry thoroughly.
- Natural Wood Cleaner Options: Many natural wood cleaner recipes are available online, often using ingredients like olive oil, lemon juice, or baking soda. For example, a paste made from baking soda and water can be a gentle abrasive for stubborn spots. Apply it with a soft cloth, rub gently, and then wipe clean with a damp cloth followed by a dry one. Always test these as well.
Step 5: Don’t Forget the Details
- Nooks and Crannies: Use a damp cotton swab or an old toothbrush dipped in your cleaning solution to get into grooves, around hardware, and any tight spaces. Remember to wipe away any residue and dry these areas immediately.
- Cabinet Doors: When cleaning cabinet doors, focus on both the flat surfaces and the edges. If your doors have raised panels or decorative molding, take your time to clean each section carefully.
What About Wood Cabinet Refinishing?
If your cabinets are significantly worn, scratched, or the finish is peeling, wood cabinet refinishing might be the answer. This is a more involved process that goes beyond simple cleaning.
- Sanding: Refinishing typically involves lightly sanding the existing finish to create a smooth surface for a new coat.
- Staining/Painting: After sanding, you can apply a new stain or paint to refresh the look.
- Sealing: A protective topcoat (like polyurethane) is essential to protect the new finish.
Wood cabinet refinishing is a significant undertaking and might be best left to professionals if you’re not experienced. However, for minor scratches, touch-up kits or a good wood cabinet polishing compound can work wonders.
Wood Cabinet Polishing: Restoring Shine
Once your cabinets are clean and dry, it’s time for the finishing touch: wood cabinet polishing.
- Choosing a Polish: There are many wood polishes available. Some are designed to add shine, while others offer protection or minor scratch repair. Look for products specifically designed for kitchen cabinets.
- Application: Apply a small amount of polish to a clean, soft cloth.
- Buffing: Gently rub the polish into the wood surface in the direction of the wood grain.
- Buff Again: Use a second clean cloth to buff the surface and bring out the shine. This step can make a huge difference in how new your cabinets look and feel.
Wooden Cabinet Maintenance: Keeping Them Like New
Regular wooden cabinet maintenance is the best way to prevent heavy build-up and extend the life of your cabinets.
- Wipe Up Spills Immediately: Kitchens are prone to spills. Wipe up any splatters or spills as soon as they happen with a dry cloth or a slightly damp one if needed.
- Regular Dusting: Dust your cabinets at least once a week. This prevents dust from settling into grooves and becoming harder to remove.
- Deep Clean Periodically: Aim for a more thorough kitchen cabinet cleaning every 3-6 months, depending on your kitchen’s usage.
- Avoid Harsh Chemicals: Never use abrasive cleaners, steel wool, or harsh chemicals like ammonia or bleach, as these can strip the finish and damage the wood.
- Conditioning (Optional): For natural wood finishes, occasionally applying a good quality furniture wax or a wood conditioner (like mineral oil or beeswax polish) can help protect the wood and keep it from drying out. Always test these in an inconspicuous area first.
Natural Wood Cleaner Recipes
For those who prefer a natural wood cleaner, here are a few popular and effective options:
Recipe 1: Simple Dish Soap and Water (Your Go-To)
- Ingredients:
- 1 gallon of lukewarm water
- 1-2 drops of mild dish soap
- Instructions: Mix gently. Use a damp cloth for cleaning, rinse with a damp cloth, and dry immediately.
Recipe 2: Vinegar and Water Solution (For Grease)
- Ingredients:
- 1 cup of lukewarm water
- 1 cup of white vinegar
- Instructions: Mix well. Use sparingly. Dampen a cloth, wipe the area, rinse thoroughly with a water-dampened cloth, and dry. This is excellent for removing grease from cabinets.
Recipe 3: Olive Oil and Lemon Juice Polish
- Ingredients:
- 1/4 cup olive oil
- 1/4 cup lemon juice
- Instructions: Mix in a bowl. Apply with a soft cloth, let it sit for a few minutes, then buff with a clean cloth. This can add a lovely sheen and help with minor scratches, acting as a form of wood cabinet polishing.
Recipe 4: Baking Soda Paste (For Tough Spots)
- Ingredients:
- 1/4 cup baking soda
- 2-3 tablespoons of water (enough to make a paste)
- Instructions: Mix to form a paste. Apply to stubborn spots with a soft cloth. Gently rub. Wipe clean with a damp cloth and dry.
Cleaning Different Cabinet Finishes
While the methods above are generally safe for most wood finishes, there are slight variations to consider.
Laminate and Thermofoil Cabinets
These aren’t true wood but often mimic it.
- Best Approach: A damp cloth with mild dish soap is usually sufficient.
- Caution: Avoid abrasive cleaners, excessive moisture, and heat, as these can cause peeling or damage.
Painted Cabinets
- Best Approach: Mild soap and water.
- Caution: Be gentle. Harsh scrubbing can remove the paint. For deeper cleaning or restoring wood cabinets that are painted, a specialized cabinet cleaner for painted surfaces might be best.
Stained and Sealed Wood Cabinets
This is where the majority of the advice in this guide applies directly.
- Best Approach: Mild dish soap and water, natural cleaners, and appropriate wood polishes.
- Caution: Avoid soaking the wood, as this can cause warping or damage to the sealant.
Table: Troubleshooting Common Cabinet Issues
| Problem | Cause | Solution |
|---|---|---|
| Grease Buildup | Cooking oils, steam | Removing grease from cabinets requires a slightly stronger solution. Try a diluted vinegar-water mix or a specialized degreaser safe for wood finishes. Wipe with a damp cloth and dry immediately. |
| Water Spots/Stains | Spills not wiped up | For fresh spots, a gentle buff with a dry cloth might work. For older stains, try a paste of baking soda and water, or a furniture polish designed for stain removal. If the finish is damaged, restoring wood cabinets might involve a light sanding and refinishing. |
| Sticky Residue | Syrup, jam, food spills | Use a damp cloth with a little mild dish soap. For very sticky spots, a paste of baking soda and water can help. Wipe clean and dry thoroughly. |
| Fading or Dullness | Sunlight, age, wear | Wood cabinet polishing with a good quality polish can restore shine. For significant fading, restoring wood cabinets through refinishing might be necessary. |
| Minor Scratches | Everyday wear and tear | For light scratches, a wood polish or furniture wax can often mask them. Colored wood pencils or crayons that match your cabinet color can also fill in minor scratches. For deeper scratches, wood cabinet refinishing or touch-up kits are needed. |
| Fingerprints | Oils from hands | A dry microfiber cloth is usually enough to wipe away fresh fingerprints. For stubborn ones, a slightly damp cloth with mild soap, followed by drying, will work. |
| Paint Chipping/Peeling | Age, moisture, improper application | This indicates a need for wood cabinet refinishing. You’ll need to remove the loose paint, sand, prime, and repaint. |
| White Marks (Heat/Moisture) | Hot items or prolonged moisture exposure | These can be tricky. Try placing a dry cloth over the mark and gently heating it with an iron on a low setting. Or, rub with a soft cloth dipped in a bit of mineral oil. If these don’t work, you may need to use a specialized furniture polish or consider restoring wood cabinets. |
Frequently Asked Questions (FAQ)
Q1: Can I use furniture polish on all wood cabinets?
A1: While furniture polish can be great for wood cabinet polishing, always check the product label. Some polishes are better suited for specific wood types or finishes. It’s also wise to test it on an inconspicuous area first.
Q2: How often should I deep clean my kitchen cabinets?
A2: For most kitchens, a deep clean every 3-6 months is sufficient for wooden cabinet maintenance. However, if you do a lot of cooking or have young children, you might need to clean them more frequently.
Q3: What is the best way to remove sticky residue from cabinets?
A3: A damp cloth with a small amount of mild dish soap is typically the best way to clean kitchen cabinets with sticky residue. For particularly stubborn spots, a paste of baking soda and water can be effective. Always rinse and dry immediately.
Q4: Is it okay to use glass cleaner on my cabinets?
A4: Generally, no. Glass cleaners often contain ammonia or alcohol, which can be too harsh for wood finishes and may cause clouding or damage. Stick to methods specifically designed for wood.
Q5: My cabinets look dull. Can I revive them without refinishing?
A5: Yes, often! Wood cabinet polishing with a good quality furniture polish or wax can restore shine and luster. A good cleaning followed by buffing can also make a significant difference. For deep dullness or significant wear, restoring wood cabinets through refinishing might be the ultimate solution.
By following these guidelines, you can keep your wooden kitchen cabinets looking beautiful and new for years to come. Happy cleaning!