
A sharp knife is essential for any kitchen. Can you sharpen a kitchen knife at home? Yes, you absolutely can! With the right tools and a little practice, you can achieve razor-sharp blades that make cooking easier and safer. This guide will walk you through everything you need to know about keeping your kitchen knives in top condition.
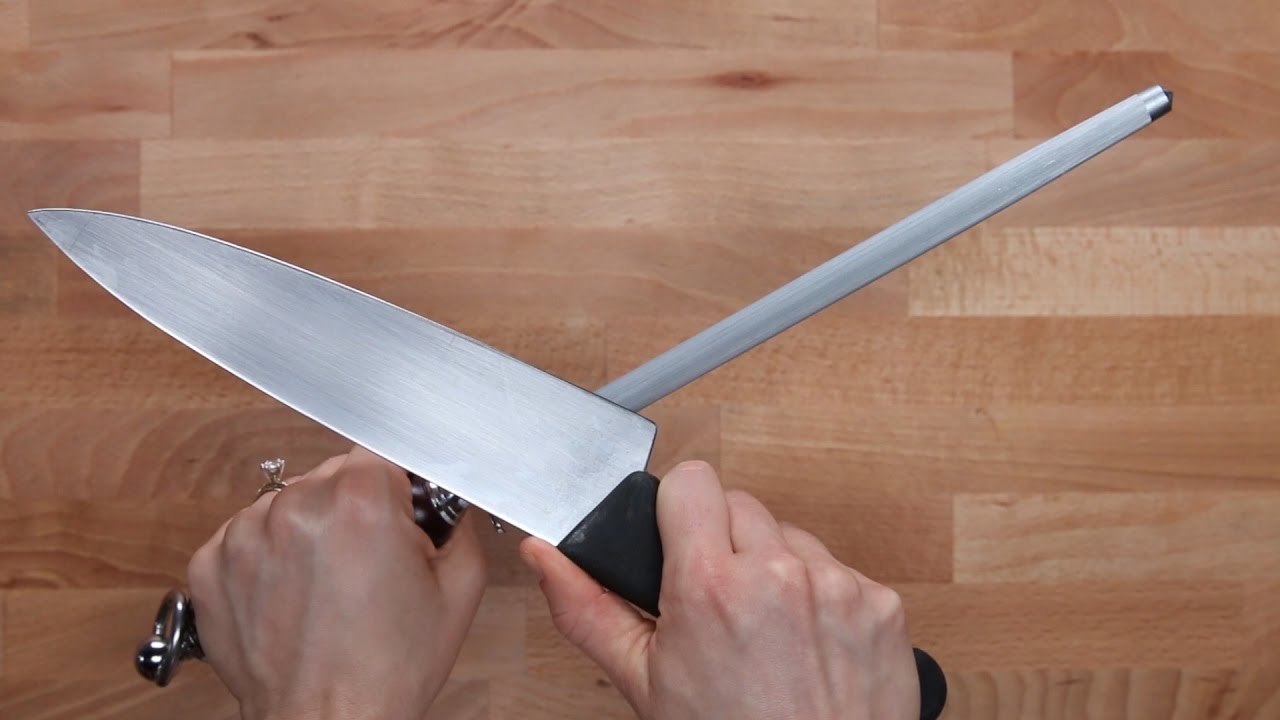
Image Source: i.ytimg.com
Why Sharp Knives Matter
A dull knife is not just frustrating; it’s dangerous. When a knife isn’t sharp, it can slip off food, increasing the risk of cuts. Sharp knives also require less force to cut, meaning you’re less likely to bruise or mash delicate ingredients. From dicing onions to filleting fish, a sharp blade makes every task smoother and more enjoyable. Proper blade maintenance ensures your knives perform at their best.
Essential Sharpening Tools
There are several tools available for sharpening your kitchen knives. Choosing the right one depends on your preference, budget, and how serious you are about knife care.
Knife Sharpening Stone (Whetstone)
A knife sharpening stone, often called a whetstone sharpening method, is a classic and highly effective way to sharpen knives. Whetstones come in various grits, which refer to the coarseness of the abrasive particles.
- Coarse Grit Stones (e.g., 200-600 grit): These are for repairing chipped or very dull blades. They remove metal quickly.
- Medium Grit Stones (e.g., 800-1500 grit): These are the workhorses for general sharpening. They refine the edge and bring it back to sharpness.
- Fine Grit Stones (e.g., 2000-6000 grit and higher): These are for polishing the edge, making it incredibly sharp and smooth.
Types of Whetstones:
- Water Stones: These are the most common type. You soak them in water before use. They create a slurry that helps with sharpening.
- Oil Stones: These require oil for lubrication. They tend to be harder and wear down slower than water stones.
- Diamond Stones: These have a surface embedded with diamond particles. They are very durable and don’t require soaking, but they can be more expensive.
Honing Steel
A honing steel, also known as a sharpening steel or honing rod, is not a sharpener. Its primary purpose is to realign the microscopic burr that forms on the edge of a knife during use. Think of it as straightening out a bent wire rather than removing metal. Regular honing helps maintain the sharpness achieved through sharpening, making your knife cut better for longer.
Electric Knife Sharpener
An electric knife sharpener offers a quick and convenient way to sharpen your knives. These machines typically have slots with abrasive wheels or belts that guide the blade at a set sharpening angle. They are great for speed and ease of use, especially for those who don’t want to learn manual sharpening techniques.
Pros of Electric Sharpeners:
- Fast and easy to use.
- Consistent sharpening angle.
- Good for beginners.
Cons of Electric Sharpeners:
- Can remove more metal than manual methods, shortening the knife’s lifespan.
- May not achieve the same level of refinement as a good whetstone.
- Can be more expensive upfront.
Sharpening System
A sharpening system often refers to a more comprehensive setup that can include various stones, guides, and jigs to ensure consistent angles and results. Some systems offer multiple sharpening stages for a complete edge refinement.
The Art of Whetstone Sharpening
Whetstone sharpening is the preferred method for many chefs and knife enthusiasts because it offers the most control and can achieve the sharpest, most refined edges. It requires patience and practice, but the results are well worth it.
Preparing Your Whetstone
Most water stones need to be submerged in water until they stop releasing bubbles. This usually takes 5-10 minutes. Some stones are “splash and go” and only need a quick wetting. Always check the manufacturer’s instructions for your specific stone.
Finding the Right Sharpening Angle
The sharpening angle is crucial for creating a good edge. Different knives and types of steel benefit from different angles.
- Japanese Knives: Typically sharpened at a more acute angle, around 10-17 degrees per side.
- Western Knives: Generally sharpened at a slightly wider angle, around 15-20 degrees per side.
How to find the angle: A common trick is to place the knife on the stone. Visualize a 90-degree angle. Halving that gives you 45 degrees. Halving that again gives you approximately 22.5 degrees. You’ll want to aim for slightly less than half of that for most knives. Many sharpening systems and angle guides can help you maintain this.
The Sharpening Process: Step-by-Step
Here’s a sharpening guide for using a whetstone:
- Secure the Stone: Place the wet whetstone on a non-slip surface. A damp cloth or a dedicated stone holder works well.
- Start with the Coarse Grit (if needed): If your knife is very dull or has nicks, start with a coarse grit stone. Hold the knife at your chosen sharpening angle. Place the heel of the blade on the stone.
- The Stroke:
- Apply even pressure.
- Move the knife forward along the stone, as if you were trying to slice off a thin layer of the stone.
- As you move, sweep the blade across the stone, working from heel to tip. This ensures the entire edge makes contact.
- Maintain the sharpening angle throughout the stroke.
- Repeat this motion, moving the knife across the stone, about 5-10 times.
- Create a Burr: After several strokes on one side, you should feel a tiny ridge of metal along the opposite edge. This is called a burr. You can check for it by gently running your fingertip away from the edge.
- Sharpen the Other Side: Flip the knife over and repeat the process on the other side of the blade, using the same number of strokes and the same sharpening angle. You want to create a burr on the first side.
- Refine the Edge (Medium Grit): Once you’ve established a burr, move to a medium grit stone. Repeat the sharpening process on both sides until you feel the burr diminish.
- Polish the Edge (Fine Grit): Switch to a fine grit stone. Use fewer strokes, focusing on very light pressure. This will refine and polish the edge, making it exceptionally sharp. Alternate sides with each stroke, gradually reducing the pressure.
- Honing: After sharpening, use a honing steel to realign the edge. Hold the steel vertically or at an angle and draw the blade down it, alternating sides, as you did during sharpening.
- Clean and Test: Rinse your knife thoroughly with water and dry it completely. Test the sharpness by carefully trying to slice a piece of paper. A sharp knife should glide through the paper with ease.
Sharpening Oil: For oil stones, a few drops of sharpening oil are recommended. It helps lubricate the stone, float away metal particles, and prevent the stone from clogging. Water stones typically don’t need oil; water is sufficient.
Using an Electric Knife Sharpener
Electric sharpeners simplify the sharpening process significantly.
- Read the Manual: Always refer to your specific sharpener’s manual for instructions.
- Select the Slot: Most electric sharpeners have multiple slots: coarse, fine, and sometimes a honing slot. Start with the coarse slot if your knife is very dull, or go straight to fine if it just needs a touch-up.
- Insert and Pull: Gently insert the heel of your knife into the appropriate slot. Pull the knife towards you with light, even pressure. Don’t force it.
- Repeat: Typically, 3-5 passes per slot are sufficient. Alternate between slots if your sharpener recommends it.
- Honing (if applicable): Some electric sharpeners have a honing stage. Use this after sharpening for a final polish.
- Clean: Clean your knife and the sharpener as instructed by the manufacturer.
Maintaining Your Sharpness: The Role of the Honing Steel
Regularly using a honing steel is a critical part of blade maintenance and keeping your knives sharp between actual sharpening sessions.
- How Often: Hone your knives before or after each use, or at least once a week, depending on how often you use them.
- Technique:
- Hold the honing steel vertically with the tip resting on a stable surface (like a cutting board).
- Hold your knife at the correct sharpening angle (usually 15-20 degrees for Western knives) against the top of the steel.
- Draw the knife down the steel in a smooth, controlled motion, maintaining the angle. As you draw down, let the blade glide across the entire length of the steel.
- Repeat on the other side of the steel with the other side of the blade.
- Do this about 5-10 times per side.
- Ceramic Honing Rods: These are harder than steel rods and can actually hone away a tiny amount of metal, making them more effective than traditional steel rods for some tasks.
When to Seek Professional Help
While you can certainly sharpen most kitchen knives yourself, there are times when professional knife sharpening is the best option.
- Very Damaged Blades: If your knives have significant chips, cracks, or uneven edges that are difficult to repair with home tools.
- Expensive or Specialty Knives: For high-end knives made of specialized steel, you might want a professional’s expertise to avoid damaging them.
- Lack of Time or Confidence: If you don’t have the time or feel comfortable sharpening them yourself, a professional service is a great alternative.
Professionals often use specialized equipment, including belt grinders and water-cooled grinding wheels, to achieve exceptionally sharp edges.
Choosing the Right Sharpening System
For those who want a comprehensive approach to knife care, investing in a good sharpening system can be beneficial. These systems often combine multiple grit stones, angle guides, and sometimes even strops for polishing. They aim to provide a consistent and repeatable sharpening experience.
Tips for Better Sharpening
- Consistency is Key: The most important factor is maintaining a consistent sharpening angle.
- Light Pressure: Especially on finer grits, use light pressure. The abrasive material does the work.
- Lubrication: Use enough water for water stones or oil for oil stones.
- Work in Stages: Don’t skip grits. Each stage prepares the edge for the next.
- Practice: Your first few attempts might not be perfect. Keep practicing, and you’ll improve.
- Safety First: Always be mindful of the sharp edge. Keep your fingers away from the cutting line.
Frequently Asked Questions (FAQ)
How often should I sharpen my kitchen knives?
This depends on usage. If you use your knives daily, you might need to sharpen them every 1-3 months. Honing should be done much more frequently, perhaps daily or weekly. A good indicator that your knife needs sharpening is if it starts to drag through food instead of slicing cleanly.
What’s the difference between sharpening and honing?
Sharpening removes metal to create a new edge. Honing realigns the existing edge without removing significant metal. Sharpening is done less frequently than honing.
Can I use a sharpening stone for serrated knives?
Serrated knives are more challenging to sharpen with a traditional flat knife sharpening stone. They usually require a specialized sharpening rod or stone that matches the serrations’ angle. Some electric sharpeners also have specific slots for serrated blades.
How do I store my sharpening stones?
Allow water stones to dry completely before storing them to prevent mold or damage. Store them in a dry place. Diamond stones are generally easier to store as they don’t require soaking.
What is the best type of knife sharpener for beginners?
For beginners, an electric knife sharpener or a sharpening system with angle guides can be the easiest to start with, as they help maintain a consistent sharpening angle. However, learning to use a whetstone sharpening method will give you the most control and the best results in the long run.
Is it okay to use cooking oil to sharpen my knife?
No, sharpening oil is specifically designed for the sharpening process. Cooking oils don’t have the right viscosity or properties and can clog your sharpening stones.
By following this sharpening guide, you can transform your dull kitchen knives into precision cutting tools. Proper blade maintenance and regular sharpening will not only make your cooking experience more enjoyable but also ensure your knives last a lifetime.