
Can you replace a kitchen sink sprayer yourself? Yes, you absolutely can! Replacing a kitchen sink sprayer is a straightforward DIY project that most homeowners can tackle with basic tools and a little patience.
A leaky or malfunctioning kitchen sink sprayer can be a real nuisance. It might drip constantly, spray weakly, or not spray at all. Fortunately, replacing the sprayer unit itself, or even just the hose, is a common and achievable home repair. This guide will walk you through the entire process, from identifying the problem to enjoying your brand-new, perfectly functioning sprayer. We’ll cover everything you need to know for a successful kitchen sink sprayer replacement.
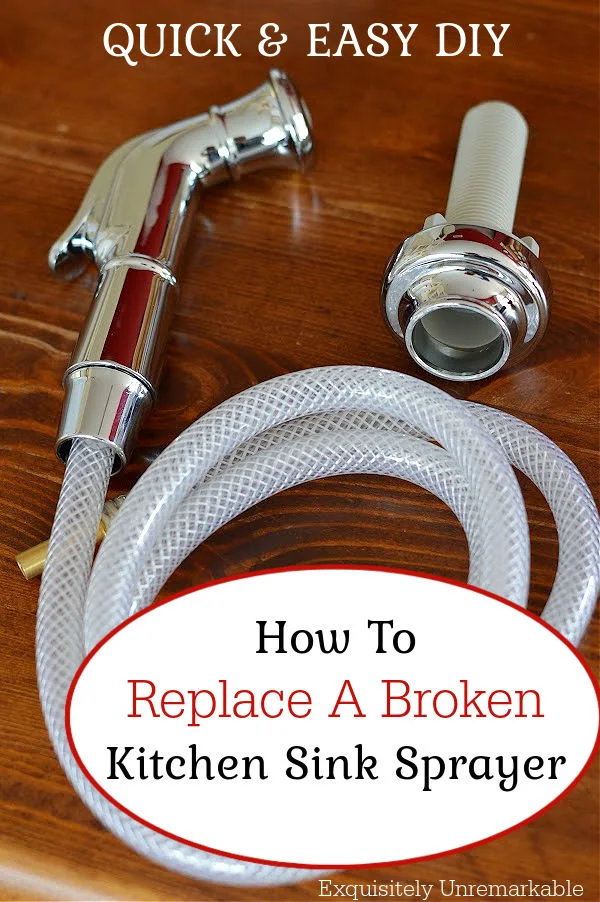
Image Source: blogger.googleusercontent.com
Why Replace Your Kitchen Sink Sprayer?
Several reasons might prompt you to consider a DIY sink sprayer change. The most common is a fix leaking sink sprayer. A persistent drip from the sprayer head or the connection point can waste water and be incredibly annoying. Other reasons include:
- Reduced Water Pressure: Over time, mineral buildup can clog the sprayer head, leading to a weak or uneven spray.
- Cracked or Damaged Hose: The hose connecting the sprayer to the faucet can develop cracks or kinks, causing leaks or preventing proper function.
- Broken Sprayer Head: The trigger mechanism or the spray settings on the head might break.
- Outdated Style: You might simply want to update the look of your kitchen with a newer, more stylish sprayer.
- Complete Faucet Upgrade: Often, when replacing an old faucet, you’ll also need to replace sprayer attachment sink components.
What You’ll Need: Tools and Supplies
Before you start, gather all the necessary tools and supplies. Having everything on hand will make the process smoother and faster.
Essential Tools:
- Adjustable wrench or basin wrench
- Pliers (slip-joint or channel-lock)
- Screwdriver set (Phillips and flathead)
- Bucket or basin
- Old towels or rags
- Flashlight or headlamp
- Plumber’s tape (Teflon tape)
- Possibly a utility knife
New Sprayer Parts:
- New kitchen sink sprayer head and hose assembly
- (Optional) New sprayer hose weight
Tip: When purchasing a new sprayer, ensure it’s compatible with your existing faucet. Check the brand and model of your faucet, or take pictures of the old sprayer and its connections to a hardware store for assistance. Many brands offer universal replacement kits, but compatibility is key to avoid leaks. If you have an undermount sink sprayer install in mind, the principles are similar, but access might be slightly trickier.
Step-by-Step Guide: How To Replace A Sprayer On A Kitchen Sink
Let’s get to it! Follow these steps carefully to successfully replace sprayer attachment sink components.
Step 1: Turn Off the Water Supply
This is the most crucial first step. You don’t want any unexpected water flow while you’re working.
- Locate the shut-off valves for your kitchen faucet. These are usually found under the sink, connected to the hot and cold water lines that go up to the faucet.
- Turn the handles of both the hot and cold water valves clockwise until they are fully closed.
- Turn on the kitchen faucet to drain any remaining water in the lines and to confirm that the water is indeed shut off. Water should stop flowing after a few seconds.
Step 2: Prepare the Work Area
Working under the sink can be cramped and messy. Prepare your space to make the job easier and cleaner.
- Place a bucket or basin directly under the faucet connections to catch any residual water.
- Lay down old towels or rags around the work area to absorb drips and keep the floor dry.
- Clear out any items stored under your sink to give yourself plenty of room to maneuver.
- Use a flashlight or headlamp to ensure you have good visibility.
Step 3: Detach the Old Sprayer Hose and Sprayer Head
Now it’s time to detach kitchen sink sprayer components.
- Locate the Hose Connection: Look for where the sprayer hose connects to the faucet’s water supply line under the sink. It’s usually a metal nut connecting the flexible hose to a fitting on the faucet body.
- Disconnect the Hose:
- Use an adjustable wrench to grip the nut connecting the sprayer hose to the faucet.
- Hold the faucet fitting steady with another wrench or pliers to prevent the faucet from twisting.
- Turn the nut counter-clockwise to loosen and remove it. Be prepared for a small amount of water to drip out.
- Remove the Old Sprayer Head and Hose:
- If the hose is connected to the faucet via a separate fitting, you might need to unscrew that fitting as well.
- Gently pull the old hose down through the sinkhole from the top. If it feels stuck, try wiggling it.
- Some older models might have the sprayer hose attached directly to the faucet body in a different manner. In such cases, you might need to unscrew a retaining nut or clip from underneath the sink deck.
- For pull-down sprayer replacement, the hose often passes through the faucet body and connects internally. You’ll likely need to detach the hose from an internal valve under the sink.
Troubleshooting: If the connection is very tight or corroded, apply a penetrating lubricant (like WD-40) and let it sit for a few minutes before trying again.
Step 4: Remove the Old Sprayer Hose Weight (If Applicable)
Many sprayers have a weighted piece of metal attached to the hose to help it retract.
- Locate the hose weight under the sink. It’s usually clamped onto the sprayer hose.
- Most weights have a screw or a clip mechanism. Use a screwdriver or pliers to loosen or open the clamp and slide the weight off the old hose.
- If you’re replacing the entire assembly, you may not need to reuse the old weight. Your new sprayer kit might come with a new one.
Step 5: Install the New Sprayer Hose and Head
This is where we how to install new sink sprayer parts.
- Feed the New Hose:
- From the top of the sink, feed the new sprayer hose through the designated hole in the sink or countertop.
- If your new sprayer comes with a new weight, attach it to the new hose according to the manufacturer’s instructions. Position it so it allows the sprayer head to retract smoothly but doesn’t get caught on anything.
- Connect the Hose to the Faucet:
- Under the sink, locate the correct port on the faucet body where the sprayer hose connects. It’s usually labeled or easily identifiable.
- Thread the new sprayer hose connection onto the faucet fitting.
- Hand-tighten the connection first to ensure it’s properly seated and not cross-threaded.
- Use an adjustable wrench to tighten the connection an additional quarter to half turn. Be careful not to overtighten, as this can damage the threads or the fitting. Again, holding the faucet fitting steady is a good practice.
Important Note for Pull-Down Sprayers: For pull-down sprayer replacement, the hose connects directly to the faucet’s internal valve. You’ll thread the hose onto this valve and tighten it. Ensure the hose moves freely through the faucet body without snagging.
Step 6: Connect the Water Supply Lines (if they were disconnected)
If you had to disconnect the main water supply lines from the faucet for any reason, reconnect them now.
- Ensure the rubber washers or O-rings are in place on the supply line connections.
- Hand-tighten the nuts, then use a wrench to tighten them an additional quarter turn. Avoid overtightening.
Step 7: Turn the Water Supply Back On and Test
It’s time to see if your new sprayer works!
- Slowly turn the hot and cold water shut-off valves back on by turning them counter-clockwise.
- Go to the faucet and turn on the water.
- Check all the connections you worked on under the sink for any leaks. Pay close attention to where the sprayer hose connects to the faucet.
- Test the sprayer. Press the trigger and check the spray pattern. Ensure the hose retracts smoothly.
- If you notice any leaks, turn off the water supply again and re-tighten the leaking connection slightly. If the leak persists, you might need to disassemble the connection, apply new plumber’s tape to the threads, and reassemble.
Step 8: Clean Up
- Wipe up any spilled water.
- Put your cleaning supplies and tools away.
- Replace any items you moved from under the sink.
Congratulations! You’ve successfully completed your kitchen faucet sprayer removal and replacement.
Specific Considerations for Different Sprayer Types
While the general process is similar, some specific types of sprayers might have slightly different installation nuances.
Replacing a Standard Side Sprayer
- Mounting: The sprayer itself often screws into a separate base or holder mounted on the sink or countertop. You’ll need to unscrew the old sprayer from this holder.
- Hose Connection: The hose connection is typically a standard threaded fitting under the sink.
Replacing a Pull-Down or Pull-Out Sprayer
- Hose Routing: The hose for these sprayers usually runs through the spout of the faucet. This means you need to ensure the new hose is routed correctly and doesn’t kink.
- Hose Weight: The hose weight is crucial for retraction and is usually attached to the hose at a specific point recommended by the manufacturer.
- Counterweights: Some models might have additional counterweights that need to be transferred or replaced.
Troubleshooting Common Issues During Installation
- Leaking Connections:
- Cause: Loose connection, damaged threads, missing or damaged washer/O-ring, improper threading.
- Solution: Tighten the connection slightly. If still leaking, disassemble, check the washer/O-ring, reapply plumber’s tape to the threads, and reassemble carefully.
- Sprayer Not Retracting:
- Cause: Incorrectly placed hose weight, kinking in the hose, obstruction under the sink.
- Solution: Adjust the position of the hose weight. Ensure the hose is not bent sharply. Clear any obstructions.
- Weak Spray:
- Cause: Mineral buildup in the sprayer head, kink in the hose, low water pressure.
- Solution: Unscrew the sprayer head and soak it in vinegar to dissolve mineral deposits. Check the hose for kinks. If the problem persists, ensure your main water supply is adequate.
Frequently Asked Questions About Kitchen Sink Sprayer Replacement
Q1: How often do kitchen sink sprayers need to be replaced?
A1: There’s no set schedule. They typically need replacement when they start leaking, spraying poorly, or break. Some sprayers can last for many years.
Q2: Can I replace just the sprayer head without replacing the hose?
A2: Yes, in many cases, you can. If your hose is in good condition but the sprayer head is faulty, you can often unscrew the old head from the hose and screw on a new compatible head. Ensure the threading matches.
Q3: Do I need special tools to replace a kitchen sink sprayer?
A3: Generally, an adjustable wrench, pliers, and a screwdriver are sufficient. A basin wrench can be helpful for reaching tight connections under the sink, but it’s not always essential.
Q4: My new sprayer kit didn’t come with a hose weight. Can I reuse the old one?
A4: Yes, if your old hose weight is in good condition and fits the new hose securely, you can reuse it. Make sure it’s attached at a point that allows for smooth retraction.
Q5: What if I can’t find the shut-off valves under my sink?
A5: If you can’t locate or operate the shut-off valves under the sink, you’ll need to shut off the main water supply to your entire house. This valve is usually located where the water line enters your home, often in the basement, utility room, or near your water meter.
Q6: My faucet is an older model. How do I know which replacement sprayer to buy?
A6: It’s best to try and identify the brand and model of your faucet. If you can’t find a model number, take clear pictures of your faucet and the sprayer connections to a reputable plumbing supply store or hardware store. They can often help you find a compatible replacement.
Q7: How do I detach the sprayer hose if it’s corroded or stuck?
A7: You can try using a penetrating lubricant (like WD-40) and letting it sit for 15-30 minutes before attempting to loosen the connection with your wrench. Gentle tapping with the wrench can also sometimes help break the corrosion seal.
Q8: What is plumber’s tape used for in this process?
A8: Plumber’s tape (also known as Teflon tape) is wrapped around the threaded connections before tightening them. It helps to create a watertight seal and prevents leaks.
Q9: My faucet has a separate side sprayer, not a pull-down one. Is the process different for a pull-down sprayer replacement?
A9: The fundamental steps of turning off water, disconnecting the old hose, and connecting the new one are similar. However, with a pull-down sprayer, the hose often routes through the faucet spout itself, and you’ll be connecting it to an internal diverter valve under the sink. The hose weight placement is also more critical for smooth retraction.
Conclusion
Replacing a kitchen sink sprayer is a practical and rewarding DIY task that can save you money and restore the functionality of your sink. By following these detailed steps, gathering the right tools, and working carefully, you can confidently tackle this common home repair. Remember to always prioritize safety by turning off the water supply before you begin, and to check for leaks thoroughly after installation. Enjoy your newly working kitchen sink sprayer!