
Can you install crown molding on kitchen cabinets? Yes, you absolutely can! Installing crown molding on kitchen cabinets is a fantastic way to elevate your kitchen’s aesthetic, adding a touch of elegance and a finished look. This DIY project, while requiring patience and precision, is achievable for many homeowners looking to enhance their kitchen cabinet finishing techniques. This guide will walk you through the entire process of kitchen cabinet molding installation, from choosing the right materials to the final touches.
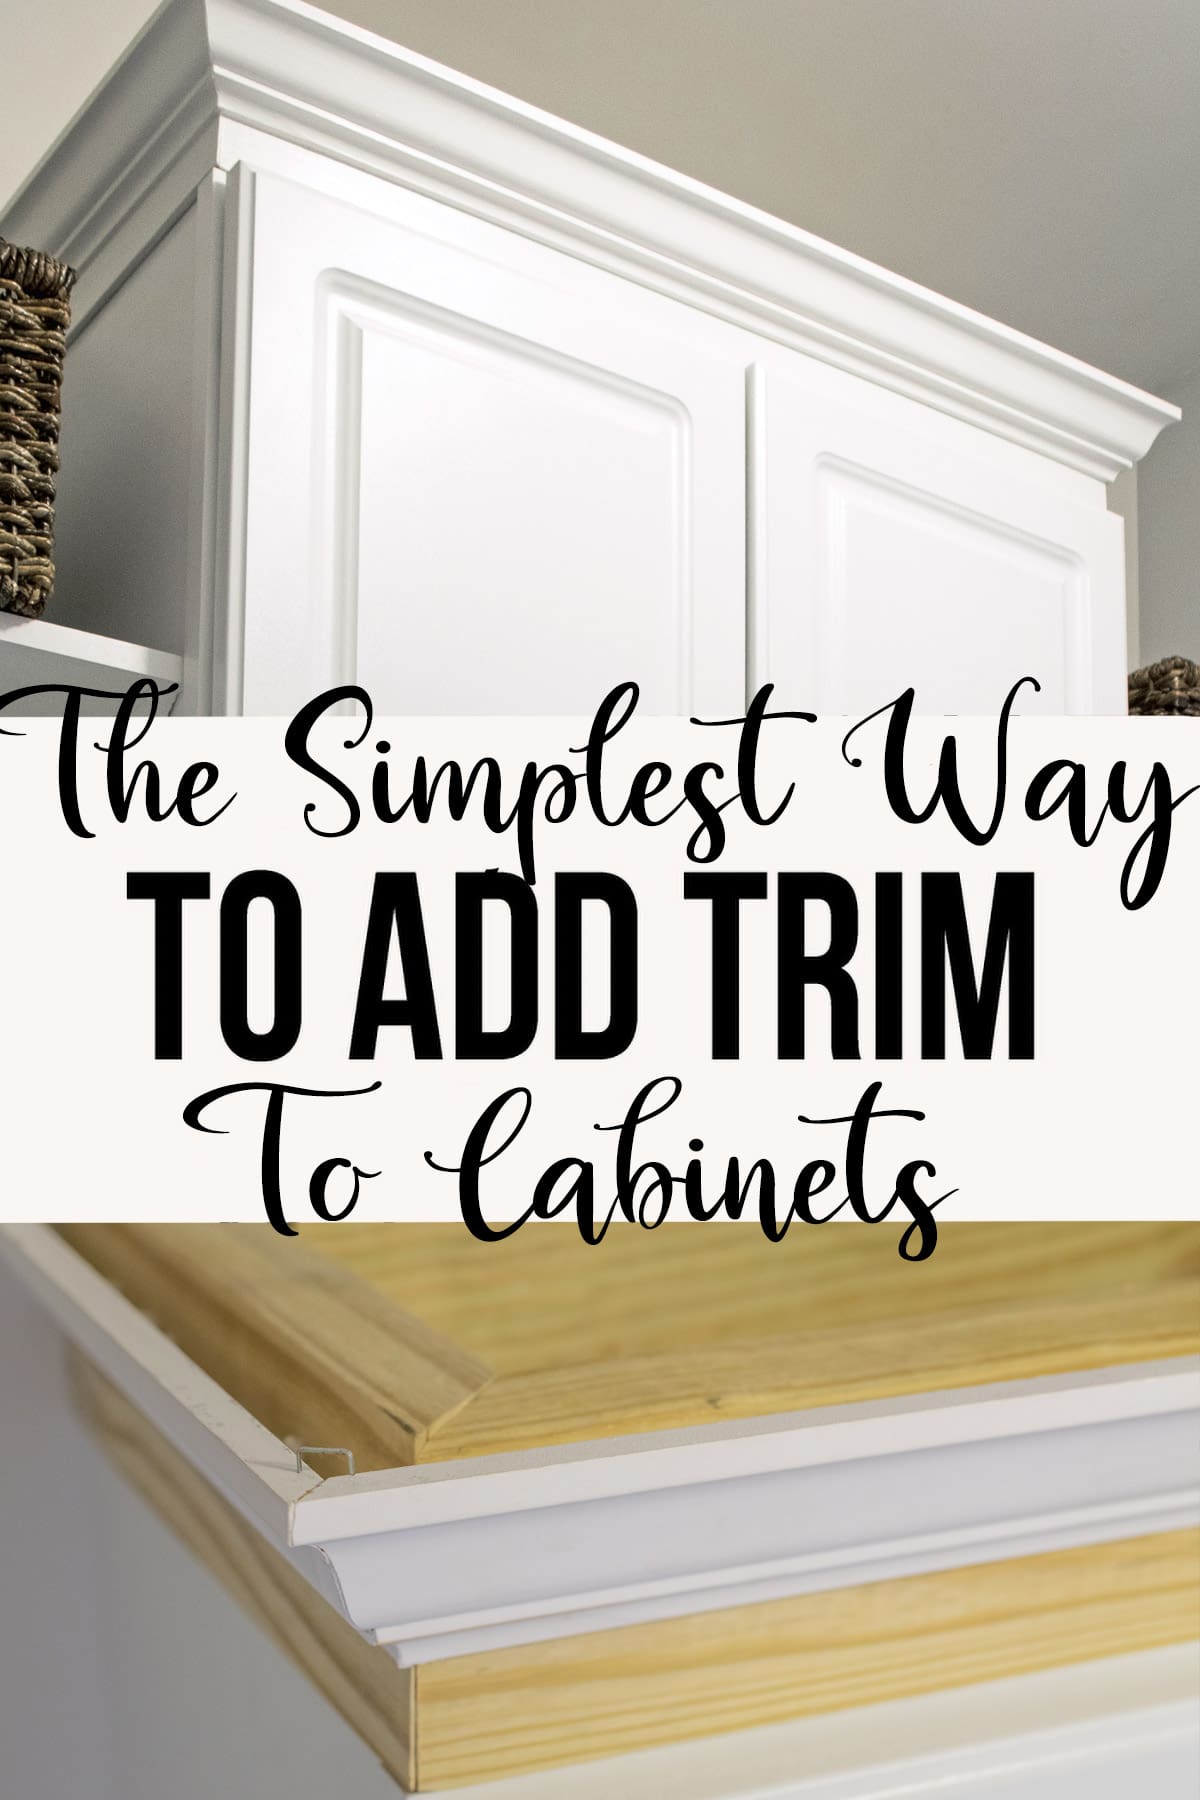
Image Source: www.cravingsomecreativity.com
Why Add Crown Molding to Your Kitchen Cabinets?
Adding crown molding for kitchen cabinets is more than just decoration; it’s a smart design choice. It creates a visual transition between your cabinets and the ceiling, making your kitchen feel more unified and custom. This cabinet top trim installation can make even standard cabinets look like high-end custom pieces. It also helps to:
- Enhance Aesthetics: Crown molding adds a classic and sophisticated look, boosting your kitchen’s overall style.
- Conceal Gaps: It effectively hides any unsightly gaps between the tops of your cabinets and the ceiling, creating a clean, polished appearance.
- Increase Perceived Value: A well-executed crown molding installation can add perceived value to your home.
- Provide Design Flexibility: It’s a versatile element that can complement various kitchen styles, from traditional to modern.
Gathering Your Tools and Materials
Before you start, having all your tools and materials ready will make the process much smoother. This is key for successful DIY cabinet crown molding.
Essential Tools:
- Miter Saw: A compound miter saw is crucial for making precise angled cuts needed for the molding.
- Measuring Tape: For accurate measurements of your cabinets.
- Pencil: To mark cutting lines and placement.
- Stud Finder: To locate wall studs for secure attachment.
- Level: To ensure the molding is perfectly straight.
- Safety Glasses: Always protect your eyes when cutting and drilling.
- Work Gloves: For hand protection.
- Caulk Gun: For applying caulk to fill gaps.
- Putty Knife: For applying wood filler and smoothing caulk.
- Sanding Block or Sandpaper: For smoothing rough edges.
- Nail Gun (Brad Nailer): For attaching the molding without visible nails. If you don’t have one, you can use a hammer and finishing nails, but it requires more care to avoid damaging the molding.
- Drill/Driver: For pre-drilling holes and driving screws if needed.
- Clamps: Helpful for holding molding pieces in place while adhesive dries or for temporary positioning.
- Painter’s Tape: For holding small pieces or marking.
Necessary Materials:
- Crown Molding: Choose a profile that complements your kitchen’s style. Consider the depth and height to ensure it fits well with your cabinet design. For shaker cabinets, a simpler, less ornate profile often works best.
- Wood Glue: For reinforcing miter joints.
- Finishing Nails or Brad Nails: Sized appropriately for your molding thickness.
- Wood Filler: To fill nail holes and small imperfections.
- Paintable Caulk: To seal any gaps between the molding and the cabinets/ceiling.
- Primer and Paint: To match your existing cabinets or ceiling.
Planning Your Crown Molding Design
This is a critical step in applying trim to cabinets. Proper planning prevents mistakes and ensures a professional finish.
Measuring Your Cabinets
- Measure Each Cabinet Section: Measure the length of the top of each cabinet run.
- Account for Corners: Decide how you want to handle corners. Will the molding run into the corner seamlessly, or will it have a corner block? For a clean look, you’ll want to measure the outside edge where the molding will terminate.
- Calculate Total Length: Add all your measurements together. It’s wise to buy about 10-15% extra molding to account for cuts and potential mistakes.
Choosing Your Molding Profile
The style of crown molding you select is a key part of your cabinet styling ideas.
- Simple Profiles: Modern and shaker cabinet crown molding often benefit from simpler, cleaner profiles. These can include a single cove or a few subtle curves.
- Ornate Profiles: Traditional or more elaborate kitchens might suit moldings with more detail and curves.
- Material: Molding comes in wood (paintable or stainable), MDF (primed, usually for painting), and even polyurethane. Wood offers the most flexibility, while MDF is budget-friendly.
Deciding on the Installation Method
There are a few ways to attach crown molding to cabinets:
- Directly to Cabinet Top: The most common method.
- Using a Support Cleat: For heavier molding or to ensure a secure fit, especially on cabinets without solid top edges. A wooden cleat can be attached to the cabinet top first, and the molding then attached to the cleat. This is an excellent technique for cabinet top trim installation.
- Combination: Using adhesive and nails is standard.
Preparing Your Cabinets and Molding
Proper preparation ensures a smooth installation and a lasting finish.
Cleaning Cabinets
- Ensure the top edges of your cabinets are clean and free of dust, grease, or any residue. This will help any adhesive or caulk bond properly.
Cutting Your Molding
This is where your miter saw is essential. Understanding how to cut crown molding is key to successful kitchen cabinet molding installation.
Inside and Outside Corner Cuts
The most common way to join crown molding at corners is with mitered joints. This involves cutting each piece at a specific angle.
- For Inside Corners: Imagine the molding running into the corner. You’ll need to cut the molding at a 45-degree angle. The trick is to determine which side of the blade the molding sits on.
- For Outside Corners: Similar to inside corners, but the angles will be reversed.
Table 1: Common Crown Molding Angles
| Joint Type | Standard Miter Angle |
|---|---|
| Inside Corner | 45 degrees |
| Outside Corner | 45 degrees |
- Tip for Cutting: Many miter saws have settings specifically for crown molding, which can simplify these cuts. If not, you can use the standard miter saw settings, but it requires knowing how to position the molding against the saw’s fence and blade. A common method is to lay the molding flat against the saw’s base and fence as if it were baseboard, then tilt the blade (bevel) to 33.85 degrees and the miter to 31.62 degrees. However, the exact angles can vary slightly based on your molding’s profile. Experiment on scrap pieces first!
Cutting Straight Pieces
- Measure the length of the cabinet run you need to cover.
- Mark your molding.
- Ensure your saw is set to 0 degrees for a straight cut.
Applying Wood Glue
- Before nailing, apply a thin bead of wood glue to the mitered edges that will join. This creates a stronger, more durable bond.
Installing the Crown Molding
Now for the hands-on part of installing decorative molding on cabinets.
Securing the First Piece
- Position the Molding: Place your first piece of crown molding against the cabinet top, ensuring it’s flush with the front edge (or how you want it to sit).
- Check for Level: Use your level to make sure it’s perfectly horizontal.
- Nail into Place: Using your nail gun (or hammer and finishing nails), nail the molding into the cabinet structure. Aim to nail into the cabinet face frames or any solid support members within the cabinet. If you can’t hit solid wood, use longer nails that can penetrate into the cabinet’s backing or a wall stud if you’re near one. For securing to the cabinet top itself, ensure your nails go through the molding and into the cabinet box.
Nailing Techniques
- Spacing: Space nails about 12-16 inches apart.
- Angles: Angle your nails slightly so they go into the cabinet structure at an angle for better holding power.
- Hidden Nails: For a cleaner look, try to nail into the cabinet’s face frame or into the wall behind the cabinet. If you must nail into the cabinet box, try to place nails where they can be easily concealed by wood filler or caulk.
Connecting Pieces at Corners
- Fit Test: Carefully place your second piece of molding against the first, fitting the mitered ends together.
- Adjust as Needed: If the joint isn’t perfect, you may need to make slight adjustments to your saw settings and recut. Small gaps can often be filled with caulk later, but a good miter joint is always best.
- Glue and Nail: Once the fit is good, apply wood glue to the mitered edges. Hold the pieces firmly together, and nail them into the cabinet structure. You can also use painter’s tape to hold the joint while the glue dries.
Continuing the Installation
- Work your way around the entire kitchen, section by section.
- Continuously check for level and ensure the molding is sitting flush against the cabinet tops and the wall.
- For long runs, make sure your butt joints (where two straight pieces meet) are as tight as possible. You can stagger these joints so they don’t all fall in the same place.
Attaching Molding to Cabinet Sides
If your cabinets have exposed sides that you want to trim, you’ll repeat a similar process.
- Measure: Measure the side panel’s height and the desired molding length.
- Cut: Cut the molding to fit. You might need to use a coping saw to create a snug fit if the molding butts up against a wall at an angle.
- Attach: Glue and nail the molding to the cabinet side.
Securing to the Wall (if applicable)
If your cabinets are against a wall and you’re running molding along the wall above the cabinets, make sure to:
- Locate Studs: Use your stud finder to mark the location of wall studs.
- Nail into Studs: Drive nails through the molding and drywall into the wall studs for the most secure attachment.
Finishing Touches for a Professional Look
This is where you turn your installed molding into a polished feature.
Filling Nail Holes and Gaps
- Wood Filler: Use wood filler to fill all nail holes. Apply it slightly proud of the surface, then scrape it smooth with a putty knife once dry.
- Sand: Once the wood filler is completely dry, lightly sand the filled areas and any rough edges of the molding until smooth.
- Caulking: Apply a thin bead of paintable caulk along any gaps between the molding and the cabinet top, the wall, or where pieces of molding meet. Use a damp cloth or your finger to smooth the caulk for a seamless finish. This is an important step in cabinet top trim installation.
Priming and Painting
- Clean: Wipe down the molding to remove any dust from sanding.
- Prime: Apply a coat of primer to the entire molding. This is especially important if you’re painting over wood or MDF.
- Paint: Apply one or two coats of paint that matches your cabinets or ceiling. Use a small brush for the intricate areas and a roller for wider sections. Allow each coat to dry completely before applying the next.
Alternative Cabinet Styling Ideas and Techniques
While crown molding is a popular choice, here are other cabinet styling ideas that can complement or be used alongside it.
Base Molding for Kitchen Cabinets
Similar to crown molding, base molding can be applied to the bottom of cabinets, especially if they are raised off the floor. This creates a cohesive look from top to bottom.
Adding Decorative Trim
Beyond crown molding, you can add smaller decorative trim pieces to cabinet doors or drawer fronts for added detail. This is a subtler way to incorporate trim.
Using Corner Blocks
For a more traditional look, you can use decorative corner blocks where your crown molding pieces meet at corners. This adds an extra layer of detail.
Shaker Cabinet Crown Molding Specifics
For shaker cabinets, which typically have clean lines and flat panels, opt for simpler crown molding profiles. Avoid overly ornate or bulky designs that might clash with the minimalist aesthetic. A simple cove or a slightly angled profile usually works best.
Frequently Asked Questions (FAQ)
Q1: What is the best type of molding for kitchen cabinets?
The best type depends on your kitchen’s style and your finishing preference. For paintable finishes, MDF or primed wood is excellent. For stained cabinets, a good quality hardwood like oak or maple is ideal. Consider the profile’s size and complexity to match your cabinet style.
Q2: Can I install crown molding on cabinets that are not all the same height?
Yes, you can. You’ll need to adjust your cuts and ensure the molding sits level to create a consistent line across varying cabinet heights. You might use filler pieces or adjust how the molding sits to create a visually appealing transition.
Q3: How do I handle cabinets that don’t reach the ceiling?
If there’s a gap above your cabinets, crown molding can visually bridge this space. You can run the molding directly from the cabinet top up to the ceiling, or you can add a filler piece (a small piece of wood) to the top of the cabinet first, then attach the crown molding to that. This creates a more substantial appearance.
Q4: What if my ceiling isn’t perfectly flat?
You might need to use more caulk to fill any gaps between the molding and the ceiling. It’s also helpful to use a flexible caulk that can accommodate minor imperfections.
Q5: How do I make sure the molding stays put?
Secure attachment is key. Use wood glue on all mitered joints and nail the molding securely into cabinet face frames, cabinet boxes, or wall studs. Using a nail gun with appropriate gauge nails is highly recommended for a strong hold.
Q6: How much extra molding should I buy?
It’s generally recommended to buy 10-15% extra molding to account for mistakes, angled cuts, and potential damage during installation.
Conclusion
Installing crown molding on kitchen cabinets is a rewarding project that can significantly upgrade your kitchen’s appearance. By following these detailed steps, carefully planning your cuts, and paying attention to the finishing details, you can achieve a professional and beautiful result. This DIY cabinet crown molding endeavor will add character and a custom feel to your kitchen, proving that with the right tools and techniques, cabinet styling ideas like this are well within reach for any homeowner. Enjoy your beautifully enhanced kitchen!