
Can you use water to clean wooden kitchen cupboards? Yes, but cautiously. Excessive water can damage wood, so always use a damp, not wet, cloth. What’s the best way to remove grease from cabinets? Gentle, specialized cleaners or mild dish soap solutions are effective. How often should you clean them? Regular dusting and spot cleaning weekly, with a deeper clean monthly, is ideal for kitchen cupboard maintenance.
Wooden kitchen cupboards add warmth and beauty to any home. However, they are also prone to grease, grime, and general wear and tear. Keeping them clean and well-maintained is essential for preserving their look and longevity. This guide will walk you through the safest and most effective methods for cleaning your wooden kitchen cupboards, ensuring they shine for years to come. We’ll cover everything from daily upkeep to tackling tough stains, including how to use a good wood cabinet cleaner and explore some DIY cabinet cleaning options.
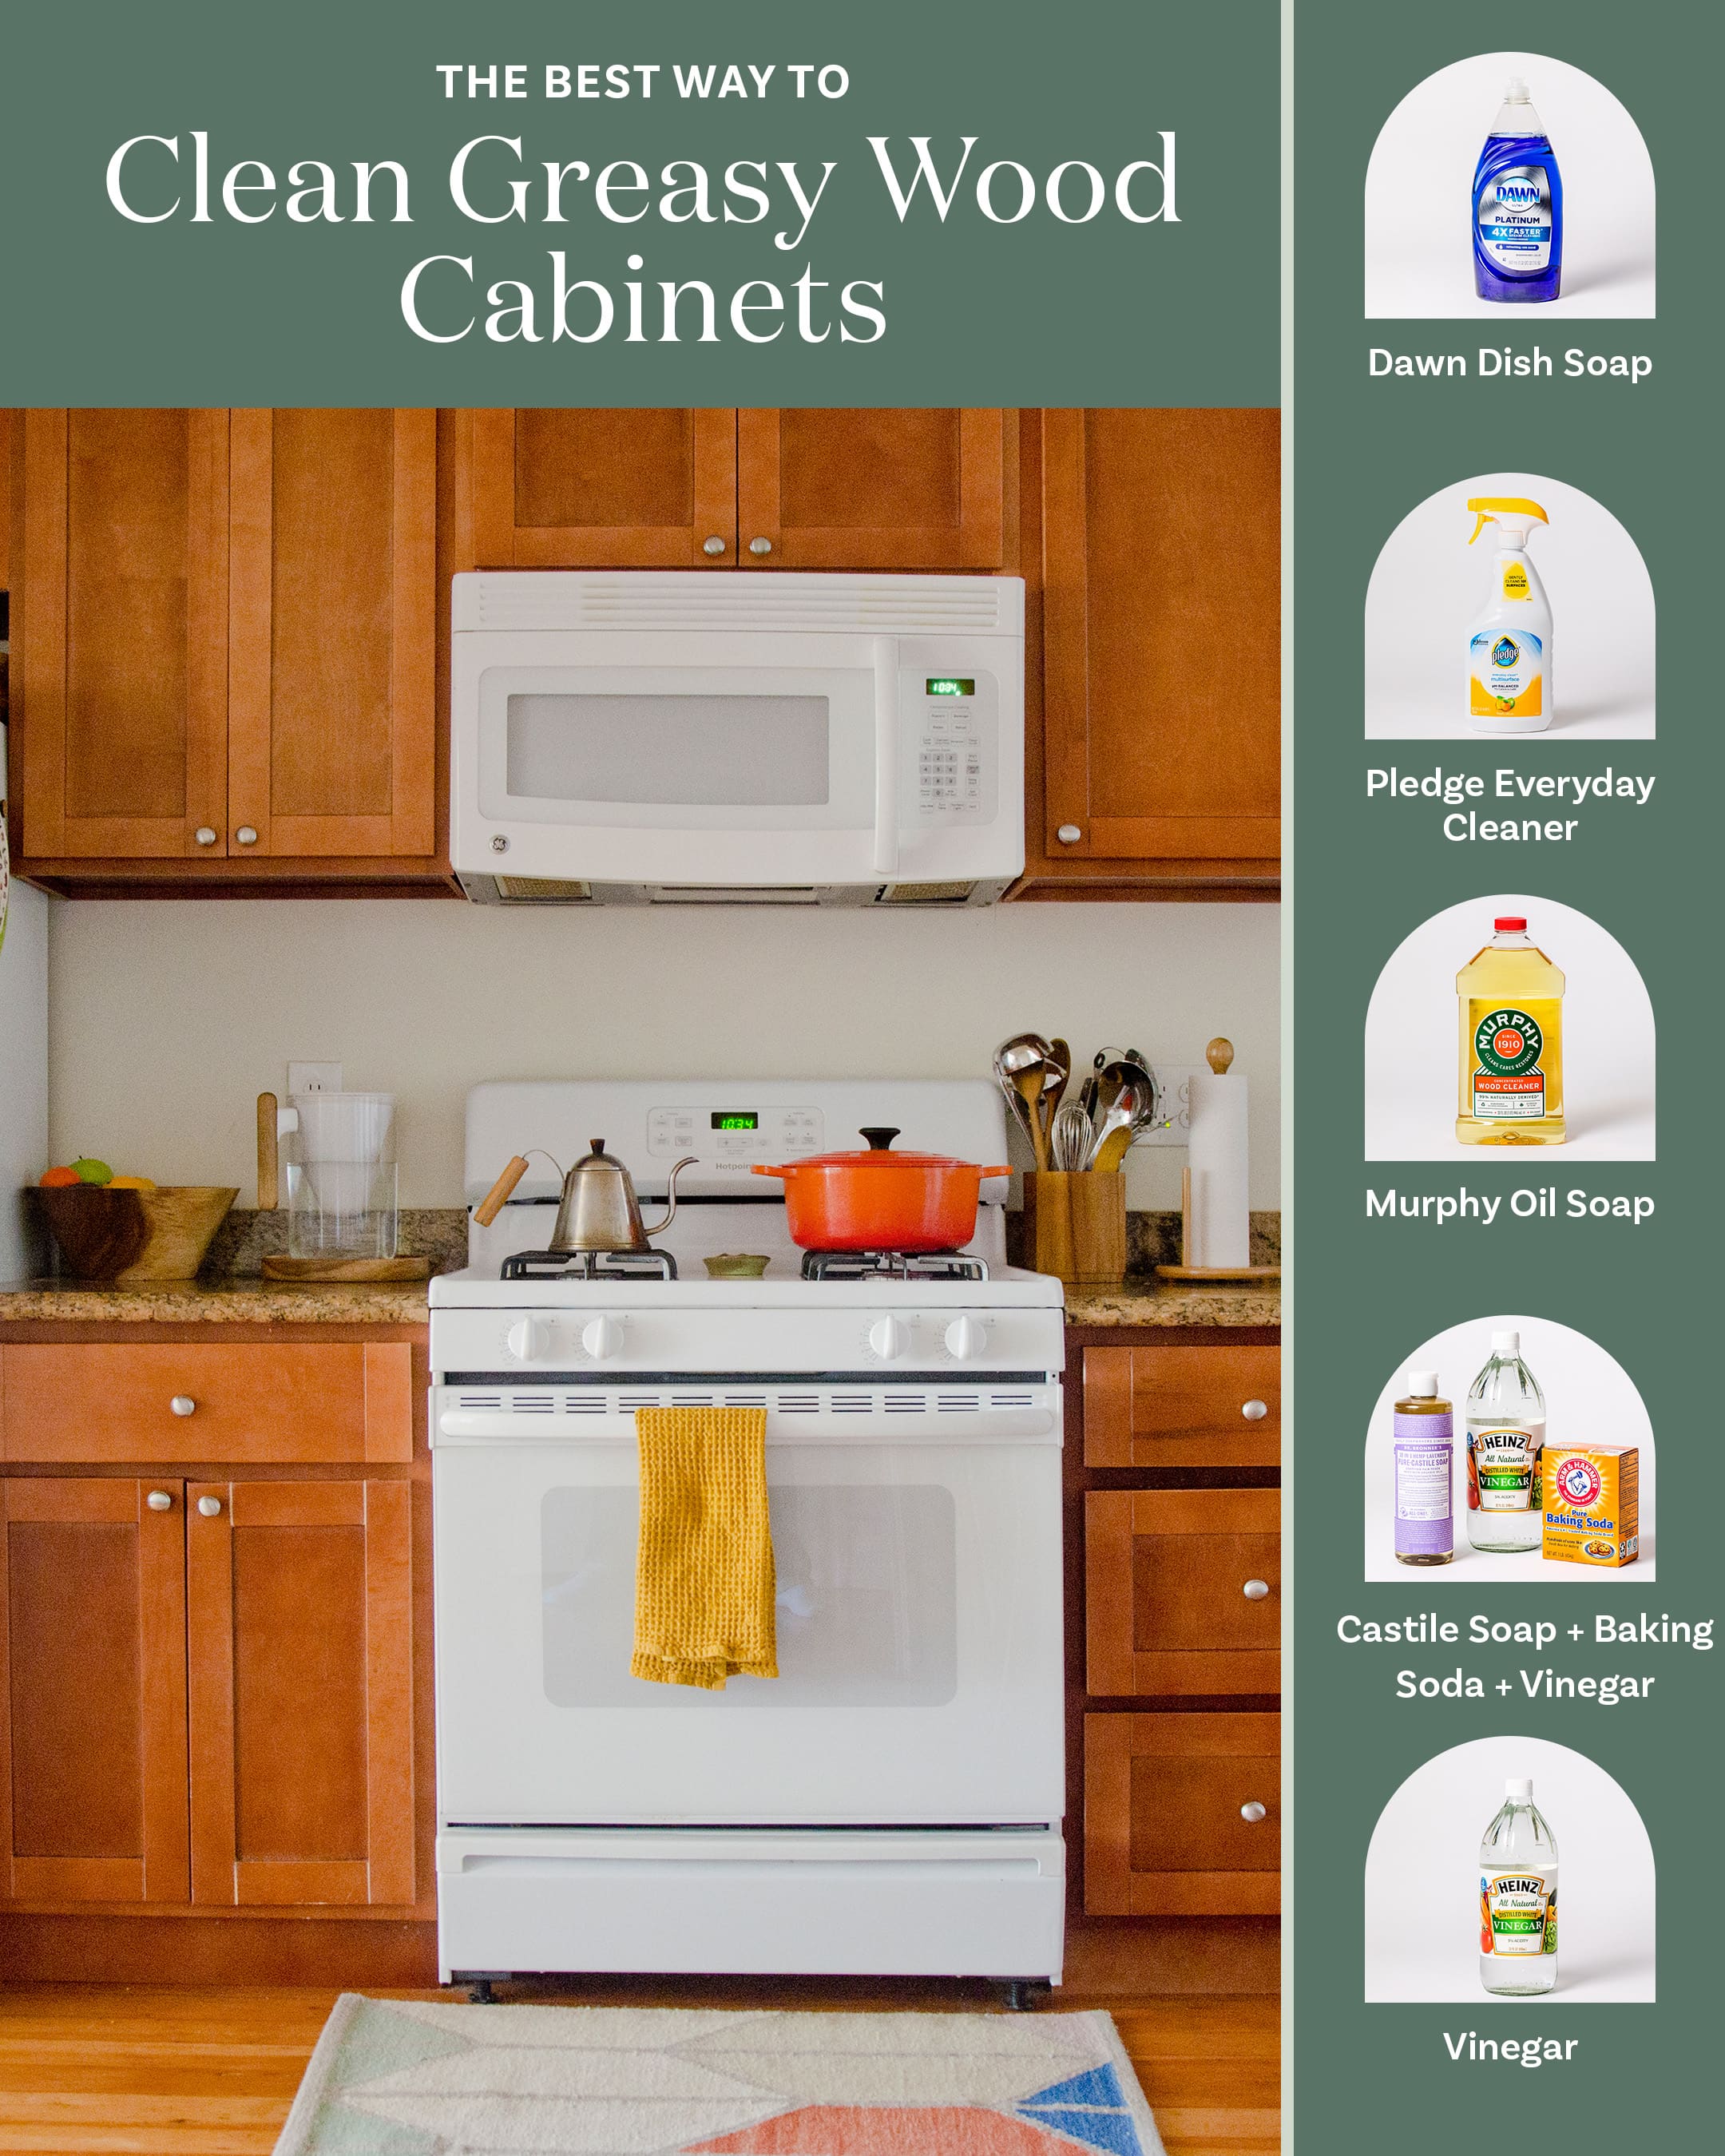
Image Source: cdn.apartmenttherapy.info
Gentle Daily Care for Your Cabinets
Consistent, gentle care is the secret to maintaining the pristine condition of your wooden kitchen cupboards. Small habits can prevent bigger problems down the line, contributing to excellent kitchen cupboard maintenance.
Dusting Regularly
Dust can settle on surfaces and, over time, attract moisture and grime.
- Frequency: Aim to dust your cabinets at least once a week.
- Tools: Use a soft, lint-free cloth, such as microfiber.
- Technique: Gently wipe down all surfaces, paying attention to edges and grooves where dust can accumulate. For stubborn dust in corners, a soft brush or the brush attachment of your vacuum cleaner can be helpful.
Wipe Up Spills Immediately
Kitchens are environments where spills are common. Food splatters, water droplets, and cooking oils can quickly mar wooden surfaces.
- Action: As soon as a spill occurs, grab a clean, dry cloth and blot the area.
- Drying: If moisture is present, follow up with a slightly damp cloth, then immediately dry the area thoroughly with a clean, dry cloth.
Ventilate Your Kitchen
Good ventilation helps reduce moisture and prevent the buildup of grease fumes.
- Methods: Use your kitchen fan when cooking. Open windows when possible, especially after cooking or cleaning.
Tackling Everyday Grime and Smudges
Beyond dust, your cabinets will encounter fingerprints, light smudges, and minor food marks. A gentle approach is key.
Using a Mild Soap Solution
For general cleaning, a diluted mild soap solution is often sufficient.
- Recipe: Mix a few drops of pH-neutral dish soap with a cup of warm water.
- Application: Dip a soft cloth into the solution and wring it out thoroughly. The cloth should be just damp, not wet.
- Wiping: Gently wipe the cabinet surfaces.
- Rinsing: Immediately follow with a clean cloth dampened with plain water to remove any soap residue.
- Drying: Crucially, dry the cabinets completely with a clean, dry cloth. This step prevents water spots and potential damage to the wood finish.
Choosing the Right Wood Cabinet Cleaner
When a simple soap solution isn’t enough, or you prefer a dedicated product, opt for a wood cabinet cleaner formulated for your cabinet’s finish.
- Read Labels: Always check the product label to ensure it’s suitable for your cabinet type (e.g., stained, painted, lacquered).
- Test First: Before applying to the entire surface, test the cleaner on an inconspicuous area, like the inside of a door, to check for any adverse reactions.
- Application: Apply the cleaner to your cloth, not directly to the cabinets. This prevents oversaturation.
- Wipe and Dry: Wipe the cabinets with the damp cloth and then dry immediately with a separate clean, dry cloth.
Mastering Grease Removal from Cabinets
Kitchen grease is notoriously stubborn, often clinging to cabinet surfaces, especially near the stove and sink.
The Power of Vinegar
White vinegar is a natural degreaser and a great option for grease removal from cabinets.
- Solution: Mix equal parts white vinegar and water in a spray bottle.
- Caution: While effective, vinegar is acidic. Use sparingly and always test in a hidden spot first. Ensure thorough drying afterward.
- Application: Lightly mist a soft cloth with the vinegar solution.
- Wipe: Gently wipe the greasy areas.
- Rinse and Dry: Wipe with a clean, damp cloth to remove vinegar residue, then dry thoroughly with a soft, dry cloth.
Dish Soap as a Degreaser
The same mild dish soap used for general cleaning can also be effective for tackling grease.
- Method: Create a slightly more concentrated, but still mild, dish soap solution.
- Application: Apply with a well-wrung-out cloth.
- Scrubbing (Gentle): For tougher grease spots, you might need to gently scrub with a soft sponge or cloth. Avoid abrasive scrubbers, as they can damage the finish.
- Rinse and Dry: As always, rinse with a damp cloth and dry immediately.
Specialized Degreasers
For very heavy grease buildup, you might need a commercial degreaser specifically designed for kitchen surfaces.
- Selection: Choose a product that is safe for wood finishes.
- Instructions: Follow the manufacturer’s instructions carefully.
- Ventilation: Ensure good ventilation when using strong cleaners.
- Rinse: Always rinse thoroughly with a damp cloth and dry completely.
Deep Cleaning and Stain Removal
Periodically, your cabinets will need a more thorough cleaning to remove ingrained dirt and stubborn stains.
Cleaning Different Wood Finishes
The type of finish on your wooden cabinets dictates the best cleaning approach.
Natural Wood Cleaning and Unfinished Wood
Unfinished wood is porous and can stain easily.
- Method: For light cleaning, a dry or slightly damp microfiber cloth is best.
- Stains: For stains on unfinished wood, you might need to gently sand the area once dry and then reapply a suitable finish. Always test sanding in an inconspicuous area first.
- Oils: For oily stains, try sprinkling baking soda or cornstarch on the spot to absorb the oil. Let it sit for a few hours, then brush away.
Stained and Sealed Wood
Most kitchen cabinets have a stain and a protective sealant (like lacquer, varnish, or polyurethane). These finishes offer protection but can still be damaged by harsh chemicals or excessive moisture.
- Gentle Approach: Start with the mildest cleaning methods discussed earlier.
- No Abrasives: Never use abrasive cleaners, steel wool, or scrub brushes, as they will scratch and dull the finish.
- Avoid Ammonia and Bleach: These harsh chemicals can strip the finish.
Painted Wood Cabinets
Painted cabinets require care to avoid chipping or lifting the paint.
- Mild Soap: A mild soap and water solution is usually sufficient.
- Gentle Wiping: Wipe gently. Avoid scrubbing.
- Water: Use as little water as possible.
- Drying: Dry immediately and thoroughly.
Dealing with Water Stains and Rings
Water rings can be a common issue.
- For Light Rings:
- Mayonnaise: Apply a small amount of mayonnaise to the ring and let it sit for a few hours. The oil in the mayonnaise can sometimes lift the water mark. Wipe clean and dry.
- Toothpaste (Non-Gel): Apply a dab of non-gel white toothpaste to a soft cloth and gently rub the water ring in the direction of the wood grain. Wipe clean with a damp cloth and dry immediately.
- For Stubborn Rings: You may need to consider restoring wood cabinets, which might involve light sanding and refinishing.
Removing Scuffs and Marks
- Eraser: A clean pencil eraser can sometimes remove light scuff marks.
- Tennis Ball: For stubborn scuffs, a clean tennis ball can sometimes buff them out.
- Wood Repair Crayons/Markers: For deeper scratches, wood repair crayons or markers can be used to camouflage the damage. Choose a color that closely matches your cabinets.
Preserving Your Wooden Cabinets: Protection and Polish
Once clean, protecting your cabinets is crucial for preserving wooden cabinets and keeping them looking their best.
Using Wood Furniture Polish
A good wood furniture polish can not only add shine but also provide a protective layer against moisture and minor scratches.
- Types of Polish: There are spray polishes, creams, and waxes. Waxes generally offer a more durable finish.
- Application: Apply a small amount of polish to a soft, clean cloth.
- Buffing: Gently buff the cabinets in the direction of the wood grain.
- Remove Excess: Wipe away any excess polish with a clean, dry cloth.
- Frequency: Polish every 1-3 months, depending on usage and the product.
When to Use the Best Wood Polish
The “best” wood polish often depends on your cabinet’s finish and your desired outcome.
- For a Natural Look: Look for beeswax-based polishes or those with natural oils.
- For Added Shine: Silicone-based polishes can provide a high gloss.
- For Protection: Waxes offer a good protective barrier.
- Read Reviews: Research and read reviews to find a product that suits your needs and cabinet type.
Re-oiling or Re-waxing
Over time, finishes can wear down, especially in high-traffic areas. Re-oiling or re-waxing can help restore the wood’s luster and protection.
- Check the Finish: If the wood looks dull or dry, it might be time for a refresh.
- Appropriate Product: Use a product designed for your cabinet’s finish. For example, if your cabinets are oil-finished, you’ll need a wood oil. If they are sealed, a furniture wax or polish is more appropriate.
- Application: Apply sparingly and buff well.
DIY Cabinet Cleaning Solutions
For those who prefer to avoid commercial products or want cost-effective options, several DIY cabinet cleaning solutions are effective and safe.
Baking Soda Paste
Baking soda is a mild abrasive and deodorizer.
- Recipe: Mix baking soda with a small amount of water to form a paste.
- Application: Apply the paste to stubborn stains or greasy spots with a soft cloth.
- Gentle Scrub: Gently rub the area.
- Wipe and Dry: Wipe clean with a damp cloth and dry thoroughly.
Olive Oil and Lemon Juice
This classic combination can clean, condition, and add shine to wood.
- Recipe: Mix one part lemon juice (or white vinegar) with two parts olive oil.
- Caution: Lemon juice is acidic and can lighten darker finishes. Test in an inconspicuous spot first. Use this sparingly.
- Application: Apply a small amount to a soft cloth.
- Buff: Buff the cabinets in the direction of the wood grain.
- Wipe: Wipe off any excess with a clean, dry cloth.
Restoring Wood Cabinets
If your cabinets are looking dull, scratched, or the finish is worn, you might need to consider restoring wood cabinets.
Minor Refinishing
- Cleaning: Start with a thorough cleaning to remove all dirt and grease.
- Light Sanding: Lightly sand the surface with fine-grit sandpaper (220-grit or higher) to smooth out imperfections. Always sand in the direction of the wood grain.
- Cleaning Dust: Wipe away all sanding dust with a tack cloth or a slightly damp cloth.
- Applying Finish: Apply a new coat of stain (if desired) and then a protective finish like polyurethane, varnish, or wax. Follow product instructions carefully.
Dealing with Deeper Damage
For significant scratches, dents, or chipped finishes, more extensive repair might be necessary.
- Fillers: Wood fillers can be used to repair dents and chips. Choose a filler that matches your wood color or can be stained.
- Professional Help: For extensive damage or if you’re unsure about the process, consider consulting a professional furniture restorer.
Non-Toxic Kitchen Cleaners for Your Cabinets
Many people are looking for non-toxic kitchen cleaners to keep their homes healthy. Fortunately, you can achieve sparkling clean cabinets without harsh chemicals.
The Gentle Power of Water and Microfiber
As mentioned, a slightly damp microfiber cloth can handle a surprising amount of everyday dirt and grime.
- Benefits: Safe, effective, and requires no additional cleaning agents.
- Technique: Wring the cloth out thoroughly so it’s just damp.
Castile Soap Solution
Castile soap is a vegetable-based soap that is gentle and biodegradable.
- Recipe: Mix a tablespoon of liquid castile soap with a quart of water.
- Application: Use a damp cloth, as with the dish soap solution.
- Rinse and Dry: Always rinse with a plain damp cloth and dry thoroughly.
Essential Oils for Scent and Cleaning Boost
Some essential oils have natural antibacterial properties and can add a pleasant scent.
- Examples: Tea tree oil, lavender oil, or lemon oil.
- Caution: Use very sparingly. Mix a few drops into your water-and-soap solution. Always test first, as some oils can affect finishes.
Cleaning Tips for Different Cabinet Styles
Shaker Style Cabinets
The recessed panels of shaker cabinets can trap dust and grime.
- Technique: Use a soft brush or an old toothbrush to get into the corners and edges before wiping down with your chosen cleaning solution.
Raised Panel Cabinets
Raised panels have more detailed edges.
- Focus: Pay attention to the contours and edges where dust and grease can accumulate. Use your damp cloth to carefully trace the details.
Glass-Front Cabinets
These often have wooden frames.
- Frame Cleaning: Clean the wooden frames using the methods described above.
- Glass Cleaning: For the glass inserts, use a standard glass cleaner and a separate microfiber cloth to avoid streaks on the wood.
What to Avoid When Cleaning Wooden Kitchen Cupboards
To prevent damage and maintain the integrity of your cabinets, be aware of what to steer clear of.
- Excessive Water: Never saturate your cabinets with water.
- Abrasive Cleaners: Avoid scouring powders, steel wool, and harsh scrubbing pads.
- Harsh Chemicals: Steer clear of ammonia, bleach, and all-purpose cleaners not specifically designed for wood.
- Furniture Polish on Unfinished Wood: Polish can create a sticky residue on unfinished wood.
- Direct Heat: Don’t place hot items directly on cabinet surfaces, as this can damage the finish.
Frequently Asked Questions (FAQ)
Q1: How do I clean greasy buildup on my kitchen cabinets without damaging the finish?
A: For greasy buildup, start with a mild dish soap and warm water solution. Apply with a well-wrung-out cloth, wipe the greasy areas gently, rinse with a clean damp cloth, and dry immediately. For tougher grease, a diluted white vinegar solution (1:1 with water) can be effective, but always test in an inconspicuous area first and dry thoroughly.
Q2: Can I use furniture polish on all types of wooden cabinets?
A: Generally, yes, but it’s crucial to use a polish designed for furniture and to test it in an inconspicuous area first. Some antique finishes or very delicate surfaces might react differently. Always read the product label carefully. For unfinished wood, polish is not recommended.
Q3: What is the best way to remove water rings from my wooden cabinets?
A: For light water rings, try applying a small amount of mayonnaise or non-gel white toothpaste to a soft cloth and gently rubbing the ring. Wipe clean with a damp cloth and dry immediately. If the rings are deep, you might need to consider light sanding and refinishing.
Q4: Are natural cleaning methods safe for my wooden cabinets?
A: Yes, many natural wood cleaning methods are safe and effective. Mild soap and water, baking soda paste, and diluted vinegar (used with caution) are good options. Always test any DIY solution in a hidden spot before applying it to the entire cabinet surface.
Q5: How often should I deep clean my wooden kitchen cabinets?
A: A deep clean can typically be done every 1-3 months, depending on your kitchen’s usage and how quickly grime builds up. Regular dusting and spot cleaning weekly will help extend the time between deep cleans.
Q6: What should I do if the finish on my cabinets is peeling or damaged?
A: If the finish is peeling or significantly damaged, it’s best to carefully remove the loose finish, lightly sand the area, and then reapply a suitable finish that matches the original. For extensive damage, professional restoration might be the best option.
By following these guidelines, you can keep your wooden kitchen cupboards looking beautiful and well-maintained for many years, ensuring your kitchen remains a welcoming and stylish space. Remember, gentle, consistent care is the key to preserving wooden cabinets.