
Can you clean kitchen cabinets without removing their finish? Yes, absolutely! By using gentle, non-damaging cabinet cleaner solutions and proper techniques, you can effectively clean kitchen cupboards, maintain their beauty, and even help in restoring cabinet sheen without any risk of stripping the finish. This comprehensive guide will walk you through everything you need to know for effective cabinet care without stripping, focusing on preserving your cabinet finish for years to come.
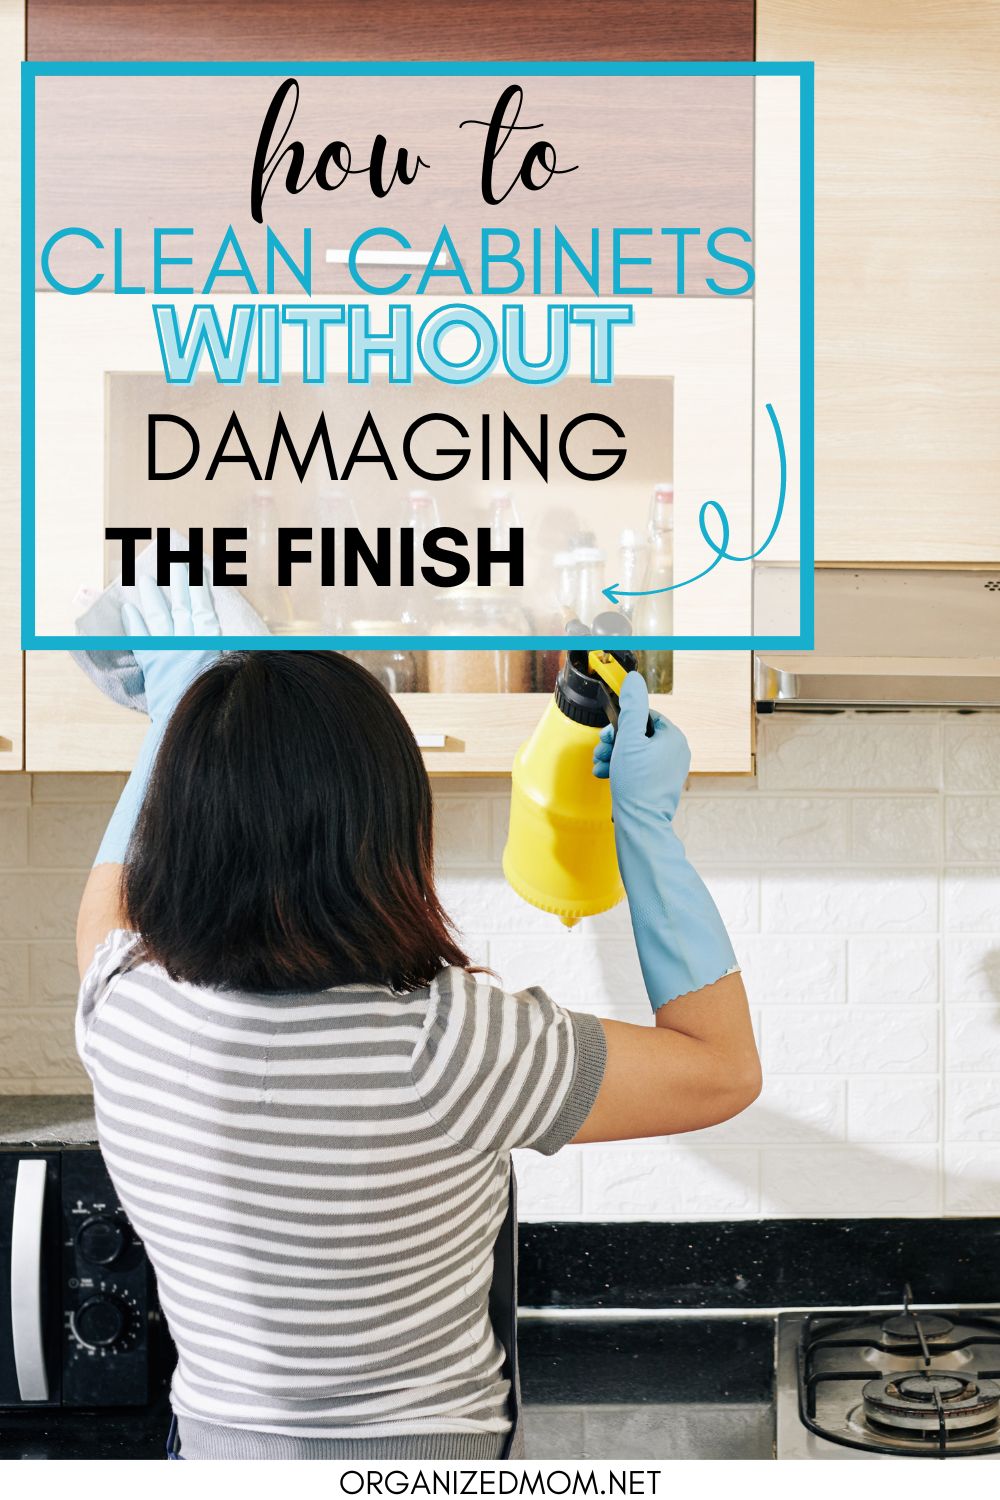
Image Source: www.organizedmom.net
The Importance of Gentle Cabinet Care
Your kitchen cabinets are a significant investment, both in terms of aesthetics and functionality. Over time, they accumulate grease, grime, food splatters, and general kitchen dust. Regular cleaning is essential to keep them looking their best and to prolong their lifespan. However, harsh cleaning chemicals or abrasive tools can easily damage the protective finish, leading to dullness, discoloration, or even complete removal of the finish. This is where learning how to clean kitchen cabinets without removing finish becomes crucial. The goal is to achieve a sparkling clean look while prioritizing the integrity of the original cabinet finish. This approach is key to successful cabinet care without stripping.
Why Avoid Harsh Cleaners?
Many common household cleaners contain strong chemicals like ammonia, bleach, or petroleum distillates. While these might be effective at cutting through tough grease on other surfaces, they can be detrimental to finished wood.
- Damage to Finish: These chemicals can break down the sealant and lacquer, causing it to crack, peel, or become permanently dull.
- Discoloration: Aggressive cleaning can lead to uneven fading or yellowing of the wood.
- Drying Out Wood: Some cleaners strip natural oils from the wood, making it brittle and prone to damage.
- Residue: Ineffective rinsing can leave behind sticky residues that attract more dirt.
Therefore, opting for mild cabinet cleaning solutions is paramount for anyone focused on preserving cabinet finish.
Identifying Your Cabinet Finish
Before you start cleaning, it’s helpful to know what kind of finish your cabinets have. This will help you choose the most appropriate cleaning methods and products. Most modern kitchen cabinets have a lacquer, varnish, or polyurethane finish. Older cabinets might have a shellac or oil finish, which are more delicate.
Common Cabinet Finishes:
- Lacquered Finish: A very common finish, often sprayed on. It can be durable but is susceptible to heat and alcohol.
- Varnished Finish: Offers good protection against moisture and abrasion.
- Polyurethane Finish: One of the most durable finishes, providing excellent resistance to scratches, moisture, and chemicals.
- Painted Finish: These have a solid color layer over the wood. The paint itself can be more susceptible to scratching than a clear coat.
- Stained Finish: This provides color to the wood, usually protected by a clear topcoat (like varnish or polyurethane). The stain itself is not the protective layer.
How to Test Your Finish (If Unsure):
If you’re not sure about your cabinet’s finish, you can perform a small, discreet test. Find an inconspicuous spot (like the inside of a door or the back of a cabinet).
- Rubbing Alcohol Test: Apply a small amount of rubbing alcohol to a cotton swab. Gently rub a small area of the finish. If the finish comes off on the swab, it’s likely shellac or a very old, degraded varnish. If it doesn’t, it’s probably lacquer, polyurethane, or varnish.
- Nail Polish Remover Test: Similarly, a small dab of non-acetone nail polish remover can be tested. Acetone is a strong solvent that will readily remove lacquer. Non-acetone remover is less aggressive.
Important Note: Always test any cleaning solution in an inconspicuous area first, regardless of what you believe your finish to be.
Essential Supplies for Safe Cabinet Cleaning
Gathering the right supplies is the first step to a successful cleaning session. The key is to use soft materials and gentle cleaning agents.
What You’ll Need:
- Soft Microfiber Cloths: Several clean, lint-free microfiber cloths are essential. They are excellent for dusting, applying cleaners, and buffing without scratching.
- Soft Sponges (Non-Abrasive): Choose sponges specifically labeled as non-scratch or designed for delicate surfaces.
- Two Buckets: One for your cleaning solution and one for rinsing your cloths or sponges.
- Mild Dish Soap: A gentle, pH-neutral dish soap is often the best starting point.
- Distilled Water: Tap water can contain minerals that leave spots. Distilled water ensures a streak-free finish.
- White Vinegar (Optional, for tougher grease): Diluted white vinegar can be a powerful degreaser.
- Baking Soda (Optional, for specific stains): Use with extreme caution and always diluted.
- Clean, Dry Towels: For drying and buffing.
- Gloves: To protect your hands from cleaning solutions and grease.
- A Small Soft Brush or Old Toothbrush: For cleaning crevices and hardware.
DIY Cabinet Cleaner Recipes for a Pristine Finish
Creating your own DIY cabinet cleaner is a fantastic way to ensure you’re using gentle, effective ingredients that won’t damage your cabinets. These natural cabinet cleaning recipes are simple, affordable, and highly effective for most kitchen messes.
Recipe 1: The All-Purpose Mild Cleaner
This is your go-to solution for everyday cleaning and light grease. It’s incredibly mild, making it perfect for preserving cabinet finish.
Ingredients:
- 1 quart warm water
- 1-2 drops of mild dish soap (like Dawn or a natural alternative)
Instructions:
- Combine the warm water and a tiny amount of dish soap in a bucket or spray bottle.
- Stir gently to mix. Avoid creating too many suds.
How to Use:
- Dampen a microfiber cloth with the solution. Wring it out thoroughly so the cloth is just damp, not wet.
- Gently wipe down the cabinet surfaces, working in the direction of the wood grain.
- For stubborn spots, you might need to hold the damp cloth on the area for a few moments to loosen the grime.
- Immediately wipe the area dry with a separate clean, dry microfiber cloth.
- Rinse your cloth frequently in the clean water bucket to avoid spreading dirt.
This is a prime example of mild cabinet cleaning that is highly effective for regular maintenance and residue-free cabinet cleaning.
Recipe 2: The Natural Degreaser (For Greasier Buildup)
When you encounter tougher, greasy buildup common in kitchens, a slightly stronger but still natural solution is needed. Diluted vinegar is an excellent degreaser.
Ingredients:
- 1 quart warm water
- 1/4 cup white vinegar
- 1-2 drops of mild dish soap (optional, for extra cleaning power)
Instructions:
- Mix the warm water and white vinegar in a spray bottle or bucket.
- If using dish soap, add it now and swirl gently to combine.
How to Use:
- Spray a fine mist onto your microfiber cloth (do not spray directly onto the cabinets).
- Wring out the cloth if it becomes too wet.
- Wipe the cabinet surfaces, focusing on areas with grease.
- As with the mild cleaner, work with the wood grain.
- Follow up immediately by wiping the area with a clean, damp cloth (using just water) to remove any vinegar residue.
- Dry the cabinets thoroughly with a clean, dry microfiber cloth.
This is a powerful yet non-damaging cabinet cleaner that effectively tackles grease while still preserving cabinet finish.
Recipe 3: The Paste for Stubborn Spots (Use with Caution)
For very specific, tough spots like dried-on food or paint splatters, a paste can be effective. This requires careful application.
Ingredients:
- Baking soda
- Water
Instructions:
- In a small bowl, mix baking soda with just enough water to form a thick paste.
How to Use:
- Apply a small amount of the paste directly to the stubborn spot using a cotton swab or the tip of your finger.
- Let it sit for only a minute or two.
- Gently rub the spot with a damp, soft cloth.
- Immediately wipe away any paste residue with a clean, damp cloth.
- Dry the area thoroughly.
Caution: Baking soda is mildly abrasive. Use this method sparingly and with extreme gentleness to avoid dulling the finish. It’s best for small, isolated spots rather than general cleaning.
Step-by-Step Guide to Cleaning Your Kitchen Cabinets
Now that you have your supplies and cleaning solutions ready, let’s break down the process for cleaning wood cabinets effectively and safely.
Step 1: Prepare the Area
- Clear the Cabinets: Remove all items from the cabinet doors you plan to clean. This includes anything stored on top of them.
- Protect Your Floors: Lay down old towels or newspapers on your kitchen floor in front of the cabinets to catch any drips.
Step 2: Dusting
- Initial Dust Removal: Before applying any liquid, thoroughly dust all cabinet surfaces with a dry microfiber cloth. This removes loose dirt and dust, preventing them from turning into muddy streaks when you add moisture. Use a dry toothbrush or soft brush to get into corners and around hardware.
Step 3: Applying the Cleaner
- Dampen, Don’t Soak: Dip your chosen microfiber cloth or non-abrasive sponge into your cleaning solution. Wring it out very thoroughly. The cloth should be damp, not wet. Excess moisture can seep into the wood and cause damage over time.
- Work in Sections: Clean one cabinet door or drawer front at a time. This prevents the cleaning solution from drying on the surface before you can wipe it away.
- Follow the Grain: Always wipe in the direction of the wood grain. This is crucial for cleaning wood cabinets without leaving visible streaks or marks.
Step 4: Gentle Wiping and Greasy Spots
- Light Grime: For general grime and fingerprints, a gentle wipe with your mild solution is usually sufficient.
- Grease and Stains: For tougher grease spots, use your vinegar-based cleaner. Let the damp cloth rest on the spot for a moment to soften the grease before wiping. You might need to repeat this for very stubborn areas, but always use a light touch.
Step 5: Rinsing (Crucial for Residue-Free Results)
- Clean Water Rinse: After cleaning a section with the solution, take a separate clean microfiber cloth, dampen it with plain distilled water, and wring it out thoroughly.
- Wipe Away Residue: Gently wipe the cleaned area again with the damp, rinsed cloth. This step is vital for removing any cleaning solution residue, ensuring residue-free cabinet cleaning.
- Rinse Your Cloths Frequently: Keep your rinsing cloth clean by rinsing it out in your second bucket of clean water regularly.
Step 6: Drying and Buffing
- Immediate Drying: This is one of the most important steps for preserving cabinet finish. Immediately after rinsing, use a clean, dry microfiber cloth to thoroughly dry the cabinet surface. Buffing gently as you dry can help restore shine and prevent water spots.
- Restore Cabinet Sheen: For an extra polish and to help restore cabinet sheen, you can lightly buff the dried surface with a clean, dry microfiber cloth in a circular motion.
Step 7: Cleaning Hardware
- Remove Hardware (Optional): For a more thorough clean, you can remove knobs and pulls.
- Gentle Cleaning: Clean hardware separately. For metal hardware, use a cleaner appropriate for that metal (e.g., brass cleaner for brass, stainless steel cleaner for stainless steel). Avoid getting these cleaners on the cabinet finish. For most common hardware, a little dish soap and water on a cloth is sufficient.
- Dry Thoroughly: Ensure hardware is completely dry before reattaching to prevent rust or water stains.
Dealing with Specific Cabinet Issues
While the general cleaning steps cover most scenarios, some specific issues might require slightly different approaches.
Handling Grease Buildup
Kitchens are prone to grease splatters, especially around the stovetop and backsplash areas.
- Frequency is Key: Regular cleaning with your degreasing solution will prevent heavy buildup.
- Targeted Treatment: For severe grease, you might need to apply the vinegar solution to the cloth and hold it against the greasy area for a minute to loosen it before wiping. Multiple passes might be necessary.
- Avoid Abrasives: Never use steel wool or abrasive sponges on greasy cabinets, as they will damage the finish.
Removing Sticky Residues
Sticky residues, often from food spills or adhesive labels, can be tricky.
- Mild Soap First: Try your mild dish soap solution first.
- Vinegar Solution: If that doesn’t work, use the vinegar solution.
- Natural Solvents (Use with Extreme Caution): For very stubborn adhesive residue, a tiny bit of mineral oil or even vegetable oil on a cloth can help break it down. Apply the oil with a cloth to the residue, let it sit for a few minutes, then gently wipe. Immediately follow up with your mild soap and water cleaning to remove the oil residue, then dry thoroughly. This is an advanced technique for cabinet care without stripping.
Dealing with Water Stains or Marks
If you notice water marks, especially on older finishes.
- Buffing: Sometimes, vigorous buffing with a dry microfiber cloth can help lift light water marks.
- Mayonnaise or Petroleum Jelly (For Light Marks): For very minor white heat or water marks on certain finishes, applying a small amount of mayonnaise or petroleum jelly to the mark and letting it sit for an hour or two before wiping off and buffing can sometimes help. Test this in an inconspicuous spot first, as it might alter the sheen.
Cleaning Painted Cabinets
Painted cabinets require a slightly gentler approach.
- Avoid Over-Wetting: Painted surfaces can absorb moisture more readily than stained or lacquered ones, leading to blistering or peeling. Use a barely damp cloth.
- No Harsh Chemicals: Bleach, ammonia, and abrasive cleaners can strip paint. Stick to the mild dish soap and water solution.
- Gentle Rubbing: Avoid scrubbing. If you have a stubborn spot, apply the damp cloth and let it sit for a moment to soften the grime.
Maintaining Your Cabinet Finish for Longevity
Regular cleaning is part of maintenance, but a few extra steps can go a long way in preserving cabinet finish and keeping them looking beautiful.
Regular Dusting
- Daily or Weekly: A quick dust with a dry microfiber cloth every few days will prevent dust from settling and becoming harder to remove.
Prompt Spill Cleanup
- Wipe Immediately: Clean up spills and splatters as soon as they happen. Don’t let them sit on the surface, as this increases the risk of staining or damaging the finish.
Avoid Harsh Sunlight
- Fading: Prolonged exposure to direct sunlight can cause finishes to fade over time. Consider using blinds or curtains to protect your cabinets if they are in a sunny spot.
Use Protective Mats and Trays
- Underneath Appliances: Place mats or trays under items like toasters, coffee makers, or anything that might drip or spill.
Waxing or Polishing (Use with Caution)
- Restoring Cabinet Sheen: Periodically, you might consider using a good quality furniture wax or polish designed for finished wood.
- Test First: Always test the product in an inconspicuous area.
- Apply Sparingly: Use a small amount on a soft cloth and buff gently.
- Frequency: Do this only once or twice a year, or as needed, to avoid buildup.
Table: Cleaning Solutions at a Glance
| Problem | Recommended Cleaner | How to Use | Precautions |
|---|---|---|---|
| General Grime/Dust | Mild Dish Soap & Water | Dampen cloth, wipe, rinse with damp cloth, dry. | Use very little soap; wring cloth well. |
| Grease Splatter | White Vinegar & Water (1:4 ratio) | Dampen cloth, wipe, rinse with damp cloth, dry. | Ensure thorough rinsing to remove vinegar smell; wring cloth well. |
| Sticky Residue | Mild Dish Soap or Vinegar Solution | Repeat cleaning steps; for stubborn adhesive, use minimal mineral oil, clean with soap/water after. | Test oil in a hidden spot; clean oil residue thoroughly. |
| Stubborn Spot (Dried) | Baking Soda Paste (Baking Soda + Water) | Apply paste to spot with swab, let sit briefly, gently rub with damp cloth, rinse, dry. | Use sparingly; extremely gentle rubbing; test first. |
| Minor Water Marks | Buffing or Mayonnaise/Petroleum Jelly | Buff vigorously with dry cloth; apply mayo/jelly sparingly, let sit, wipe, buff. | Test mayo/jelly in hidden spot; may affect sheen. |
| Light Dusting (Daily) | Dry Microfiber Cloth | Wipe down surfaces regularly. | Simple and effective for maintenance. |
Frequently Asked Questions About Cleaning Kitchen Cabinets
Q1: Can I use Windex on my kitchen cabinets?
Generally, it’s best to avoid Windex or other glass cleaners on your kitchen cabinets. While they might seem like a good option for streak-free cleaning, they often contain ammonia or alcohol, which can damage or dull certain cabinet finishes over time, especially if used regularly. The DIY cabinet cleaner recipes above are much safer and more effective for preserving cabinet finish.
Q2: What if my cabinets have a very delicate finish?
If you suspect your cabinets have a very old or delicate finish (like shellac), it’s crucial to be extra cautious. Stick to the mildest cleaning option: plain distilled water on a well-wrung-out microfiber cloth for dusting and light cleaning. If you need more cleaning power, a tiny drop of pH-neutral dish soap in distilled water is the next step. Always test any solution in a hidden spot. These methods are the safest for cabinet care without stripping.
Q3: How often should I clean my kitchen cabinets?
For most kitchens, a light cleaning (dusting and wiping down frequently touched areas) should be done weekly. A more thorough cleaning using your chosen DIY cabinet cleaner can be done monthly or as needed, depending on how much grease and grime accumulates. Promptly cleaning up spills is also a form of regular maintenance.
Q4: Can I use furniture polish on my cabinets?
Some furniture polishes can be used to restore cabinet sheen and add a layer of protection. However, it’s essential to choose a polish specifically designed for finished wood and to test it in an inconspicuous area first. Over-polishing or using the wrong product can lead to a sticky buildup that attracts more dirt. Use it sparingly, perhaps once or twice a year.
Q5: What is the best way to clean cabinet doors with glass inserts?
For the glass inserts, you can use a standard glass cleaner. However, be very careful not to let the glass cleaner drip onto the wood frame of the cabinet. Spray the cleaner onto your cloth, not directly onto the glass, and wipe the glass clean. Then, wipe the wood frame using your chosen mild cabinet cleaning solution and dry thoroughly.
By following these guidelines, you can confidently clean your kitchen cabinets, keeping them looking beautiful and new for years to come. Remember, gentle, consistent care is the key to preserving cabinet finish and enjoying your kitchen’s aesthetic appeal.