
Can I clean grease from kitchen cabinets naturally? Yes, you can clean grease from kitchen cabinets naturally using common household ingredients. What is the best cleaner for greasy cabinets? The best cleaner for greasy cabinets often depends on the cabinet material, but natural solutions are highly effective for most surfaces.
Grease is a persistent enemy of kitchen cabinets. Between cooking splatters, airborne oils, and general kitchen grime, your cabinets can quickly become dull, sticky, and unsightly. But before you reach for harsh chemical cleaners, know that there are many natural and effective ways to tackle this common kitchen problem. This guide will walk you through the best methods for cleaning grease from your kitchen cabinets, focusing on natural approaches that are safe for your family and your cabinetry.
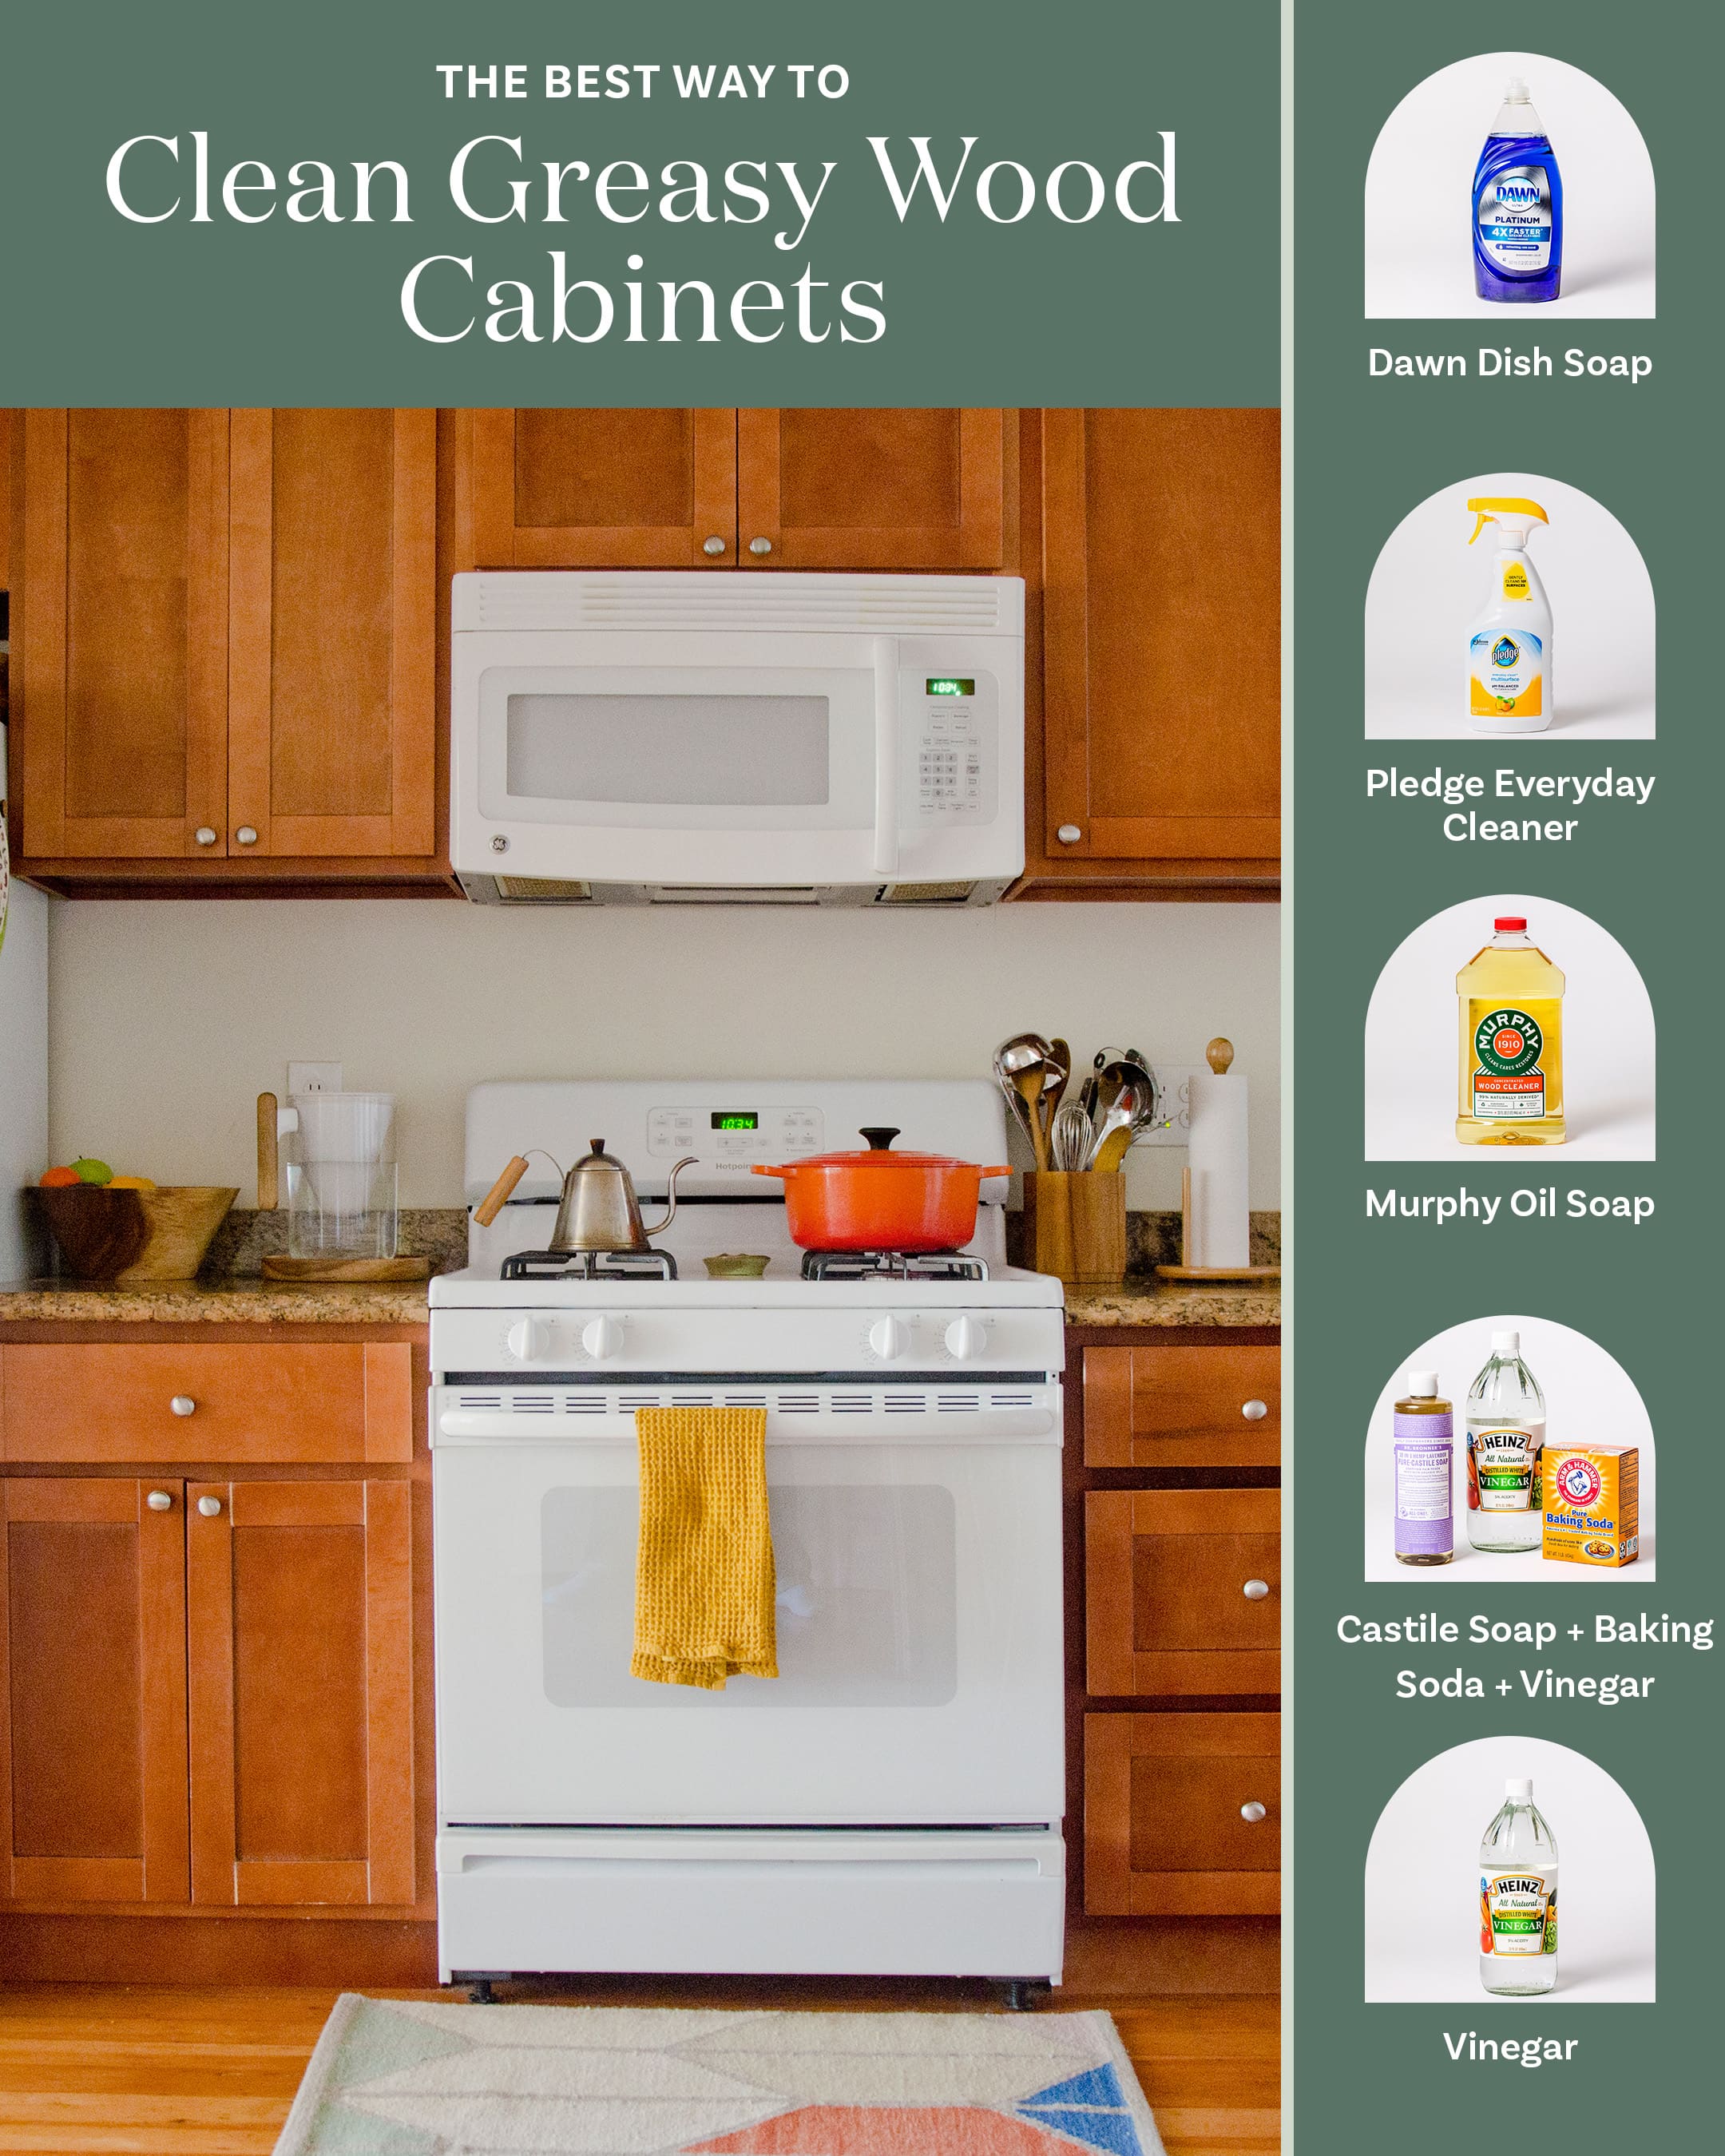
Image Source: cdn.apartmenttherapy.info
Why Natural Cleaning is Key for Kitchen Cabinets
Many commercial kitchen cabinet degreasers contain strong chemicals that can damage cabinet finishes over time. They can strip away protective coatings, dull the sheen, and even cause discoloration, especially on wood cabinets. Natural cleaners, on the other hand, work by gently breaking down grease without resorting to harsh abrasitives or corrosive ingredients. This makes them a safer choice for both your health and the longevity of your kitchen cabinets. They are often more budget-friendly too!
Benefits of Natural Cabinet Cleaning:
- Safety: Fewer harsh chemicals mean a safer environment for your family and pets.
- Gentle on Surfaces: Natural cleaners are less likely to damage cabinet finishes like paint, varnish, or laminate.
- Environmentally Friendly: Reduces the amount of harmful chemicals released into the environment.
- Cost-Effective: Many natural cleaning ingredients are already in your pantry.
- Effectiveness: When used correctly, natural solutions are excellent at cutting through grease and grime.
Preparing Your Cabinets for Cleaning
Before you start cleaning, a little preparation goes a long way. This ensures you work efficiently and protect your cabinets from unintended damage.
Step 1: Clear the Area
- Remove everything from the cabinet shelves and countertops surrounding the cabinets you plan to clean.
- This gives you clear access to the cabinet surfaces.
Step 2: Protect Your Workspace
- Lay down old towels or newspaper on your countertops and floor below the cabinets. This will catch any drips and protect surfaces from cleaning solutions.
Step 3: Dust Removal
- Use a dry microfiber cloth or a soft-bristled brush to gently wipe away any loose dust and debris from the cabinet surfaces. This prevents dust from turning into a muddy mess when you introduce moisture.
Natural Grease Removers for Kitchen Cabinets
Now that your cabinets are prepped, let’s explore the most effective natural grease removers for cabinets. These DIY cabinet cleaner recipes are simple to make and incredibly powerful.
The Power of Vinegar
White vinegar is a fantastic natural grease remover cabinets can rely on. Its acidity helps to cut through grease and grime effectively.
What you’ll need:
- White vinegar
- Warm water
- Spray bottle
- Soft cloths (microfiber is ideal)
How to use:
- Mix your solution: Combine equal parts white vinegar and warm water in a spray bottle.
- Spray and wipe: Lightly spray the solution onto a small section of your cabinet. Do not drench the cabinets, especially if they are made of wood.
- Wipe clean: Use a damp, soft cloth to wipe away the grease and grime. Work in small sections.
- Rinse (optional but recommended): For very greasy areas or if you’re concerned about the vinegar smell, lightly dampen another clean cloth with plain water and wipe the cabinet surface again to rinse away any residue.
- Dry thoroughly: Use a dry microfiber cloth to buff the cabinets dry. This prevents water spots and protects the finish.
Important Note for Wood Cabinets: While vinegar is effective, it’s crucial to use it sparingly on unsealed or antique wood cabinets. Always test in an inconspicuous area first. For painted or finished wood, a diluted solution is generally safe.
Baking Soda: The Gentle Abrasive
Baking soda is a mild alkali that can help break down grease and lift stubborn grime without scratching most surfaces. It’s a great addition to your kitchen cabinet cleaning solutions.
What you’ll need:
- Baking soda
- Water
- Small bowl
- Soft cloth or sponge
How to use:
- Create a paste: Mix baking soda with a small amount of water in a bowl to create a paste. Aim for a consistency similar to toothpaste.
- Apply the paste: Gently apply the paste to areas with heavy grease buildup.
- Let it sit: Allow the paste to sit on the grease for a few minutes.
- Wipe away: Use a damp, soft cloth or sponge to gently scrub the area. The mild abrasive action of the baking soda will help lift the grease.
- Rinse: Wipe the area with a clean, damp cloth to remove the baking soda residue.
- Dry: Buff the cabinets dry with a clean microfiber cloth.
Tip: For very tough spots, you can add a drop of dish soap to the baking soda paste.
Dish Soap: The Grease-Cutting Champion
Liquid dish soap is specifically designed to cut through grease, making it a powerful natural degreaser for your cabinets.
What you’ll need:
- Mild liquid dish soap (like Dawn or a natural alternative)
- Warm water
- Spray bottle or bowl
- Soft cloths
How to use:
- Mix your solution: Add a teaspoon of dish soap to a spray bottle filled with warm water, or mix it into a bowl of warm water.
- Apply: Lightly spray the solution onto a cloth or directly onto the cabinet surface (be cautious with direct spraying on wood).
- Wipe: Use a damp cloth to wipe down the cabinets, focusing on greasy areas.
- Rinse: Wipe the cabinets with a clean, damp cloth to remove all soap residue. This is crucial to prevent soap scum from building up.
- Dry: Immediately dry the cabinets with a clean, dry microfiber cloth.
This is often considered the best cleaner for greasy cabinets for everyday maintenance.
Lemon Juice: The Zesty Degreaser
Lemon juice, like vinegar, is acidic and can help cut through grease. It also leaves a pleasant, fresh scent.
What you’ll need:
- Fresh lemon juice (from 1-2 lemons)
- Warm water
- Spray bottle
- Soft cloths
How to use:
- Mix your solution: Combine fresh lemon juice with an equal amount of warm water in a spray bottle.
- Spray and wipe: Spray onto a cloth and wipe down cabinet surfaces.
- Rinse: Wipe with a clean, damp cloth.
- Dry: Dry thoroughly with a microfiber cloth.
Caution: Lemon juice can be a mild bleaching agent, so use it with caution on dark-colored cabinets and always test in an inconspicuous spot first.
Tackling Stubborn Grease Buildup
Sometimes, simple wiping isn’t enough to remove how to remove grease buildup that has accumulated over time. For these tougher situations, you might need a slightly stronger approach, still focusing on natural grease remover cabinets can handle.
The Baking Soda and Dish Soap Paste
This is a more potent version of the baking soda paste, excellent for tackling heavily soiled areas.
What you’ll need:
- Baking soda
- Mild liquid dish soap
- Water
- Small bowl
- Soft cloth or sponge
How to use:
- Create a paste: Mix about 2 tablespoons of baking soda with enough dish soap to form a thick paste. Add a tiny bit of water if needed.
- Apply: Apply the paste directly to the stubborn grease spots.
- Let it work: Allow the paste to sit for 5-10 minutes.
- Gently scrub: Use a damp, soft cloth or sponge to gently rub the paste into the grease.
- Wipe clean: Wipe away the paste and loosened grease with a clean, damp cloth.
- Rinse: Ensure all residue is removed with a clean, damp cloth.
- Dry: Buff the cabinets dry with a microfiber cloth.
Olive Oil for Sticky Residue
Surprisingly, olive oil can also be a natural grease remover cabinets benefit from, particularly for sticky residue or residue left by adhesive labels.
What you’ll need:
- Olive oil
- Soft cloth
How to use:
- Apply oil: Dab a small amount of olive oil onto a soft cloth.
- Rub: Gently rub the oily cloth onto the sticky residue. The oil helps to break down the adhesive or sticky substance.
- Wipe away: Use a clean part of the cloth or a fresh cloth to wipe away the loosened residue.
- Clean with soap: Follow up with a mild dish soap and water solution to remove the olive oil residue.
- Dry: Buff the cabinets dry.
Cleaning Different Cabinet Materials
While these natural methods are generally safe, it’s always wise to consider the material of your kitchen cabinets.
Cleaning Wood Kitchen Cabinets
Wood cabinets are beautiful but can be sensitive to excess moisture and harsh chemicals.
- Finished Wood: For most varnished or sealed wood cabinets, the vinegar and water solution, or the dish soap and water solution, are excellent. Always use a slightly damp cloth and dry immediately.
- Unfinished or Antique Wood: Be very cautious. Test any solution in a hidden spot first. You might prefer to use a very mild, diluted solution (more water, less vinegar/soap) or even just a damp cloth followed by immediate drying. Sometimes, a specialized wood cleaner is best for these delicate surfaces.
- Oily Wood: For wood that has absorbed a lot of grease over time, a paste of baking soda and water can be effective, but apply it gently and wipe off promptly.
Laminate or Thermofoil Cabinets
These cabinets are generally more durable and can withstand slightly more moisture.
- The vinegar and water solution or the dish soap and water solution are usually very effective.
- Avoid abrasive cleaners or scrubbers, as they can scratch the surface.
- Always wipe dry to prevent water damage or discoloration.
Painted Cabinets
For painted cabinets, the gentle approach is best.
- A mild dish soap and water solution is a great starting point.
- Test any solution in an inconspicuous area to ensure it doesn’t lift or damage the paint.
- Avoid excessive scrubbing.
Cabinet Cleaning Hacks and Tips
Here are some additional cabinet cleaning hacks to make the job easier and more effective:
- Microfiber is Your Friend: Microfiber cloths are superior for cleaning because they trap dirt and grease effectively and are gentle on surfaces.
- Work Top-Down: Start cleaning the cabinets at the top and work your way down. This way, any drips or debris will fall onto uncleaned areas, not already cleaned ones.
- Use Old Toothbrushes: For intricate details like cabinet handles or corners, an old toothbrush can be excellent for gently scrubbing away grime.
- Clean Regularly: The best way to prevent heavy grease buildup is to wipe down your cabinets regularly, perhaps once a week, with a damp cloth. This makes deep cleaning less necessary.
- Ventilation is Key: Ensure good ventilation in your kitchen when cleaning, even with natural products, to help with drying and air circulation.
- Test in an Inconspicuous Area: This is the golden rule of cabinet cleaning. Before applying any new cleaner to your entire cabinet, test it on a small, hidden area (like the inside of a door) to see how it reacts with the finish.
Maintaining Clean Cabinets: Kitchen Cabinet Restoration and Prevention
Once you’ve got your cabinets looking spick and span, maintaining that cleanliness is key. Regular cleaning is the first step towards kitchen cabinet restoration and preventing future heavy buildup.
Regular Wiping
- After cooking, or at least once a week, wipe down your cabinet fronts with a damp microfiber cloth. This removes fresh grease before it has a chance to harden.
Deep Cleaning Schedule
- Plan for a more thorough cleaning of your kitchen cabinets every 3-6 months, depending on your cooking habits and kitchen usage.
Addressing Specific Stains
- For sticky spots or minor spills, address them immediately with a damp cloth.
Re-applying Sealant (for Wood)
- If you have natural wood cabinets, consider re-applying a furniture polish or sealant periodically, as recommended by the manufacturer. This can help protect the wood and make it easier to clean in the future. This contributes to kitchen cabinet restoration by keeping the wood healthy.
What Are Safe Cabinet Cleaners?
Safe cabinet cleaners are generally those that are mild, pH-neutral, and free from harsh abrasives, ammonia, bleach, or strong solvents. Natural cleaners like diluted vinegar, dish soap, and baking soda pastes typically fall into this category. For specific cabinet finishes, always refer to the manufacturer’s recommendations for safe cabinet cleaners.
Frequently Asked Questions (FAQ)
Q1: How often should I clean my kitchen cabinets?
A: It’s recommended to do a quick wipe-down of your cabinets at least once a week, especially around high-traffic areas like the stove and sink. A deeper clean for grease buildup can be done every 1-3 months, depending on how heavily you use your kitchen.
Q2: Will vinegar damage my kitchen cabinets?
A: Diluted white vinegar (50/50 with water) is generally safe for most finished cabinet surfaces. However, always test in an inconspicuous area first. Avoid using undiluted vinegar or letting it sit on the surface for too long, especially on unsealed wood or delicate finishes, as it can dull the sheen or damage the finish over time.
Q3: Can I use abrasive cleaners on my kitchen cabinets?
A: It’s best to avoid abrasive cleaners, scrub pads, or steel wool on most kitchen cabinet surfaces. These can scratch, dull, or remove the finish, leading to permanent damage. Stick to soft cloths, sponges, and gentle DIY solutions.
Q4: My cabinets have a lot of sticky residue. What’s the best way to remove it?
A: For sticky residue, start with a mild dish soap and warm water solution. If that doesn’t work, try the baking soda and dish soap paste, applied gently. For stubborn adhesive residue, a small amount of olive oil on a cloth can help break it down before cleaning with soap and water.
Q5: How do I clean grease from the inside of my kitchen cabinets?
A: The process is similar to cleaning the outside. Use a mild dish soap and water solution or a diluted vinegar solution on a slightly damp cloth. Wipe down the interior surfaces, and then wipe again with a clean damp cloth to remove residue. Ensure the insides are dry before closing the doors.
Q6: What is the difference between a kitchen cabinet degreaser and a general cleaner?
A: A kitchen cabinet degreaser is specifically formulated to break down and remove greasy residue, which is common in kitchens due to cooking oils and airborne grease. General cleaners might not have the same grease-cutting power and could even be too harsh for cabinet finishes. Natural degreasers, like dish soap or diluted vinegar, leverage their properties to specifically target grease.
By using these natural methods and understanding the best cleaner for greasy cabinets based on their material, you can keep your kitchen looking fresh, clean, and inviting without resorting to harsh chemicals. Happy cleaning!