
Can you build your own outdoor kitchen? Yes, you absolutely can build your own outdoor kitchen, whether you’re looking for a simple DIY project or a grand custom outdoor kitchen. This guide will walk you through every step of creating your dream outdoor cooking and entertaining space.
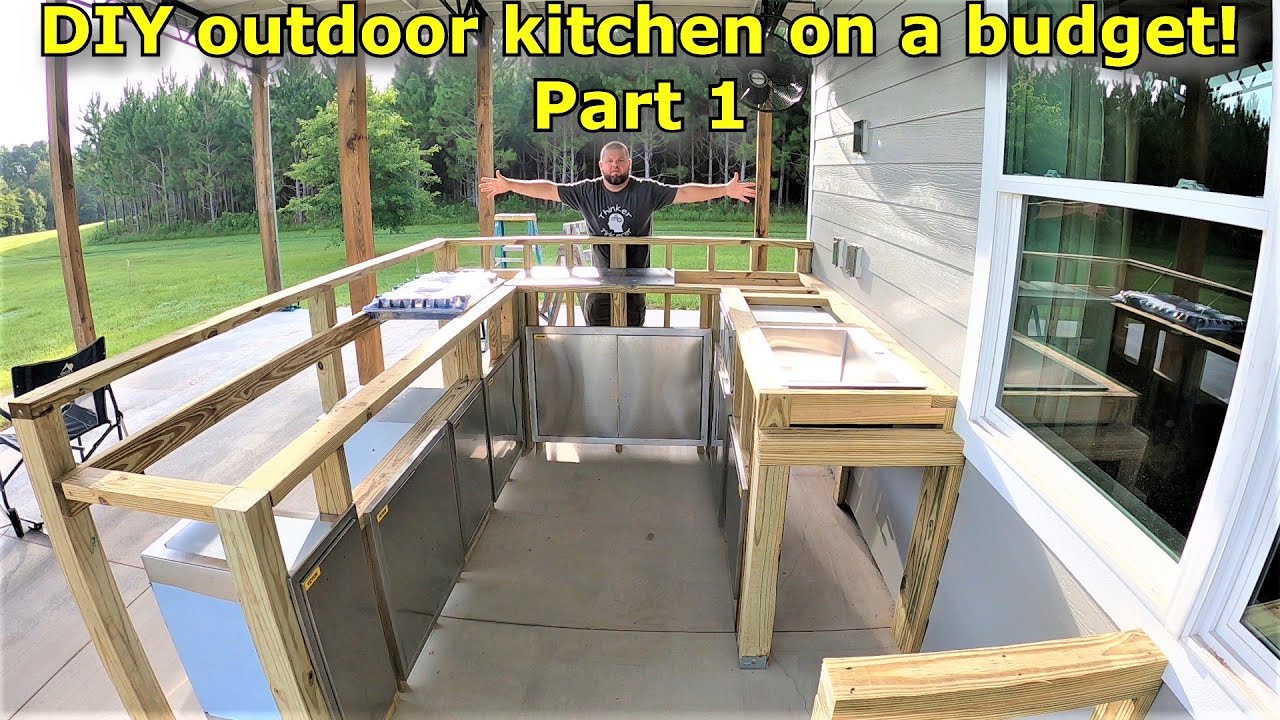
Image Source: i.ytimg.com
Planning Your Outdoor Kitchen Design
Building an outdoor kitchen is an exciting project that can transform your backyard into a fantastic entertainment hub. The first, and most crucial, step is meticulous planning. This isn’t just about where the grill will go; it involves a comprehensive outdoor kitchen design that considers your lifestyle, budget, and the specific features you desire.
What to Consider Before You Start
Before you even think about picking up a tool, several factors need careful thought.
- Your Lifestyle: How do you plan to use your outdoor kitchen? Is it for casual weeknight dinners, large weekend parties, or intimate gatherings? This will influence the size, complexity, and outdoor kitchen appliances you’ll need.
- Budget: Be realistic about how much you can spend. This includes materials, appliances, labor (if any), and potential permits. A well-defined budget will help you make informed decisions throughout the process.
- Space and Location: Where in your yard will the kitchen be located? Consider proximity to your indoor kitchen for easy transport of food and supplies, access to utilities (water, gas, electricity), drainage, prevailing winds (to keep smoke away from seating areas), and sunlight or shade.
- Climate: Your local climate will impact your choice of outdoor kitchen materials and whether you need features like a roof or windbreaks.
- Permits and Regulations: Check with your local authorities about any necessary permits for construction, plumbing, or electrical work. Ignoring these can lead to costly fines and teardowns.
Crafting Your Outdoor Kitchen Layout
A well-thought-out outdoor kitchen layout is the backbone of a functional and enjoyable space. Think about workflow – how you’ll move from prep to cooking to serving.
Zones of Your Outdoor Kitchen
Consider dividing your space into distinct zones:
- Prep Zone: This area typically includes countertops for food preparation, a sink, and storage.
- Cooking Zone: The heart of the kitchen, featuring your grill, side burners, pizza oven, or smoker.
- Serving Zone: Counter space or a bar area where food can be plated and served to guests.
- Seating Zone: An area with comfortable seating for dining and socializing.
- Storage Zone: Cabinets or shelves for utensils, cookware, and cleaning supplies.
Creating Your Outdoor Kitchen Plans
Once you have a clear idea of your zones and overall layout, it’s time to create outdoor kitchen plans. These can be simple sketches or detailed blueprints, depending on the complexity of your project.
- Sketching: Start with rough sketches on graph paper. Draw your desired layout, marking the placement of major appliances, countertops, and seating.
- Detailed Drawings: For more complex projects, consider creating more detailed drawings that include dimensions, material specifications, and utility hookups. You can also find many outdoor kitchen ideas online and in magazines to inspire your plans.
- 3D Modeling: If you’re tech-savvy, 3D modeling software can help you visualize your custom outdoor kitchen before you begin construction.
Selecting Your Outdoor Kitchen Appliances
The appliances you choose are critical to the functionality and style of your outdoor kitchen. These are the workhorses of your outdoor culinary adventures.
Essential Appliances
- Grill: This is usually the centerpiece. Options include built-in natural gas or propane grills, freestanding units, charcoal grills, or smokers. Consider size, BTU output, and features like rotisseries or side burners.
- Sink and Faucet: A dedicated sink with running water is a major convenience for washing hands, rinsing produce, and cleaning up.
- Refrigerator/Cooler: An outdoor-rated refrigerator or a built-in cooler is perfect for keeping drinks and ingredients chilled.
- Countertops: Durable, weather-resistant countertops are essential for food prep.
Popular Additions
- Side Burners: Great for cooking sauces, boiling corn, or sautéing vegetables while the main grill is in use.
- Pizza Oven: For authentic wood-fired or gas-fired pizzas.
- Warming Drawer: Keeps food warm before serving.
- Outdoor Dishwasher: A convenient but often overlooked appliance for easy cleanup.
- Ice Maker: Never run out of ice for your drinks.
Appliance Considerations:
When choosing appliances, always opt for models specifically designed for outdoor use. These are built to withstand the elements, heat, and moisture, ensuring longevity and safety. Factor in ventilation requirements for gas appliances.
Choosing the Right Outdoor Kitchen Materials
The materials you select will define the durability, aesthetics, and maintenance requirements of your outdoor kitchen. Durability and weather resistance are paramount.
Framework and Structure
The foundation of your outdoor kitchen needs to be robust and resistant to moisture and insects.
- Concrete Block: A very common and durable material for building the structure of outdoor kitchens. It’s fire-resistant and can be finished in various ways.
- Steel Frame: Stainless steel or galvanized steel framing offers excellent strength and longevity.
- Wood Frame (with caution): While possible, wood framing requires careful treatment with weather-resistant sealants and paints to prevent rot and insect infestation. It’s generally less recommended for the primary structure unless properly protected.
Countertops
Countertops need to be non-porous, stain-resistant, and heat-tolerant.
- Granite: A classic choice, known for its beauty, durability, and heat resistance. It’s also relatively low maintenance.
- Concrete: Customizable in shape, color, and finish. It can be sealed to resist stains and is very durable.
- Soapstone: Develops a beautiful patina over time and is highly resistant to heat and stains.
- Tile: Offers a wide range of design options but grout lines can be a weak point for staining and cleaning. Ensure outdoor-rated tiles are used.
Cladding and Finishes
This is what gives your outdoor kitchen its look.
- Veneer Stone or Brick: Adds a natural, classic, or rustic aesthetic. Ensure the mortar used is rated for outdoor use.
- Stucco: A versatile finish that can be colored to match your home’s exterior.
- Tile: Can be used for backsplashes or decorative elements.
- Wood Paneling (with caution): Again, requires proper sealing and maintenance for outdoor durability.
Flooring
The area around your kitchen needs to be safe and easy to clean.
- Pavers: Offer a wide variety of styles, colors, and patterns. They are permeable, allowing water to drain.
- Natural Stone: Such as flagstone or slate, providing an elegant look.
- Concrete: Can be stamped, stained, or broom-finished for a practical and attractive surface.
- Decking: Composite or treated wood decking can be used, but ensure it’s properly installed and maintained.
Material Maintenance
Always choose materials that are rated for outdoor use. Research the maintenance requirements for each material you consider. For example, granite and concrete countertops will need resealing periodically.
DIY Outdoor Kitchen Construction: A Step-by-Step Approach
Embarking on a DIY outdoor kitchen project is rewarding. Here’s a breakdown of the typical construction process.
Step 1: Site Preparation and Foundation
- Clear the Area: Remove any existing vegetation, debris, or old structures from the build site.
- Level the Ground: Ensure the area is level and compacted to provide a stable base.
- Pour a Concrete Slab: This is the most common and recommended foundation for an outdoor kitchen. It provides a stable, durable, and fire-resistant base. Follow proper concrete pouring techniques, including using rebar for reinforcement.
Step 2: Building the Structure
- Frame the Base: Using concrete blocks or steel framing, construct the base cabinets and structure according to your outdoor kitchen plans.
- Install Utility Lines: Before you close up the framing, ensure all necessary plumbing (water supply, drainage) and electrical conduits are in place. If you’re using natural gas, the gas line should also be installed by a qualified professional.
- Create Openings: Frame out openings for your appliances (grill, refrigerator, sink).
Step 3: Installing Countertops and Cladding
- Install Countertops: Carefully place and secure your chosen countertops. Ensure they are level and properly supported.
- Apply Cladding: Attach your chosen veneer, stone, brick, or stucco to the exterior of the structure. Follow manufacturer guidelines for adhesion and finishing.
Step 4: Appliance Installation
- Position Appliances: Carefully place each appliance into its designated opening.
- Connect Utilities: Have a qualified plumber and electrician connect your appliances to the installed utility lines. This is a crucial safety step.
- Ventilation: Ensure proper ventilation for gas grills and other appliances as per manufacturer specifications.
Step 5: Finishing Touches and Setup
- Install Sink and Faucet: Connect the plumbing for your sink and faucet.
- Add Shelving and Storage: Install any internal shelving or drawers within your cabinet structures.
- Lighting: Install outdoor-rated lighting for evening use.
- Seating: Arrange your seating around the kitchen area.
- Decor: Add decorative elements, such as plants or outdoor artwork, to complete your outdoor kitchen setup.
Safety First
Always prioritize safety. Wear appropriate personal protective equipment (PPE) such as safety glasses, gloves, and sturdy footwear. If you are unsure about any step, especially involving gas or electrical work, hire a qualified professional.
Creating a Custom Outdoor Kitchen
For those seeking a truly unique and personalized outdoor kitchen setup, a custom outdoor kitchen is the way to go. This allows you to tailor every aspect to your specific needs and aesthetic preferences.
Designing for Uniqueness
- One-of-a-Kind Layouts: A custom design means you can break free from standard configurations and create a layout that perfectly suits your backyard’s shape and your entertaining style.
- Material Combinations: Mix and match materials to create a distinctive look. For example, combining sleek concrete with warm wood accents or rustic stone with stainless steel.
- Appliance Integration: Customization allows for seamless integration of appliances, including specialized units like wood-fired ovens, smokers, or even warming drawers, all built into the structure.
- Lighting Schemes: Design a lighting plan that highlights key features, provides task lighting for cooking, and creates ambiance for evenings.
Working with Professionals
While a DIY outdoor kitchen is achievable, a custom build often involves working with professionals:
- Outdoor Kitchen Designers: These specialists can help translate your ideas into functional and aesthetically pleasing designs, considering structural integrity and material suitability.
- Contractors: Experienced contractors specializing in outdoor construction can manage the entire build process, ensuring quality workmanship and adherence to building codes.
- Appliance Specialists: They can advise on the best appliances for your needs and ensure proper installation.
The Custom Process
- In-depth Consultation: Discuss your vision, needs, and budget with your designer or contractor.
- Design Development: Collaborative process to refine plans, material choices, and appliance selections.
- Permitting: The contractor will typically handle obtaining necessary permits.
- Construction: Professional construction of the structure, utility hookups, and appliance installation.
- Finishing: Final touches like countertop installation, cladding, and landscaping integration.
A custom outdoor kitchen is an investment, but it delivers a perfectly tailored space that enhances your home and lifestyle.
Frequently Asked Questions (FAQ)
Q1: What is the average cost of building an outdoor kitchen?
The cost varies significantly based on size, materials, appliances, and whether you DIY or hire professionals. A basic DIY setup might cost a few thousand dollars, while a high-end custom outdoor kitchen with premium appliances can range from $10,000 to $50,000 or more.
Q2: Do I need permits for an outdoor kitchen?
Yes, most likely. Depending on your location and the scope of work (especially involving plumbing or electrical), you will likely need building permits. Always check with your local building department.
Q3: Can I use regular kitchen appliances outdoors?
No, it’s not recommended. Outdoor appliances are specifically designed to withstand weather conditions, temperature fluctuations, and moisture. Regular indoor appliances will corrode and fail quickly outdoors.
Q4: What is the best material for outdoor kitchen countertops?
Granite, concrete, and soapstone are excellent choices for outdoor kitchen countertops due to their durability, heat resistance, and ability to withstand the elements.
Q5: How much space do I need for an outdoor kitchen?
A functional outdoor kitchen typically requires at least 100-150 square feet. This allows space for the cooking area, prep space, and some seating. Larger kitchens will, of course, require more space.
Q6: What are some good DIY outdoor kitchen ideas for beginners?
For beginners, consider starting with a simpler DIY outdoor kitchen setup, perhaps focusing on a grill island with a countertop. You could use pre-fabricated modular components or simple block construction.
Q7: How do I ensure my outdoor kitchen is durable?
Use weather-resistant outdoor kitchen materials, ensure proper drainage, and select appliances specifically rated for outdoor use. Proper sealing and regular maintenance are also key to long-term durability.