
Can you paint kitchen cabinets? Yes, you absolutely can paint kitchen cabinets, and it’s a fantastic way to give your kitchen a whole new look without a massive renovation budget. This comprehensive guide will walk you through the entire process of DIY cabinet refinishing, from initial prep to the final coat. We’ll cover everything you need to know for a successful kitchen cabinet makeover.
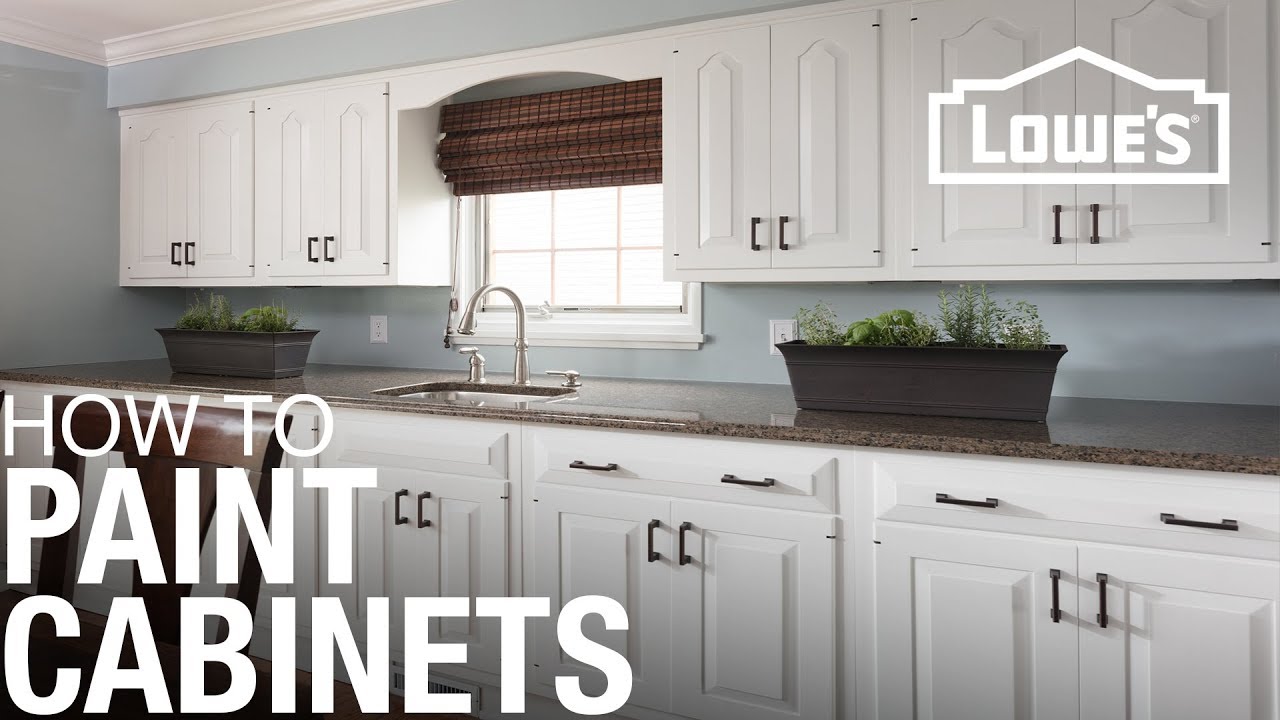
Image Source: i.ytimg.com
Preparing for Your Kitchen Cabinet Makeover
The secret to a professional-looking paint job lies in thorough preparation. Skipping these steps will lead to peeling paint, uneven finishes, and a disappointing outcome.
Cabinet Prep Steps: The Foundation of Success
Before any paint touches your cabinets, a meticulous prep job is essential. This ensures the paint adheres properly and lasts for years.
- Remove Doors and Drawers: Take all cabinet doors and drawer fronts off their hinges and slides. Label each one with a number or letter and a corresponding mark on the cabinet frame. This will make reassembly a breeze.
- Remove Hardware: Unscrew all hinges, handles, and knobs. Store them safely in a labeled bag or container to avoid losing them.
- Clean, Clean, Clean: This is arguably the most crucial step. Kitchen cabinets are notorious for accumulating grease, grime, and food splatters.
- Use a strong degreaser specifically designed for kitchen use. TSP (trisodium phosphate) is a powerful option, but wear gloves and ensure good ventilation. A mixture of warm water and dish soap can also work for less stubborn grime.
- Scrub every surface thoroughly. Pay close attention to areas around knobs and handles, as well as the edges of doors and drawers where grease tends to build up.
- Rinse all surfaces with clean water and a damp cloth. Make sure to remove all traces of the degreaser.
- Allow cabinets to dry completely.
- Sand Everything: Sanding creates a smooth surface for the new paint to adhere to.
- Use fine-grit sandpaper (150-220 grit). If your cabinets have a glossy finish, you might need to start with a slightly coarser grit (around 120) to break through the shine, then follow with the finer grits.
- Sand all surfaces you intend to paint. Be gentle on any decorative details to avoid damaging them.
- The goal is to create a dull, slightly rough surface, not to remove the original finish entirely.
- Wipe Away Dust: After sanding, use a tack cloth or a damp microfiber cloth to remove all dust particles. This is vital to prevent dust from getting into your paint.
Cabinet Cleaning and Priming: Building Adhesion
After the initial cleaning and sanding, it’s time to prime. Priming is non-negotiable when painting cabinets.
- Why Prime? Primer serves several purposes:
- Adhesion: It creates a strong bond between the cabinet surface and the paint.
- Block Stains: It prevents tannins from wood or any residual discoloration from bleeding through your new paint color.
- Uniform Surface: It creates a consistent surface for the topcoat, ensuring an even finish.
- Choosing the Right Primer:
- For most kitchen cabinets, an oil-based or shellac-based primer is recommended due to their superior adhesion and stain-blocking capabilities.
- Water-based primers can also work, but ensure they are specifically formulated for high-adhesion on surfaces like laminate or painted wood. Look for primers labeled “bonding primer” or “cabinet primer.”
- Applying the Primer:
- Apply a thin, even coat of primer using a high-quality brush for edges and details, and a foam roller or sprayer for larger flat surfaces.
- Avoid thick application, as it can lead to drips and an uneven finish.
- Allow the primer to dry completely according to the manufacturer’s instructions. Some primers may require light sanding with very fine-grit sandpaper (320 grit) after drying. If you do sand, wipe away all dust with a tack cloth.
Choosing the Best Paint for Kitchen Cabinets
Selecting the right paint is critical for durability and a beautiful finish. Kitchen cabinets endure a lot of wear and tear, so you need a paint that can handle it.
What is the best paint for kitchen cabinets?
The best paint for kitchen cabinets is a high-quality enamel paint, typically a water-based acrylic enamel or an oil-based enamel. These paints offer excellent durability, washability, and a smooth, hard finish. For a professional look and maximum durability, consider paints specifically formulated for cabinets or trim.
Paint Types and Their Pros and Cons
| Paint Type | Pros | Cons |
|---|---|---|
| Water-Based Acrylic Enamel | Low VOCs, fast drying, easy cleanup with soap and water, flexible. | Can be less durable than oil-based if not a high-quality formula. |
| Oil-Based Enamel | Extremely durable, hard finish, excellent adhesion, smooth application. | Strong odor, requires mineral spirits for cleanup, longer drying time. |
| Lacquers (Sprayed) | Very hard, smooth, durable finish; professional look. | Requires specialized equipment (sprayer), VOCs can be high. |
| Chalk Paint/Mineral Paint | Easy application, no primer needed (often), matte finish. | Requires a durable topcoat for kitchen use, can be less washable. |
Sheen Matters
The sheen of your paint affects both durability and appearance.
- Satin: A popular choice for cabinets. It offers good durability, is washable, and has a subtle sheen that hides imperfections better than higher glosses.
- Semi-Gloss: Very durable and highly washable, making it excellent for kitchens. The higher sheen can highlight brush strokes or roller marks if not applied carefully.
- Gloss: The most durable and easiest to clean, but its high shine will reveal every imperfection. It can also look a bit dated on cabinet doors unless you’re going for a very modern look.
- Matte/Eggshell: Generally not recommended for kitchen cabinets due to their lower durability and tendency to absorb stains.
Cabinet painting tips often emphasize using a quality enamel with a satin or semi-gloss finish for the best balance of looks and longevity.
The Painting Process: Achieving a Flawless Finish
Now for the fun part – applying the paint! Whether you choose to brush, roll, or spray, careful application is key.
Cabinet Door Painting Techniques
When painting cabinet doors and drawer fronts, laying them flat is often the easiest way to achieve a smooth, even finish.
- Set Up Your Space: Find a well-ventilated area, such as a garage, basement, or outdoors (weather permitting). Lay down drop cloths to protect your surfaces.
- Position Doors: Use sawhorses or blocks of wood to elevate the doors and drawer fronts off the ground. This prevents them from sticking to your drop cloths and allows you to paint the edges and all sides easily.
- Apply Thin Coats:
- Use a high-quality synthetic brush for cutting in edges and corners.
- For the flat surfaces, a high-density foam roller or a good quality synthetic brush is ideal.
- Apply thin, even coats. It’s better to apply multiple thin coats than one thick, gloppy coat.
- Work in one direction with long, even strokes.
- Avoid overworking the paint, which can lead to brush marks.
- Drying Time: Allow each coat to dry completely according to the paint manufacturer’s instructions. This is crucial for proper adhesion between coats.
- Light Sanding Between Coats (Optional but Recommended): After the first or second coat has dried, you can very lightly sand the surface with extra-fine grit sandpaper (320-400 grit). This knocks down any minor imperfections or dust nibs, resulting in a smoother final finish. Wipe away dust with a tack cloth before applying the next coat.
How to Spray Cabinets for a Professional Finish
Spraying offers the smoothest, most professional finish, but it requires proper technique and equipment.
Spraying Equipment Options:
- HVLP (High Volume, Low Pressure) Sprayer: This is the preferred method for cabinet painting. HVLP sprayers use less air pressure, reducing overspray and allowing for more control, which is ideal for cabinets. They can be electric or turbine-powered.
- Airless Sprayer: While powerful, airless sprayers can produce more overspray and require a finer tip for a smooth finish on cabinets. They are generally better suited for larger projects like walls or exterior surfaces.
- Aerosol Cans (Spray Paint): For small projects or touch-ups, high-quality spray paints designed for cabinets can be an option, but achieving a consistent, factory-like finish across an entire kitchen can be challenging.
Spraying Techniques:
- Ventilation and Protection: Ensure excellent ventilation. Wear a respirator mask with organic vapor cartridges, eye protection, and gloves. Cover everything in the room that you don’t want painted with plastic sheeting and painter’s tape.
- Proper Paint Consistency: Most paints need to be thinned slightly to spray properly. Follow the paint manufacturer’s recommendations for thinning, or use a viscosity cup to test.
- Test Spray: Before spraying your actual cabinets, practice on a piece of cardboard or scrap wood. Adjust the spray pattern and pressure until you achieve a fine, even mist.
- Maintain Consistent Distance: Hold the spray gun perpendicular to the surface, about 8-12 inches away.
- Overlapping Strokes: Start spraying before you reach the edge of the surface and continue spraying past the edge. Overlap each spray pass by about 50%. This ensures even coverage and prevents “tiger stripes.”
- Smooth, Steady Motion: Move your arm in a steady, sweeping motion. Avoid stopping or starting the spray in the middle of a surface.
- Thin Coats: Apply multiple thin coats rather than one thick one. Allow adequate flash-off time between coats (the time it takes for the solvent to evaporate before the next coat is applied). Refer to the paint manufacturer’s recommendations.
- Cabinet Frame Spraying: If you’re spraying the cabinet frames in place, carefully tape off all adjacent walls, appliances, and countertops. Use a brush to cut in any tight areas that the sprayer can’t reach easily.
Cabinet Sealing and Topcoat: Protecting Your Investment
Once your paint coats are dry, applying a topcoat is crucial for durability.
What is Cabinet Sealing and Topcoat?
Cabinet sealing and topcoat refers to applying a clear protective layer over your painted cabinets. This layer shields the paint from moisture, grease, wear, and tear, making your cabinets easier to clean and extending the life of your paint job.
Topcoat Options:
- Polyurethane: A very durable and common choice.
- Water-based Polyurethane: Dries clear, low odor, easy cleanup. Can sometimes impart a slight yellow tint over time on very light colors.
- Oil-based Polyurethane: More durable, richer amber tone, stronger odor, requires mineral spirits for cleanup.
- Polyacrylic: Similar to water-based polyurethane, it offers good durability and a clear finish with less yellowing.
- Varnish: Often a good choice for high-moisture areas.
- Lacquer (Sprayed): Offers a very hard, smooth finish but is generally applied by professionals with spray equipment.
Applying the Topcoat:
- Ensure Dryness: Make sure your final paint coat is completely dry before applying the topcoat.
- Thin Coats: Just like with paint, apply thin, even coats of your chosen topcoat.
- Brush, Roll, or Spray: You can brush, roll (with a high-density foam roller), or spray your topcoat. Spraying usually provides the smoothest, most consistent finish.
- Multiple Layers: Apply at least two to three thin coats of topcoat for maximum protection. Lightly scuff sand with 320-400 grit sandpaper between coats if recommended by the product manufacturer and always wipe away dust with a tack cloth.
- Cure Time: Pay close attention to the “cure time” on your topcoat’s label. This is the time it takes for the finish to reach its maximum hardness, which can be several days or even weeks. Until then, be gentle with your cabinets.
Reassembly and Finishing Touches
With all the painting and sealing complete, it’s time to put your kitchen back together.
Cabinet Hardware Replacement: The Finishing Sparkle
Updating your cabinet hardware can dramatically change the look of your kitchen and is an easy DIY upgrade.
- Choosing New Hardware: Select knobs and pulls that complement your new cabinet color and your kitchen’s style.
- Installation:
- If your new hardware uses the same hole placement as your old hardware, it’s a simple screw-in job.
- If the hole placement is different, you’ll need to drill new holes. Use a template or measure very carefully to ensure they are straight and evenly spaced.
- Attach the new hardware securely.
- Reattaching Doors and Drawers:
- Carefully rehang your cabinet doors using the original or new hinges.
- Slide your drawers back into place.
- Adjust hinges if necessary to ensure doors hang straight and close properly.
Common Pitfalls and How to Avoid Them
Even with careful planning, things can go wrong. Here are some common mistakes and how to steer clear of them:
- Insufficient Cleaning: Grease left on the cabinets will prevent paint and primer from adhering. Always use a strong degreaser and rinse thoroughly.
- Skipping Primer: Primer is your best friend for adhesion and stain blocking. Don’t skip this step!
- Rushing the Process: Each step, from cleaning to drying between coats, takes time. Patience is key to a good result.
- Using the Wrong Paint: Low-quality paint or paint not designed for cabinets will chip and wear quickly.
- Applying Thick Coats: Thick coats lead to drips, runs, and an uneven finish. Thin, multiple coats are always better.
- Not Sanding Between Coats: This step is crucial for a smooth, professional finish.
- Ignoring Cure Time: Be gentle with your newly painted cabinets until the finish has fully cured.
Frequently Asked Questions (FAQ)
How long does it take to paint kitchen cabinets?
The time it takes varies greatly depending on the size of your kitchen, the number of doors and drawers, and whether you spray or brush/roll. Realistically, expect the process to take anywhere from a weekend to a full week or more, accounting for drying and curing times between coats.
Can I paint over existing varnish or laminate?
Yes, you can paint over existing varnish or laminate, but preparation is key. You’ll need to thoroughly clean, lightly sand to de-gloss the surface, and use a high-adhesion primer designed for these materials.
Do I need to remove cabinet doors to paint them?
Yes, it is highly recommended to remove cabinet doors and drawer fronts for painting. This allows for a much smoother, more even finish, especially on the edges and all sides. It also makes it easier to avoid drips and achieve a factory-like finish.
What grit sandpaper should I use for cabinet prep and between coats?
For initial prep (de-glossing), 120-150 grit is often suitable. For sanding between coats of primer or paint, use a finer grit like 220-320 grit. For a super smooth finish, you can go up to 400 grit before the final topcoat.
How many coats of paint do I need?
Typically, two to three thin coats of paint are sufficient for good coverage and durability. Always follow the manufacturer’s recommendations.
Can I paint the inside of my cabinets?
You can paint the inside of your cabinets, but it’s often recommended to stick with a durable, low-VOC paint that is safe for interior use. Some people choose to line the shelves instead.
By following these detailed steps and tips, you can achieve a beautiful, durable, and professional-looking kitchen cabinet makeover that will transform your kitchen for years to come. Happy painting!